3D Printed Lens Gears For Pro-grade Focus Pulling

Key Grip, Gaffer, Best Boy – any of us who’ve sat through every last minute of a Marvel movie to get to the post-credits scene – mmm, schawarma! – have seen the obscure titles of folks involved in movie making. But “Focus Puller”? How hard can it be to focus a camera?

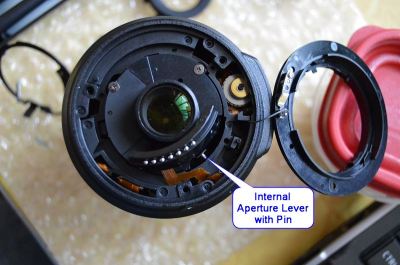
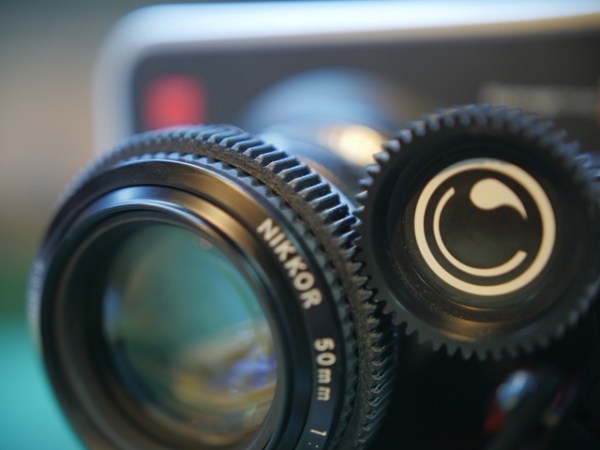
Turns out there’s a lot to the job, and in a many cases it makes sense to mechanize the task. Pro cinematic cameras have geared rings for just that reason, and now your DSLR lens can have them too with customized, 3D printed follow-focus gears.

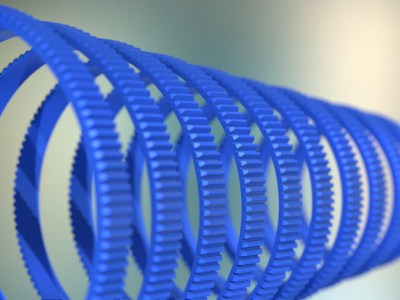
Gear_Selection_01_full_render_preview_featuredUnwilling to permanently modify his DSLR camera lens and dissatisfied with after-market lens gearing solutions, [Jaymis Loveday] learned enough OpenSCAD to generate gears from 50mm to 100mm in diameter in 0.5mm increments for a snug friction fit. Teamed up with commercially available focus pulling equipment, these lens gears should really help [Jaymis] get professional results from consumer lenses. 
Unfortunately, [Jaymis] doesn’t include any video of the gears in action, but the demo footage shown below presumably has some shots that were enabled by his custom gears. And even if it doesn’t, there are some really cool shots in it worth watching.

And for the budding cinematographers out there without access to a 3D printer, there’s always this hardware store solution to focus pulling.

Continue reading “3D Printed Lens Gears For Pro-grade Focus Pulling”

3D Printed Eyeglasses, VR Lenses

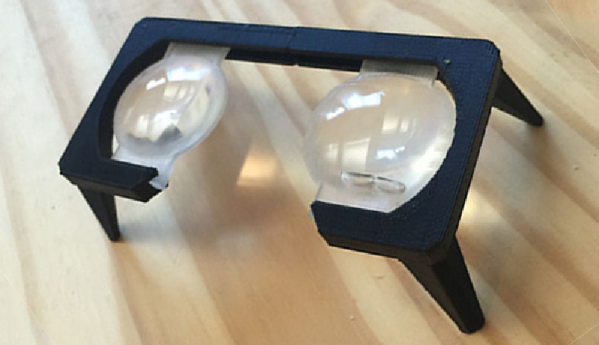
[Florian] is hyped for Google Cardboard, Oculus Rifts, and other head mounted displays, and with that comes an interest in lenses. [Floian] wanted to know if it was possible to create these lenses with a 3D printer. Why would anyone want to do this when these lenses can be had from dozens of online retailers for a few dollars? The phrase, ‘because I can’ comes to mind.

The starting point for the lens was a CAD model, a 3D printer, and silicone mold material. Clear casting resin fills the mold, cures, and turns into a translucent lens-shaped blob. This is the process of creating all lenses, and by finely sanding, polishing, and buffing this lens with grits ranging from 200 to 7000, this bit of resin slowly takes on an optically clear shine.

Do these lenses work? Yes, and [Florian] managed to build a head mounted display that can hold an iPhone up to his face for viewing 3D images and movies. The next goal is printing prescription glasses, and [Florian] seems very close to achieving that dream.

The last time we saw home lens making was more than a year ago. Is anyone else dabbling in this dark art? Let us know in the comments below and send in a tip if you have a favorite lens hack in mind.

Hacking A Pi Camera With A Nikon Lens

Cell phones have killed many industries. It is getting harder and harder to justify buying an ordinary watch, a calculator, or a day planner because your phone does all those things at least as well as the originals. Cell phones have cameras too, so the days of missing a shot because you don’t have a camera with you are over (although we always wonder where the flood of Bigfoot and UFO pictures are). However, you probably still have a dedicated camera tucked away somewhere because, let’s face it, most cell phone cameras are just not that good.

The Raspberry Pi camera is about on par with a cheap cell phone camera. [Martijn Braam] has a Nikon camera, and he noticed that he could get a Raspberry Pi camera with a C-mount for lenses. He picked up a C to F adapter and proceeded to experiment with Nikon DSLR lenses on the Raspberry Pi camera.

Continue reading “Hacking A Pi Camera With A Nikon Lens”

Vintage Lens On A Modern Camera

Sometimes you get plain lucky in multiple ways, enabling you to complete a hack that would otherwise have seemed improbable. [Mario Nagano] managed to attach a vintage 1950’s lens to a modern mirrorless camera (translated from Portuguese).

Photographers tend to collect a lot of gear and [Mario] is no exception. At a local fair in Sao Paolo, he managed to pick up a Voigtlander Bessa I – a bellows camera (or folding camera). It came cheap, and the seller warned him as much, commenting on the bad external shape it was in. But [Mario] had a sharp eye, and noticed that this was a camera that would have remained closed most of the time, due to its construction.

Inspection showed that the bellows was intact. What excited and surprised him was the excellent Color-Skopar objective mounted on a Prontor-S trigger, which is considered premium compared to the entry level Vaskar lens. His plan was to pick up another Voigtlander Bessa-I with a better preserved body, but the cheaper lens and do a simple swap. He never did find another replacement though. Instead, he decided to fix the excellent vintage lens to a DSLR body.

He’d read about a few other similar hacks, but they all involved a lot of complicated adapters which was beyond his skills. Removing the lens from the vintage camera was straightforward. It was held to the body by a simple threaded ring nut and could not only be removed easily, but the operation was reversible and didn’t cause any damage to the old camera body. The vintage lens has a 31.5mm mounting thread while his Olympus DSLR body had a standard 42mm thread. Fabricating a custom adapter from scratch would have cost him a lot in terms of time and money. That’s when he got lucky again. He had recently purchased a Fotodiox Spotmatic camera body cap. It’s made of aluminium and just needed a hole bored through its center to match the vintage lens. There’s no dearth of machine shops in Sao Paolo and it took him a few bucks to get it accurately machined. The new adapter could now be easily fixed to the old lens using the original 31.5mm ring nut.

The lens has a 105mm focal length, so the final assembly must ensure that this distance is maintained. And he got lucky once again. He managed to dig up a VEB Pentacom M42 macro bellows from an old damaged camera. Was it worth all the effort ? Take a look at these pictures here, here and here.

Making Funhouse Mirror Lenses

[Robb] has had a little experience making lenses from scratch. His first attempt was for a DIY projector, and while the lens was a little blurry, it did work rather well for something carved out of a block of acrylic. Now he’s taking his experiments with lenses even further with DIY optics that turn everything into a funhouse mirror.

There were two techniques tested while making these lenses. The first was the old standby, CNC milling. A piece of acrylic was put in a CNC and carved with a 1/2″ ball mill. The second technique was 3D printing on a very fancy and very expensive Objet Connex 500. Neither of these methods produce a ready to use lens; to get a finished lens out of the machined or printed objects, [Robb] had to wet sand with 240, 320, 400, 600, 1000, 1500, and 2000 grit sandpaper. After a few hours worth of sanding, the parts were polished with a scratch remover.

Making a lens like this isn’t really that novel – it’s basically the same way lenses have been made for 500 years. The real trick here is making funhouse mirror style lenses. These lenses were created by raytracing in Rhino and Neon. It’s tricky; the index of refraction for acrylic is a little lower than glass, and the refraction for 3D photoresin is a bit higher than glass.

With those models in hand, it’s a relatively simple matter of making some very cool and very strange lenses.

Lumographic Images Created With Lens Only

Lumographic images are those patterns you see at the bottom of swimming pools. When water works as a lens, the light patterns of bright and dark are random and wandering based on the waves above. [Matthew] figured out a way to create fixed images from lens shape alone. The images only morph into view clearly when light shines at the proper angle. At near angles an eerie fun-house mirror effect appears, but too far off and it scatters unrecognisably.

The exact method for designing the optics is not explained, though we are sure someone in our readership could figure it out. The artist claims it to be a hundred year old million-variable math problem. The lenses are often quite thick and do not resemble much of anything. The effect however, is sharp, clear and detailed.

At first he suspected he needed astronomically-expensive military-grade 50 nanometer (0.000002″) precision machining for the lenses, but some friends in the autobody industry gave him a few tips to squeeze good enough accuracy from more affordable industrial machines. The technique also allows for images to appear from mirrors and internal reflections. It is probably not something you can 3D print or machine yourself, but it would be interesting to see someone try.

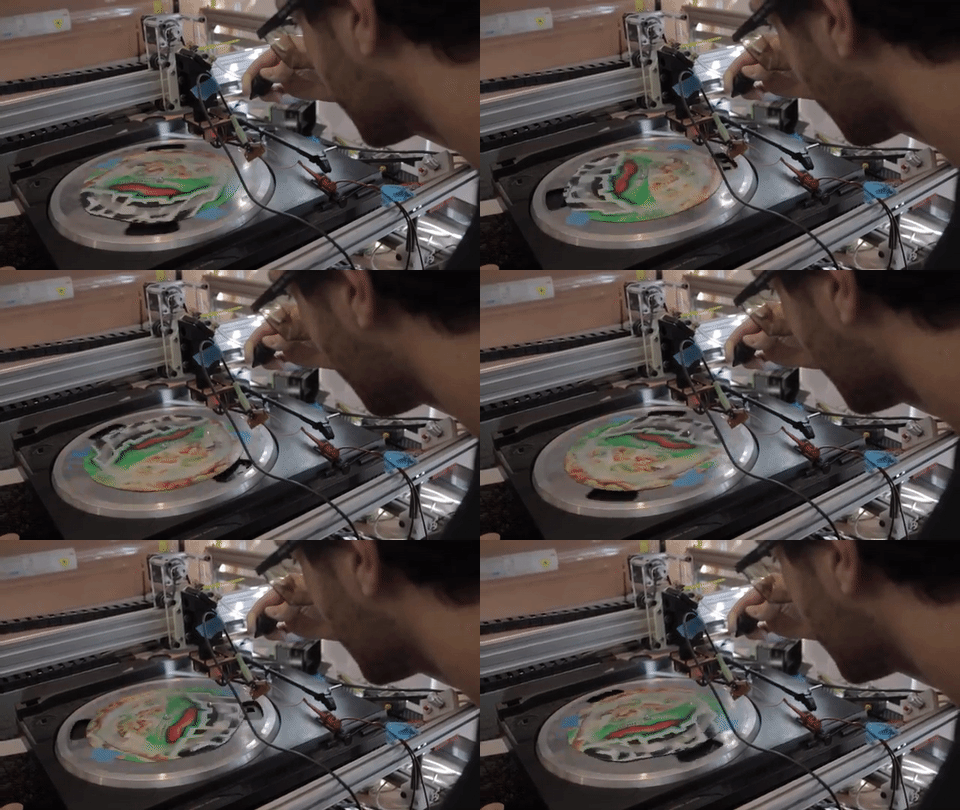
[Matthew]’s work is on display in the “Composite” gallery at the National Museum of Math in New York (MoMath). See the video after the break for a peak at the machinery he uses to manipulate the lenses to enhance the visuals in the exhibit.

Continue reading “Lumographic Images Created With Lens Only”

DIY Optic Lens

One Small Step For Magnification, One Giant Leap For Home Lens Manufacturing

There are some types of projects that we see quite often here on Hackaday; 3D Printers, Development Boards and Video Game Hardware to name a few. Once in a while we see an optics-based project but those use pre-made lenses. [Peter] felt it was time to give home lens manufacturing a shot and sent in a tip about his experience.

The typical lens manufacturing process starts off by taking a piece of glass and manipulating it into a rough lens shape, either by removing material or heating the glass and forming it in a mold. These lens blanks are then lapped using progressively finer grits of abrasives until the final lens shape and surface finish are achieved. The tool used to lap the lens is very specialized and specific to one lens contour shape. This lapping process can be very time consuming (and therefore expensive) depending on the quality and size of the lens being made.

Continue reading “One Small Step For Magnification, One Giant Leap For Home Lens Manufacturing”