In the depths of YouTube there are still some jewels to be found. [Keith Fenner] is one of them. [Keith] owns Turn Wright Machine Works in Cape Cod, MA. From his small shop, He works on everything from sailboats to heavy equipment.
[Keith] describes himself as “An artist, and a jobber, 36 years in the trade”. We think he could add teacher to that list, as we’ve learned quite a bit about machining from his Youtube channel.
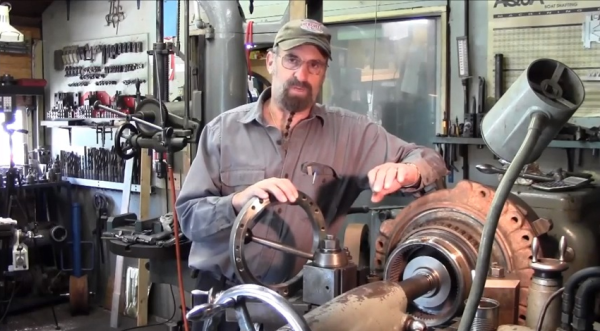
One of the interesting things about [Keith] is his delivery on camera. He makes the viewer feel like an apprentice machinist working alongside him. Rather than carefully setup shots with graphics, [Keith] narrates as he works paying jobs. He also has no problem showing us his mistakes – and recovery from them, as well as his victories.
The main tools at Turn Wright are the lathe and mill, but [Keith] isn’t old fashioned by any means. He has a complete PlasmaCAM setup and isn’t afraid to do a little computer work.
Most of [Keith’s] projects are broken up into several videos. One of our favorites is “So you broke it off in your hole”. In this series [Keith] shows what it takes to get a broken screw extractor (or EZ Out) out of a large diesel turbo. Get a feeling for what [Keith] has to offer with his “Day in the LIfe” video after the break.
Continue reading “Learn Machining From An Old School Metal Master”