Stackable Macro Photography Rig

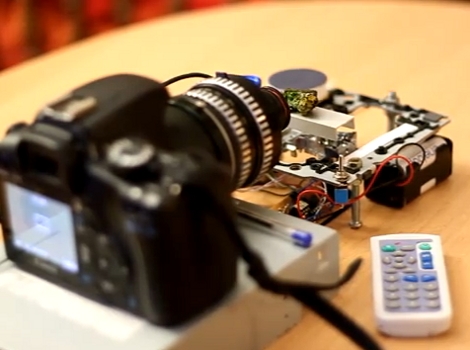
When taking macro photographs you lose a lot of clarity due to a reduced depth of field. One way to get sharp pictures is to take multiple shots at slightly different distances from the subject and then stack them into one image. There’s software to do this for you, but you still need a set pictures to start with. [Dsvilko] built this setup to easily capture a set of macro images.

He’s using the internals from an optical drive as a sled to carry the subject. A PICAXE drives the stepper motor that moves the carriage, which takes input from an IR remote control. This turns out to be a fantastic method as the sled can move in 0.2mm increments. After he’s got his set of images he uses Zerene to stack them together.

Bonus points to [Dsvilko] who used Linux command line tools to edit together the demonstration video embedded after the break.

Continue reading “Stackable Macro Photography Rig”

Macro Photos Using An Under-light Rig

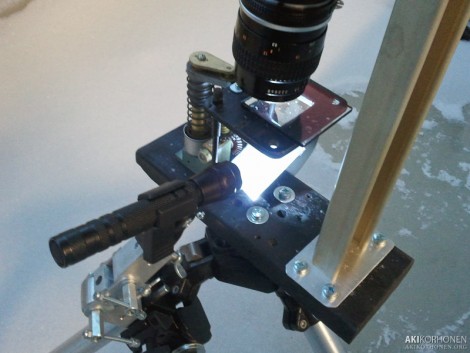
[Aki Korhonen] wanted to tighten up his macro photography setup. He already had the camera for the job, but wanted a fully adjustable target platform that he could easily light. What he came up with is a jig to hold the camera and fine tune the subject of each photo. It uses a frame with a piece of glass whose distance from the lens is adjusted by turning a knob. Below the glass a reflective surface redirects light from an LED flashlight up through the platform, lighting the snowflakes he’s shooting. A fixed LED source is in the plans for the next rendition.

Take a look at the overview of his setup in the quick clip after the break.

Continue reading “Macro Photos Using An Under-light Rig”

Retro Adapter For Canon SLR

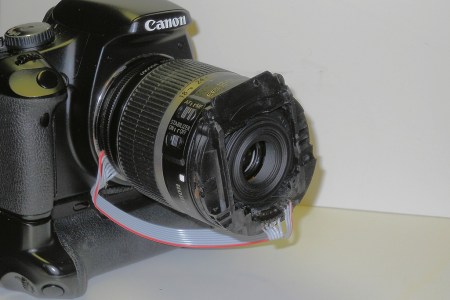
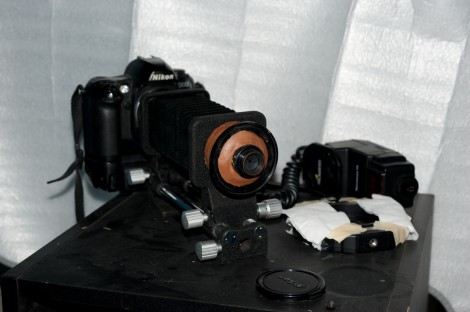
[calculon] was able to modify a “dumb” adapter to allow his Canon SLR to use the aperture and focus on a retro lens.  With his new flip mounted wide angle lens he was able to achieve some pretty neat macro shots.  By cutting away some of the cheaper ring he was able to feed the wire through and glue it onto the the cameras contact points.  The wire was then attached to the inputs on the “new” lens. With a new adapter running about $375 not only was this a neat little hack but it was also a money saver. You can see some more of his photos on his flicker

Macro Lens For A Nexus One

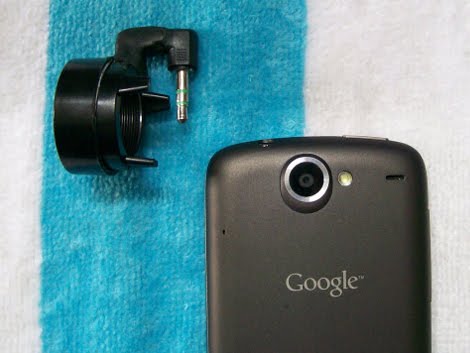
[Thomas] tipped us off about a macro lens attachment for his Nexus One. As you’d expect, adding the lens helps the phone’s camera bring tiny details into focus. He re-purposed a lens from a pair of mini binoculars, using epoxy putty to make a mounting bracket. Now the last time we saw this putty used with a phone it was for a snap-in bracket that cradled the phone and included a lens adapter. Rather than go that route [Thomas] made use of the headphone jack just above the camera lens. An old headphone plug has been epoxied to the macro lens ring, holding it in place securely while remaining easily removable.

Using Quality Optics With A Webcam

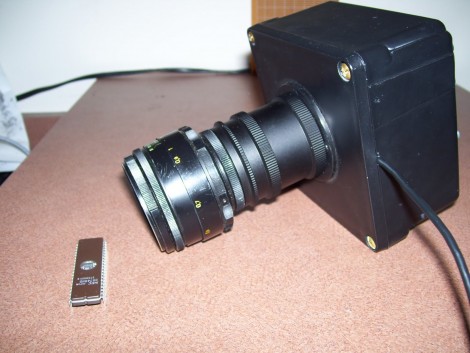
[Devon Croy] built a case to join a webcam sensor with a camera lens. The box is a PVC conduit box you’d find at a home center. He used JB Weld to attach four bolts to the back of the box. These are used to fine-tune the mounting plate for the webcam sensor to ensure it’s at the focal point of the lens. The lens connects through a couple of extension tubes to an adapter mounted in the center of the box’s cover plate. The setup above shows a macro lens that takes pretty good pictures.

If you need images of really tiny things you should look into a microscope adapter for your camera.

Building A SuperMacro Lens

[youtube=http://www.youtube.com/watch?v=KW0cFk9d-P0]

[Lozzless] has a steady hand and plenty of confidence in his hacking skills. The video above is worth watching for the full eight minutes. In it you’ll see him convert a lens into what he calls a SuperMacro lens with a working aperture. The process involves fashioning a connector ring from a lens cap, modifying an Electro-focus lens mount, and assembling the parts to do his bidding. We don’t have the photography background to fully understand what he’s doing here, but we can appreciate the process, and the results are shown at the end of the clip.

[Thanks TommyC]