PCBs With Powder Coat

pcb

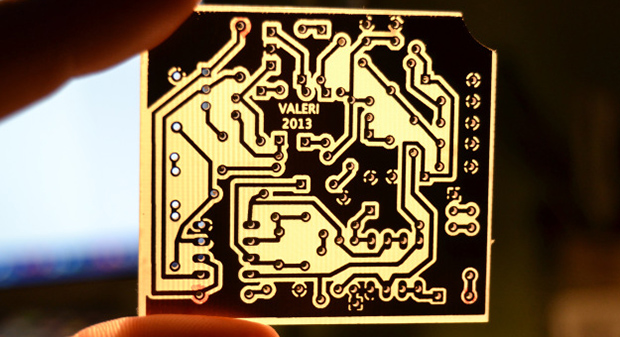
The toner transfer method of PCB production should be a staple in every maker’s bag of tricks. That being said, it’s a far from ideal solution with a lot of things that can go wrong, ruining hours of work. [Ryan] thinks he has a better solution up his sleeve, still using heat activated toner, but replacing the laser printer with a powder coating gun and a laser engraver.

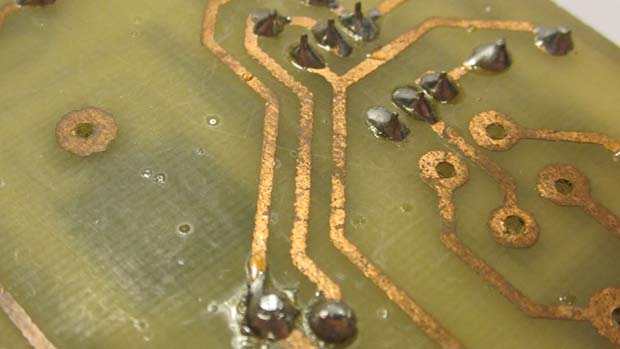
[Ryan] is using a powder coating gun he picked up from Amazon for about $100. The theory behind it is simple: particles of toner coming out of the gun are statically charged, and bonded to the grounded copper clad board. In real powder coat shops, this coating is baked, resulting in a perfectly hard, mirror-like finish. [Ryan] skipped the baking step and instead through the powder coated board into a laser engraver where the PCB design is melted onto the copper. After that, wash the board off, etch it, and Bob’s your uncle.

What’s really interesting about this method of PCB production is that it doesn’t require a very high power laser. [Ryan] was actually having a problem with the toner burning with his laser engraver, so it might be possible to fab PCBs with a high power handheld laser, or even a Blu Ray laser diode.

Cyclone PCB Factory: 3d Printable Circuit Board Mill

printable-cyclone-pcb-factory

If you can 3D print most of the parts for another 3D printer, why not also for a PCB mill? That’s the question answered by the Cyclone PCB Factory. It will help you kiss those toner transfer or photo resist days goodbye.

Homemade circuit boards tend to be rather small, which really helps keep the cost and scope of this project down. Most of the mounting parts, as well as the gears, are 3D printed. Of course there’s the usual machine tool items which you pretty much have to purchase: the ball screws, precision rod, stepper motors, and a motor to spin the routing tool.

Check out the video below to see where the project is right now. One of the crucial aspects of PCB milling is to have a level build table. The cutter head tends to be ‘V’ shaped so cutting just a bit too deep can blow out the traces you’re trying to isolate. The demo shows that this can automatically calibrate the software to account for any variances in the height of the copper clad.

We remember seeing a snap-together PCB mill. But we’re pretty sure that that one used parts milled from HDPE rather than 3D printed components.

Continue reading “Cyclone PCB Factory: 3d Printable Circuit Board Mill”

Making PCBs And Waffles

waffle

The toner transfer method of fabricating PCBs is a staple in every maker’s toolbox. Usually, tutorials for this method of making PCBs rely on a clothes iron or laminating machine. They work perfectly well, but with both of these methods (sans high-end laminators), you’re only heating one side of the board at a time, making perfect double-sided PCBs somewhat of a challenge.

[Mark] just came up with an interesting solution to this problem. A waffle iron PCB press. Technically, [Mark] is using his ‘grill and waffle baker’ as a two-sided griddle, with a few aluminum plates sandwiching the copper board for good thermal conduction.

After a whole lot of trial and error, [Mark] eventually got a good transfer onto a piece of copper clad board. Now that he has the process dialed in, it should be a snap to replicate his results with a new project and a new PCB design.

ShapeOko Build Log — It’s A CNC Mill In A Box

shapeoko-build-log

We’re not blatantly trying to promo this product. It’s just that the build log covering a ShapeOko assembly process taken on by [Anool] is like crack for those of us who have yet to acquire our own desktop CNC mills.

Like the title says, this thing is basically a mill in a box. But [Anool] decided to order the version of the kit that doesn’t come with any motors or control electronics. He also planned for future upgrades by ordering additional extruded rail to increase the size of the ShapeOko. After assembling the frame his decision to source stepper motors locally bit him as they were out of stock. But there was still plenty to do preparing control electronics during the wait. He based his system on a Raspberry Pi which talks to an Arduino to address the motors and monitor the sensors.

Once all the parts were finally accounted for he tested the rig as a pen plotter. The pen was eventually replaced with the router motor and that ring light PCB seen above was the first thing he milled with it.

[Thanks Justin]

Laser Cutter Helps Make Dual Sided PCBs

laser-cutter-dual-sided-pcb

[Rich Olson] wrote in to share his technique for making dual-sided printed circuit boards using a laser cutter. Unfortunately this still depends on etching copper clad boards with chemicals. But his process makes it really easy to produce well-defined and precisely aligned etch resist on both sides of the board all at once.

This can be really tough to do with the toner transfer method. The most common way would be to use a light box to align the two printouts of resist, taping them together before putting the copper clad in between and sending the whole thing though a laminator. [Rich] uses a scrap of acrylic to ensure alignment. He tapes it to the bed of his Epilog laser cutter and cuts the board outline out (that’s the void you see in the image). He removes the scrap and uses it as a stencil for cutting out the copper clad. After prepping the board he coats both sides and sends it through the laser cutter to burn away the paint where he wants to remove copper. Don’t miss his video embedded after the break.

The acrylic outline trick is similar to the laser cutter fence we heard about several weeks back.

Continue reading “Laser Cutter Helps Make Dual Sided PCBs”

Wristwatch Made Of Sandwiched PCBs

wristwatch-from-sandwitched-pcbs

Here’s a wristwatch concept we haven’t seen before. Instead of trying to sandwich everything inside of a case it uses a stack of PCBs as the body of the watch.

[Mats Engstrom] wrote in to tip us off about his build. The design goes with LEDs which is nothing new. But unlike previous offerings [Mats] didn’t go with one LED for each minute. When the touch sensor in the middle of the watch is activated the twelve LEDs on the face will let you know the hour and the nearest five minutes. A video of this is embedded after the break.

The design uses three different circuit boards. The bottom board is the largest and provides slots through which the wrist bands can connect. It also serves as one of the two battery connectors. The second PCB is a spacer with a cutout for the coin cell that powers the device. The top board is where all the magic happens. It’s dual sided to host the LEDs and touch senor, with the PIC microcontroller and support circuitry on the other side.

Continue reading “Wristwatch Made Of Sandwiched PCBs”

Microscope Ring Light With A Number Of Different Features

microscope-ring-light

Microscopes magnify light. It makes sense that having more light reflecting off of the subject will result in a better magnified image. And so we come to Aziz! Light! It’s [Steve’s] LED light ring for a stereo microscope. It’s also a shout out to one of our favorite Sci-Fi movies.

He’s not messing around with this microscope. We’ve already seen his custom stand and camera add-on. This is no exception. The device uses a fab-house PCB which he designed. It boasts a dual-ring of white LEDs. But the controls don’t simply stop with on and off. He’s included two rotary encoders, three momentary push switches, and three LEDs as a user interface. This is all shown off in his demo video after the break.

An ATtiny1634 is responsible for controlling the device. When turned on it gently ramps the light up to medium brightness. This can be adjusted with one of the rotary encoders. If there are shadows or other issues one of the push buttons can be used to change the mode, allowing a rotary encoder to select different lighting patterns to remedy the situation. There are even different setting for driving the inner and outer rings of LEDs.

We haven’t worked with any high-end optical microscopy. Are these features something that is available on commercial hardware, or is [Steve] forging new ground here?

Continue reading “Microscope Ring Light With A Number Of Different Features”