Arduino Plots Your Portrait With Style

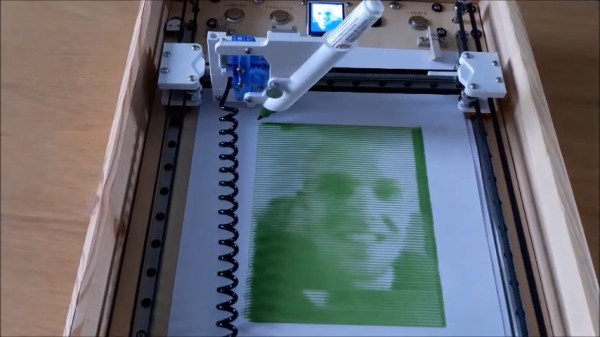
Around these parts, we see plenty of plotter builds. They’re a great way to learn about CNC machines and you get to have fun making pictures along the way. [Ben Lucy] was undertaking just such a build of his own, but wanted to do something standalone that served a purpose. The result is the impressive Portable Portrait Painter.

What sets [Ben]’s project apart is how complete it is. Unlike other plotters that simply follow G-code instructions or process external images, the Portable Portrait Painter is a completely standalone machine. Fitted out with an OV7670 camera, hooked up to an Arduino, it’s capable of taking its own photos and then drawing them out as well.

Through some clever code from [Indrek Luuk], the Arduino Mega2560 is able to display a 20fps video preview on a color LCD screen. When the user presses a button, the current frame is captured and sent to the pen plotter. The plotting algorithm is particularly impressive, with images first processed with histogram compensation to maximise contrast. The pen is then drawn across the page line by line, and pressed into the page by varying amounts depending on the color value of each pixel. The darker the pixel, the thicker the stroke made by the pen. This more analog approach produces a much more detailed image than more basic plotters which either leave a mark or don’t.

The portraits produced by the plotter are impressive, and we like the edge-of-page artifacts, which add a little style to the final results. The Portrait Painter would make a great conversation piece at any Maker Faire or hackerspace night.

It’s a project that reminds us of some of the painting robots we’ve seen over the years. Video after the break.

Continue reading “Arduino Plots Your Portrait With Style”

Blackboard Becomes Tidy Pen Plotter

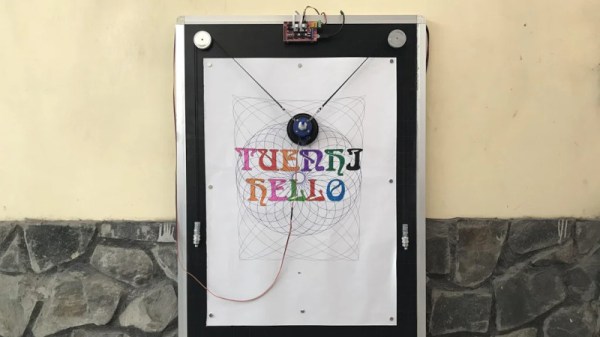
Printers are all well and good, but they’re generally limited to smaller paper sizes and use expensive ink. If you instead want to produce art on a larger scale, a plotter can be a great way to go. [tuenhidiy] built a tidy example using an old blackboard as a base.

These days, such a build is quite easily approachable, thanks to the broad DIY CNC and 3D printing communities. The plotter consists of a pair of stepper motors, driven by an off-the-shelf RAMPS 1.4 controller and an Arduino Mega 2560. The motors are mounted at the top corners of the blackboard, and move the pen holder via a pair of toothed belts, counter-weighted for stability. The pen holder itself mounts a simple permanent marker, and uses a servo to push the holder away from the paper for retraction, rather than moving the pen itself. Control of the system is via the Makelangelo firmware, an open-source effort capable of driving a wide variety of CNC motion systems.

The final result is a simple plotter using readily available parts that can reliably plot large graphics on a piece of A1 paper. We’re particularly impressed by the clean, continuous lines it produces – testament to a sound mechanical design.

We see plenty of plotters around these parts; even rotary types that can draw on curves. Video after the break.

Continue reading “Blackboard Becomes Tidy Pen Plotter”

Rotary Plotter Draws On Bottles

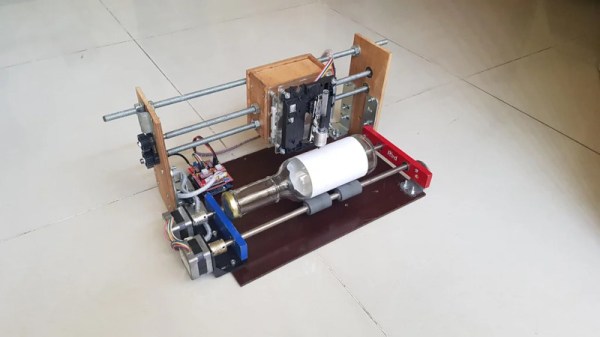
A pen plotter is often the first experience many ambitious makers have of the world of Computer Numerical Control, or CNC. While they typically operate on flat stock, with the right build, they can be designed to draw on curved surfaces, too – as [tuenhidiy] demonstrates with this rotary bottle plotter.

The plotter uses shafts salvaged from an old printer to act as the rollers for the bottle to be drawn upon, turned by a pair of stepper motors. X and Z axes are created out of two CD drive mechanisms – a popular way to build two linear axes on the cheap. The hardware is controlled by GRBL, running on an Arduino Uno kitted out with a CNC shield to handle the necessary I/O.

The build is somewhat limited to by the short range of its X axis, which prevents the plotter from easily drawing on a full-size bottle label or can. However, this could easily be fixed with some upgrades and extra steppers if so desired. As a home build, it’s a great way to learn about the CNC techniques required to work with curved surfaces effectively. Video after the break.

Continue reading “Rotary Plotter Draws On Bottles”

Conduit, Birdhouse, And Skateboard Become Giant Pen Plotter

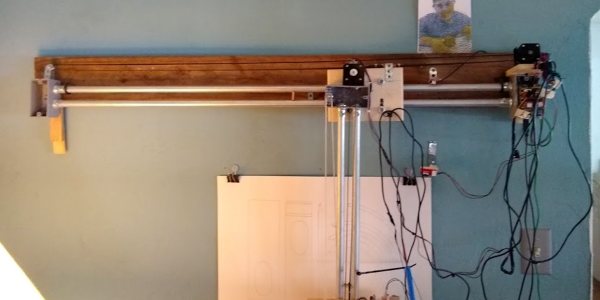
If you think you need fancy parts to build a giant robot drawing machine, think again! [Cory Collins] shows you how he built his Big-Ass Wall Plotter v.2 out of stuff around the house or the hardware store, including electrical conduit, gang boxes, scrap wood, and skateboard bearings, alongside the necessary stepper motors, drivers, and timing belt. (You should consider having this trio of parts on hand as well, in our opinion.) With a span of 48″ (1.2 m) on a side, you probably don’t have paper that’s this big.

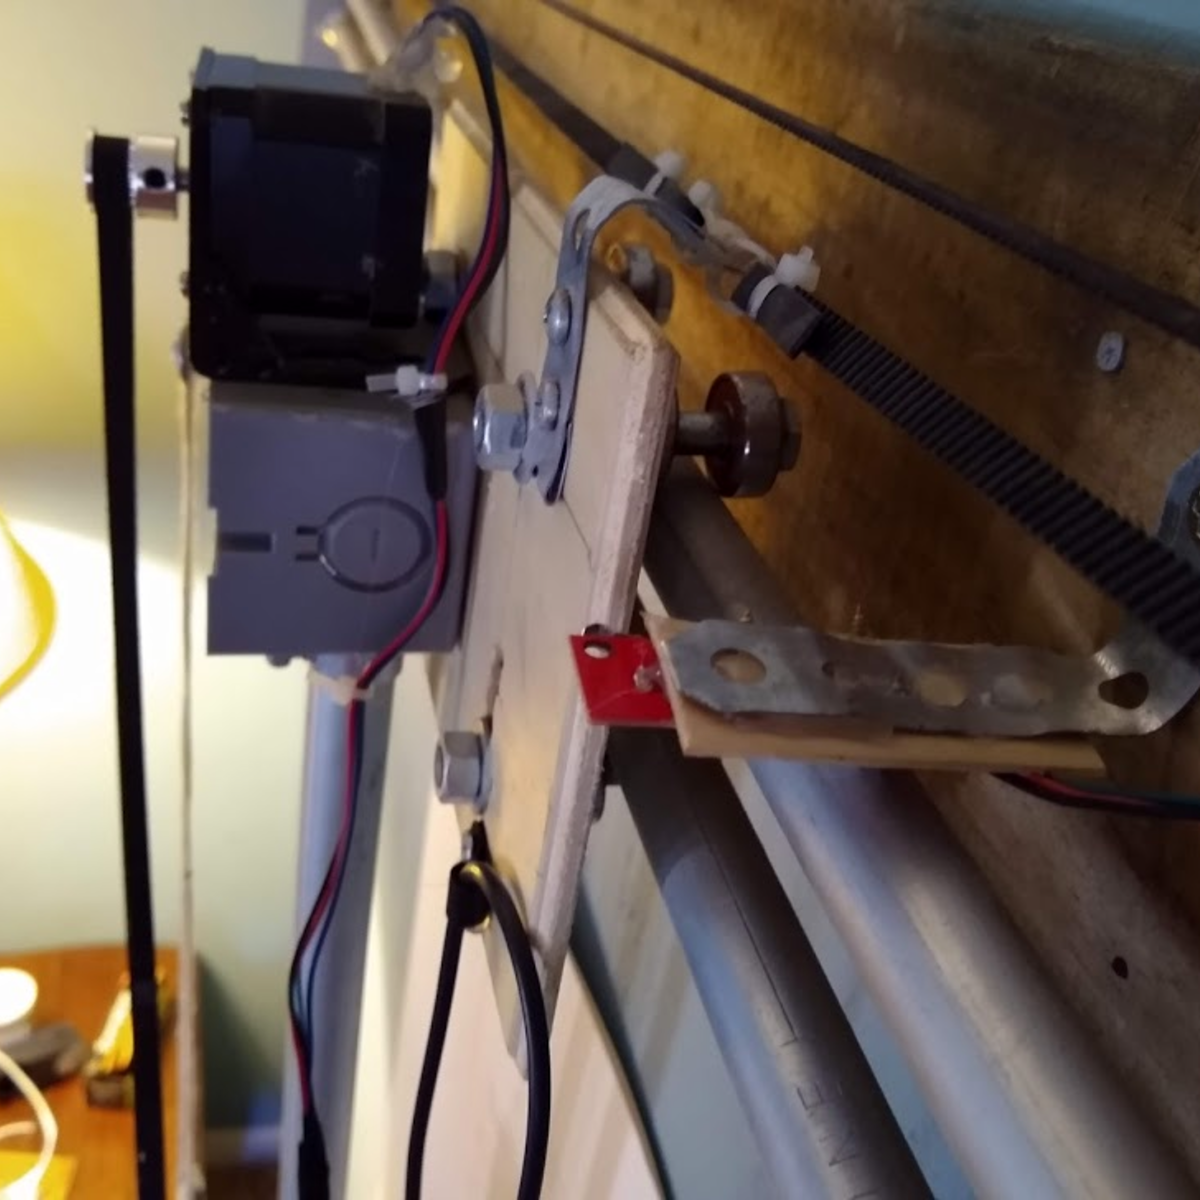
And while the construction is definitely rough-and-ready, there are a ton of details that turn this pile of parts into a beautifully working machine in short order. For instance, making the rails out of electrical conduit has a few advantages. Of course it’s cheap and strong, but the availability of off-the-shelf flanges makes assembly and disassembly easy. It also hangs neatly on the wall courtesy of some rubber cuphooks.

Note also the use of zip-tie belt tensioners: a simple and effective solution that we heartily endorse. [Corey] makes good use of custom 3D printed parts where they matter, like the compliant pen holder and linear mechanism for the z-axis, but most of the mechanical accuracy is courtesy of wooden shims and metal strapping.

[Corey] uses the machine to make patterns for his paper sculptures that are worth a look in their own right, and you can see the machine in action, sped up significantly, in the video below. This is the perfect project if you have a DIY eggbot that’s out of commission post-Easter: it reuses all the same parts, just on a vastly different scale. Heck, [Corey] even uses the same Inkscape Gcodetools extension as we did in that project. Now you know what we’re up to this weekend.

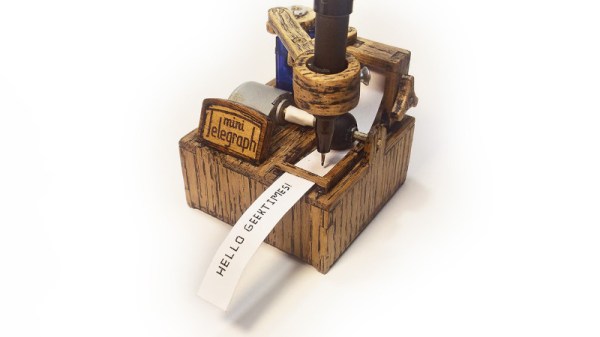
Can’t get enough pen plotters? Check out this one that lets you write whatever you want!

Continue reading “Conduit, Birdhouse, And Skateboard Become Giant Pen Plotter”

How Much Is That Plotter In The Window?

We live in a strange time indeed. People who once eschewed direct interactions with fellow humans now crave it, but to limited avail. Almost every cashier at the few stores deigned essential enough to maintain operations are sealed away behind plastic shields, with the implication that the less time one spends lingering, the better. It’s enough to turn an introvert into an extrovert, at least until the barriers are gone.

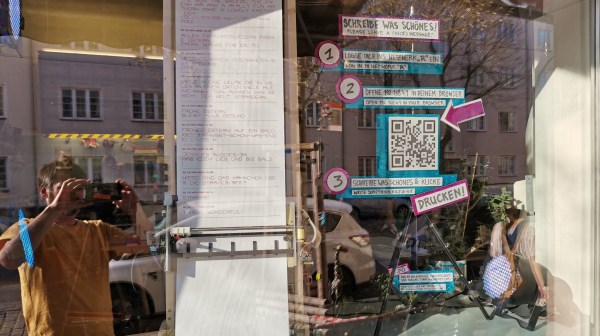
We get the idea that the need to reach out and touch someone is behind [Niklas Roy]’s “Please Leave a Message”, an interactive art installation he set up in the front window of his Berlin shop. Conveniently located on a downtown street, his shop is perfectly positioned to attract foot traffic, and his display is designed to catch the eye and perhaps crack a smile. The device consists of a large wooden easel holding the guts from an old X-Y pen plotter, an Arduino and an ESP-8266, and a couple of drivers for the plotter’s steppers. Passers-by are encouraged to scan a QR code that accesses a web page served up by the ESP-8266, where they can type in a brief message. The plotter dutifully spells it out on a scroll of paper for all to see, using a very nice font that [Niklas] designed to be both readable and easily plotted. The video below shows it in action with real people; it seems to be a crowd-pleaser.

[Niklas] has been incredibly prolific, and we’ve covered many of his interactive art installations. Just search for his name and you’ll find everything from a pressure-washer dancing waters display to a plus-sized pinball machine.

Continue reading “How Much Is That Plotter In The Window?”

Hackaday Podcast 047: Prusa Controversy, Bottle Organ Breakdown, PCBs Bending Backwards, And Listen To Your LED

Hackaday editors Mike Szczys and Elliot Williams get together for the 47th and final Hackaday Podcast of 2019. We dive into the removable appendix on Prusa’s new “Buddy” control board, get excited over the world’s largest grid-backup battery, and commiserate about the folly of designing enclosures as an afterthought. There’s some great research into which threaded-inserts perform best for 3D-printed parts, how LEDs everywhere should be broadcasting data, and an acoustic organ that’s one-ups the traditional jug band.

Take a look at the links below if you want to follow along, and as always tell us what you think about this episode in the comments!

Take a look at the links below if you want to follow along, and as always, tell us what you think about this episode in the comments!

Direct download (60 MB or so.)

Continue reading “Hackaday Podcast 047: Prusa Controversy, Bottle Organ Breakdown, PCBs Bending Backwards, And Listen To Your LED”

3D Printed Pen Plotter Is As Big As You Need It To Be

There’s nothing quite like building something to your own personal specifications. It’s why desktop 3D printers are such a powerful tool, and why this scalable plotter from the [Lost Projects Office] is so appealing. You just print out the end pieces and then pair it with rods of your desired length. If you’ve got some unusually large computer-controlled scribbling in mind, this is the project for you.

The design, which the team calls the Deep Ink Diver (d.i.d) is inspired by another plotter that [JuanGg] created. While the fundamentals are the same, d.i.d admittedly looks quite a bit more polished. In fact, if your 3D printed parts look good enough, this could probably pass for a commercial product.

For the electronics, the plotter uses an Arduino Uno and a matching CNC Shield. Two NEMA 17 stepper motors are used for motion: one to spin the rod that advances the paper, and the other connected to a standard GT2 belt and pulley to move the pen back and forth.

We particularly like the way [Lost Projects Office] handled lifting the pen off the paper. In the original design a solenoid was used, which took a bit of extra circuitry to drive from the CNC Shield. But for the d.i.d, a standard SG90 servo is used to lift up the arm that the pen is attached to. A small piece of elastic puts tension on the assembly so it will drop back down when the servo releases.

If this plotter isn’t quite what you’re after, don’t worry. There’s more where that came from. We’ve seen a number of very interesting 3D printed plotters that are just begging for a spot in your OctoPrint queue.