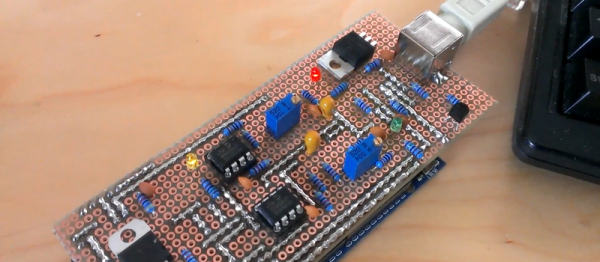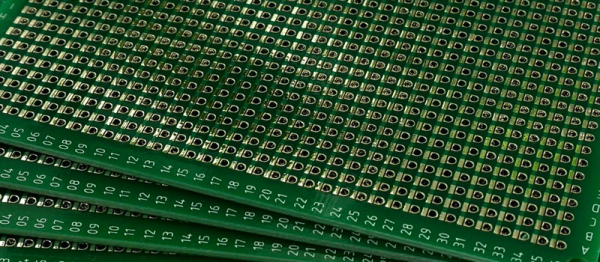
Back in 2015 [Ben Wang] attempted to re-invent the protoboard with the Perf+. Not long afterward, some improvements (more convenient hole size and better solder mask among others) yielded an updated version which I purchased. It’s an interesting concept and after making my first board with it here are my thoughts on what it does well, what it’s like to use, and what place it might have in a workshop.
Perf+ Overview
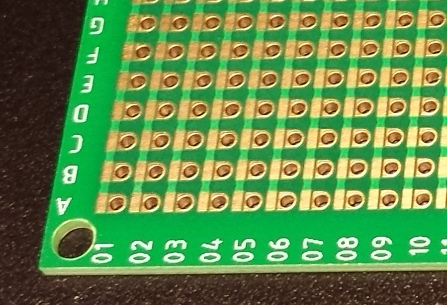
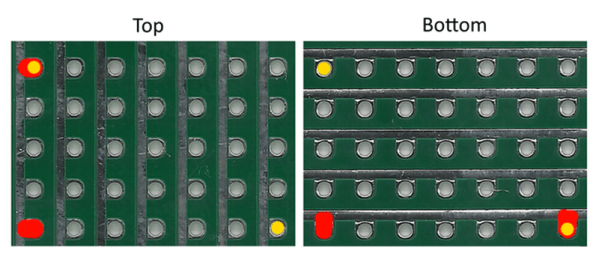
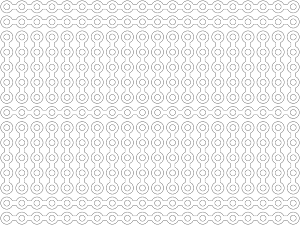
The Perf+ is two-sided perfboard with a twist. In the image to the left, each column of individual holes has a bus running alongside. Each hole can selectively connect to its adjacent bus via a solder bridge. These bus traces are independent of each other and run vertically on the side shown, and horizontally on the back.
Each individual hole is therefore isolated by default but can be connected to one, both, or neither of the bus traces on either side of the board. Since these traces run vertically on one side and horizontally on the other, any hole on the board can be connected to any other hole on the board with as few as two solder bridges and without a single jumper wire.
It’s an innovative idea, but is it a reasonable replacement for perfboard or busboard? I found out by using it to assemble a simple prototype.
Continue reading “Evaluating The Unusual And Innovative Perf+ Protoboard”