History is rather dull and unexciting to most people, which naturally invites exciting flights of fancy that can range from the innocent to outright conspiracies. Nobody truly believes that the astounding finds and (fully functioning) ancient mechanisms in the Indiana Jones and Uncharted franchises are real, with mostly intact ancient cities waiting for intrepid explorers along with whatever mystical sources of power, wealth or influence formed the civilization’s foundations before its tragic demise. Yet somehow Plato’s fictive Atlantis has taken on a life of its own, along with many other ‘lost’ civilizations, whether real or imagined.
Of course, if these aforementioned movies and video games were realistic, they would center around a big archaeological dig and thrilling finds like pot shards and cuneiform clay tablets, not ways to smite enemies and gain immortality. Nor would it involve solving complex mechanical puzzles to gain access to the big secret chamber, prior to walking out of the readily accessible backdoor. Reality is boring like that, which is why there’s a major temptation to spruce things up. With the Egyptian pyramids as well as similar structures around the world speaking to the human imagination, this has led to centuries of half-baked ideas and outright conspiracies.
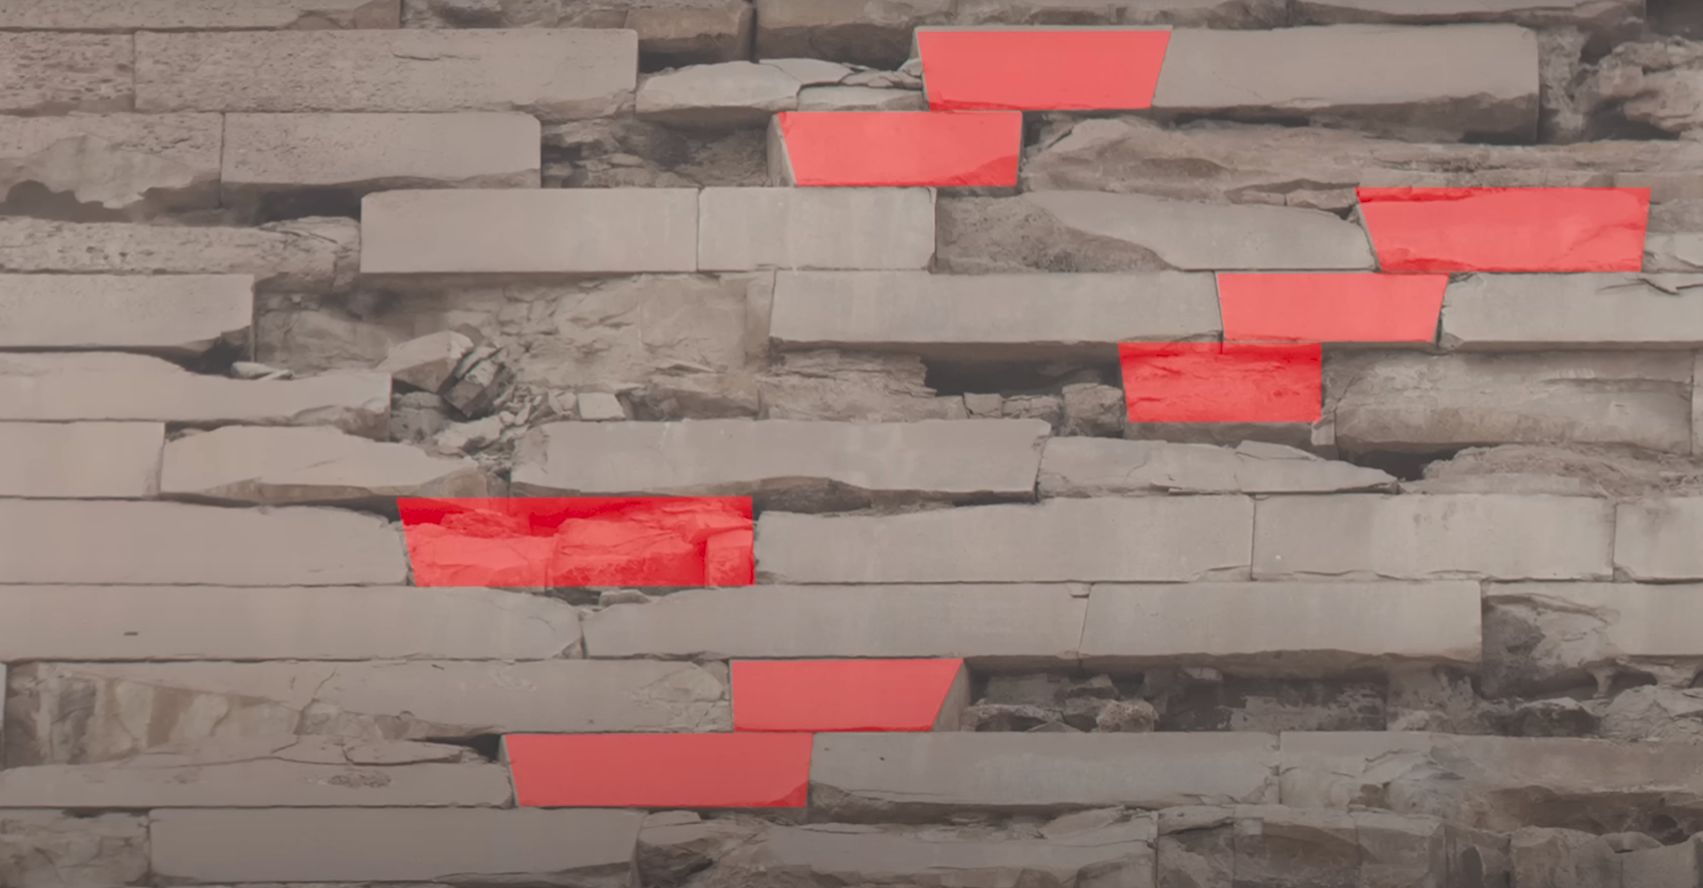
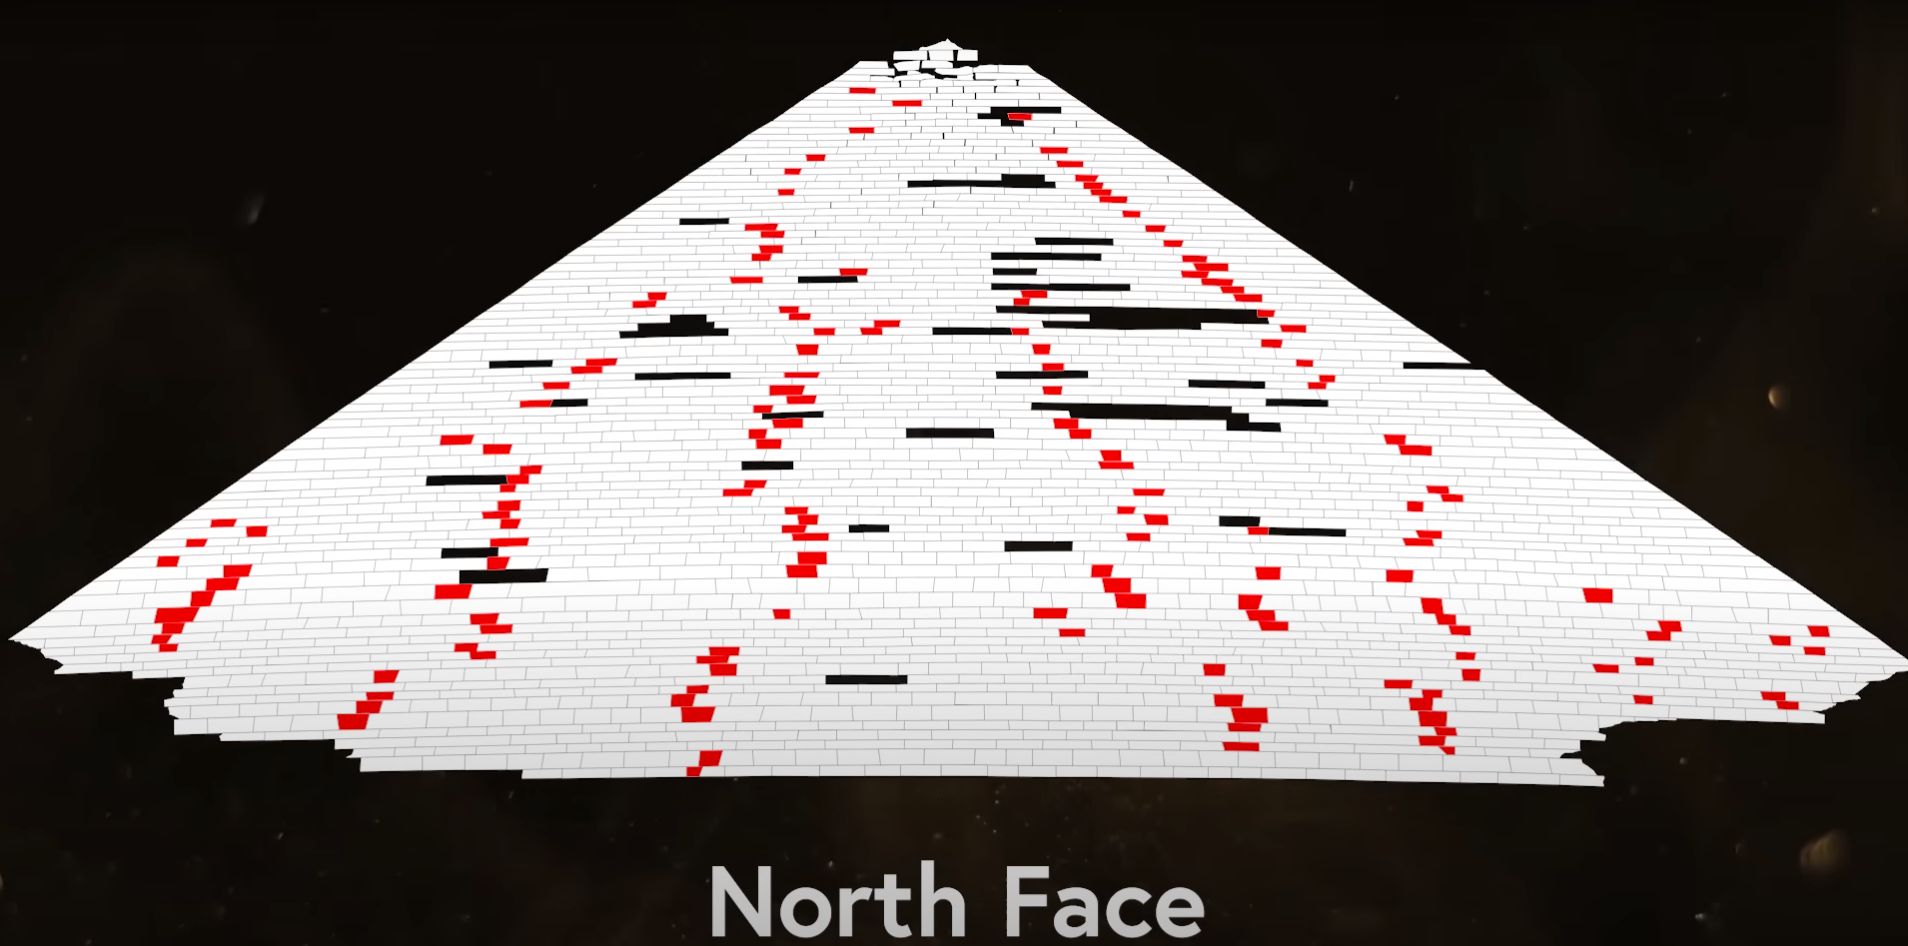
Most recently, a questionable 2022 paper hinting at structures underneath the Pyramid of Khafre in Egypt was used for a fresh boost to old ideas involving pyramid power stations, underground cities and other fanciful conspiracies. Although we can all agree that the ancient pyramids in Egypt are true marvels of engineering, are we really on the cusp of discovering that the ancient Egyptians were actually provided with Forerunner technology by extraterrestrials?
Continue reading “On Egyptian Pyramids And Why It’s Definitely Aliens”