The classic design of a mechanical clock generally consists of a display, a way to store energy, a way to release that energy at regular intervals, and a mechanism to transmit it where it needs to go. Most of us might be imagining a pendulum or a balance wheel, but there have been many other ways to maintain a reliable time standard with a physical object beyond these two common methods. This clock, for example, uses a rolling ball bearing as its time standard and [Tommy Jobson] discusses its operation in depth during a restoration.
The restoration of this clock, which [Tommy] theorizes was an amateur horological project even when it was new, starts by dismantling the clock nearly completely. The clock was quite dirty, so in addition to being thoroughly cleaned it also needed a bit of repair especially involving a few bent pins that stop the table’s rotation. These pins were replaced with stronger ones, and then everything in the clock’s movement was put back together. The tray carrying the ball bearing needed to be cleaned as well, and [Tommy] also added a lacquer to help preserve the original finish as long as possible. From there it was time to start calibrating the clock.
The ball bearing itself rolls back and forth along an inclined plane on a series of tracks. When it gets to the end it hits a lever which lets a bit of energy out of the movement, tilting the table back in the other direction to repeat the process. This is a much more involved process for getting an accurate time interval than a pendulum, so [Tommy] had a lot of work to do here. But in the end he was able to bring it back to life with an accuracy fairly close to a pendulum clock.
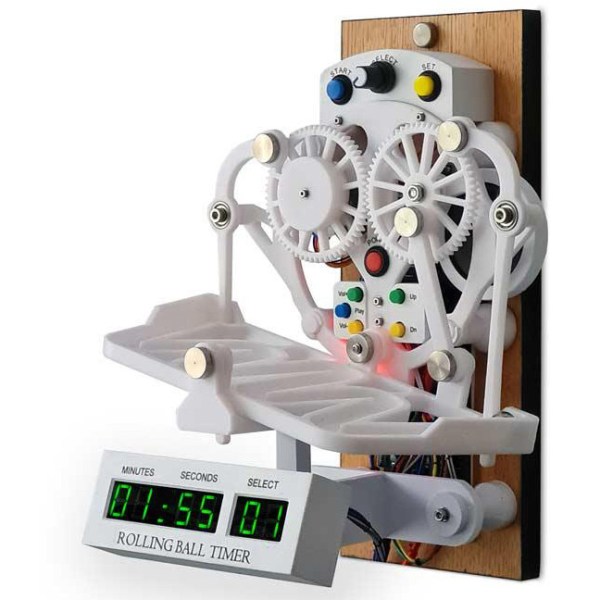
Ball bearings are a pretty popular medium for clock builds even in the modern era. This one uses them in a unique display, and a more recent version goes even further by using marbles to display digits directly.
Continue reading “Restoration Of Antique Clock With Unique Oscillator”