Cross-pollination between different activities and industries can yield some pretty useful techniques or product combinations, and [Steve] shares some details on using ice fishing gear to make winter ham radio activities more comfortable and portable.
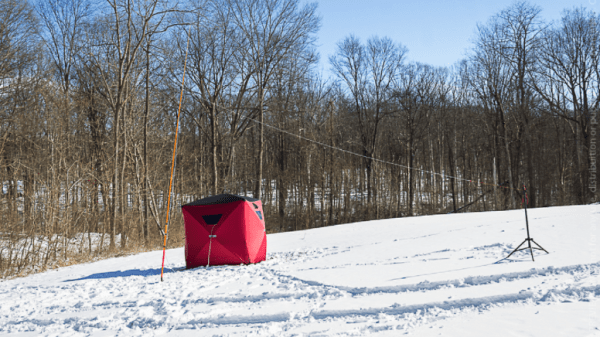
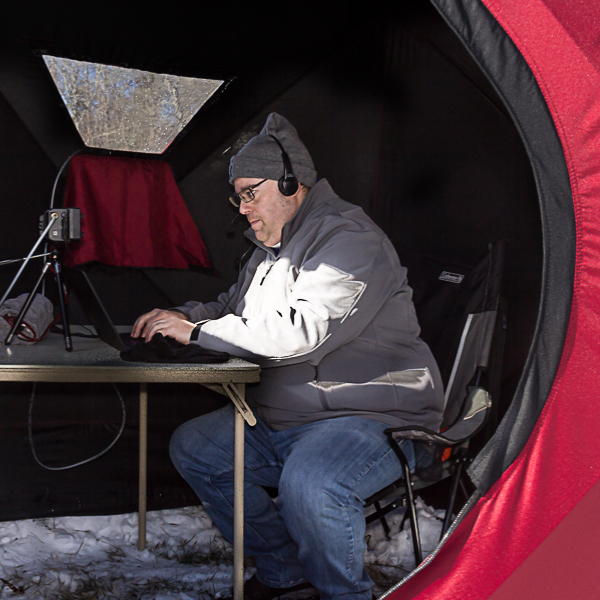 With the help of a folding tent shelter, [Steve] was able to create a minimal and self-contained field station that hosted all his needed equipment, and with the help of a small propane heater, stayed quite comfortable during a 24 hour winter event.
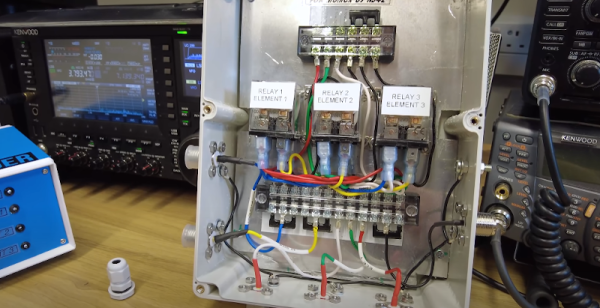
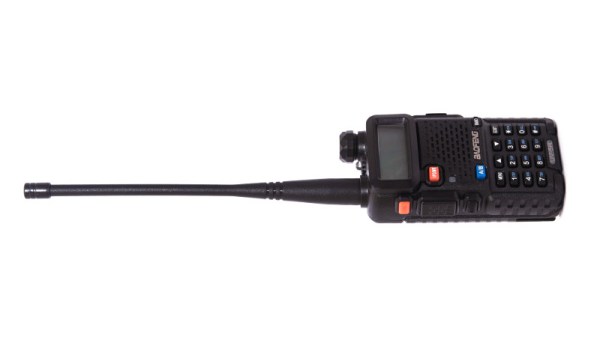
For those interested in the radio end of what [Steve] was doing, he goes into detail about the radio equipment and antenna he used, which itself stows easily into a bag and withstood high winds with success. The goal of the event after all was emergency preparedness, and while radio can operate without a wider infrastructure to support it, antenna design is crucial for best results.
As for keeping the operator safe and sound during all this, it turns out that the problem of a pop-up winter shelter that is both light and compact has already been solved by ice fishers; and while it can be fun to roll one’s own solutions, there’s not always a need to re-invent the wheel.