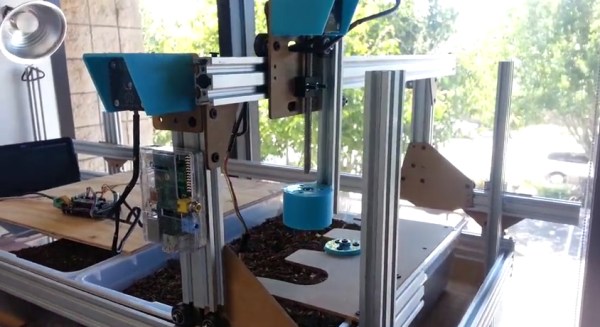
The FarmBot team has been pretty busy with their CNC Farming and Gathering machine. The idea is to automate the farming process with precise deployment of tools: plows, seed injection, watering, sensors, etc. An Arduino with an added RAMPS handles the movement, and a Raspi provides internet connectivity. Their prototype has already experienced four major iterations: the first revision addressed bigger issues such as frame/track stability and simplification of parts. Now they’re locking down the specifics on internet-of-things integration and coding for advanced movement functions.
The most recent upgrade provides a significant improvement by overhauling the implementation of the tools. Originally, the team envisioned a single, multi-function tool head design that carried everything around all the time. Problem is, the tool that’s in-use probably works best if it’s lower than the others, and piling them all onto one piece spells trouble. The solution? a universal tool mounting system, of course. You can see them testing their design in a video after the break.
If the FarmBot progress isn’t impressive enough—and admittedly we’d have called project lead [Rory Aronson] crazy for attempting to pull this off…but he did it—the FarmBot crew started and successfully funded an entire sub-project through Kickstarter. OpenFarm is an open-source database set to become the go-to wiki for all things farming and gardening. It’s the result of [Rory] encountering an overwhelming amount of generic, poorly written advice on plant growing, so he just crowdsourced a solution. You know, no sweat.
 The project featured in this post is a semifinalist in The Hackaday Prize.