While we cannot be certain this is the world’s smallest digital photo frame, [Raphaël Boichot]’s Pico Slide Show is probably in the running. Since the 0.85″ TFT display would be wasted on multi-megapixel images, [Raphael] has dedicated this project to images from the Game Boy Camera.
It’s a good fit: the tiny square display has a resolution of 128 pixels per side, while the Game Boy Camera produces files measuring 128 x 112. That allows for pixel-perfect rendering of the grainy images from everyone’s favorite early digicam with just a little letter boxing.

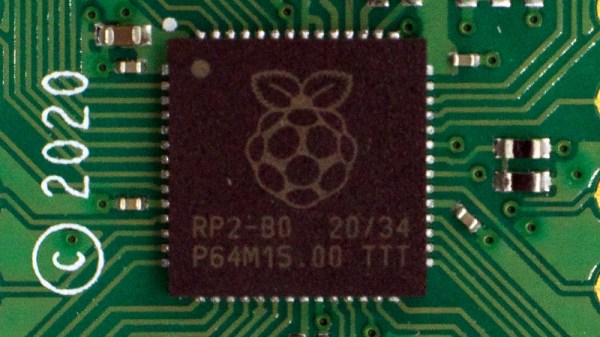
The brains of the operation are an RP2040, provided via the RP2040-zero breakout from Waveshare. Since everything is through-hole or on breakouts, this wouldn’t be a bad project for a beginner solderer.
Since it would make no sense not to have this tiny unit to be portable, power is provided with a 503035 LiPo pouch on the back. It’s only 500 mAh, but this device isn’t going to be chugging power, so we’d expect a reasonable runtime.
Alas, no link cable functionality is currently included, and files must be transferred via PC. Images are saved to the Pico’s flash memory, and [Raphaël] says any format from any Game Boy Printer emulator will work, provided it has a four-color palette. The flash memory on the chip has room for 540 images, which seems like more than enough. Regardless of the novelty of the tiny screen and retro format, nobody wants to see that many holiday snaps in one go.
The Game Boy Camera has been popular with hackers literally for decades now, and we’ve seen it everywhere from wedding photo booths to the heart of a custom DSLR, and even on Zoom calls.