There have been a ton of commercials for the new [Tom Cruise] movie called Oblivion. One of the main points in every clip we remember seeing is the Top Gun meets Star Trek vehicle he does some tricks in. [James Cotton] loved that footage and ended up building his own RC version of the vehicle.
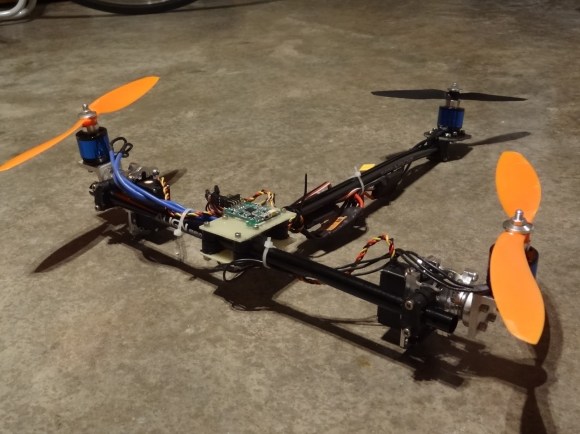
Three propellers give it lift, with directional control facilitated by servo motors which can pivot the motors attached to the two orange propellers. This design produces remarkably responsive controls as shown in the video after the break. That being said it’s still not immune to operator error. At the end of the clip [James] crashes it hard, stripping out the gears on the servo motors.
He has a few things in mind for the future of the device (and he’ll have plenty of time to plan while he waits for replacement servos to arrive). The aircraft should be able to carry a camera long with it. He discusses the issues involved with where the camera ends up pointing based on what the tilting motors are doing. But we figure he could always build a base that lets the camera pan and tilt separately from the chassis.
You can find a few tricopter projects around here but we’ve always like the one made of cardboard.
Continue reading “Acrobatic Tricopter Inspired By The Oblivion Movie Trailer”