Building A Gimballed Motorcycle Helmet Camera From Scratch

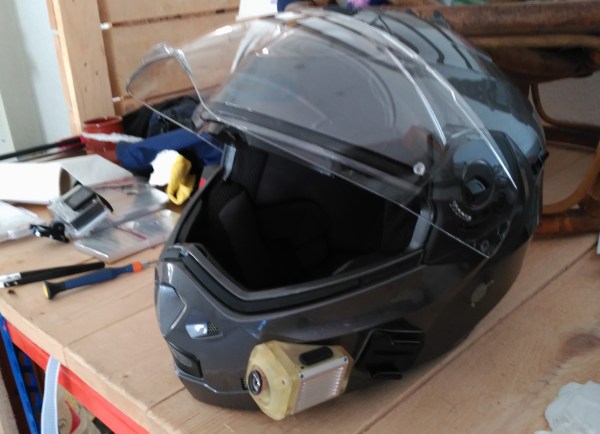
[Nixie Guy] has hit all of important design elements in a single motorcycle helmet-cam project which packs in so much that the build log spans three posts. These cameras need to stand up to the elements and also to being pelted by insects at 80 MPH. They need to attach securely to the helmet without interfering with vision or movement of the head. And you should be able to adjust where they are pointing. The balance of features and cost available in consumer cameras make this list hard to satisfy — but with skills like these the bootstrapped camera came out great!

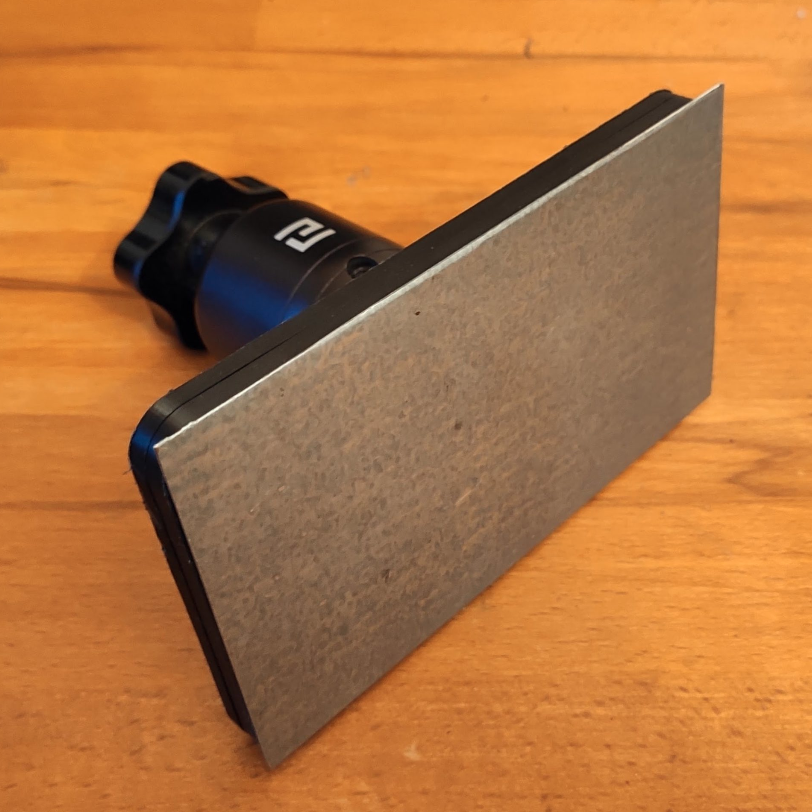
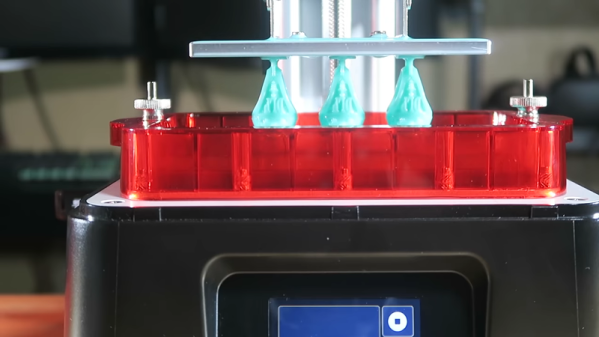
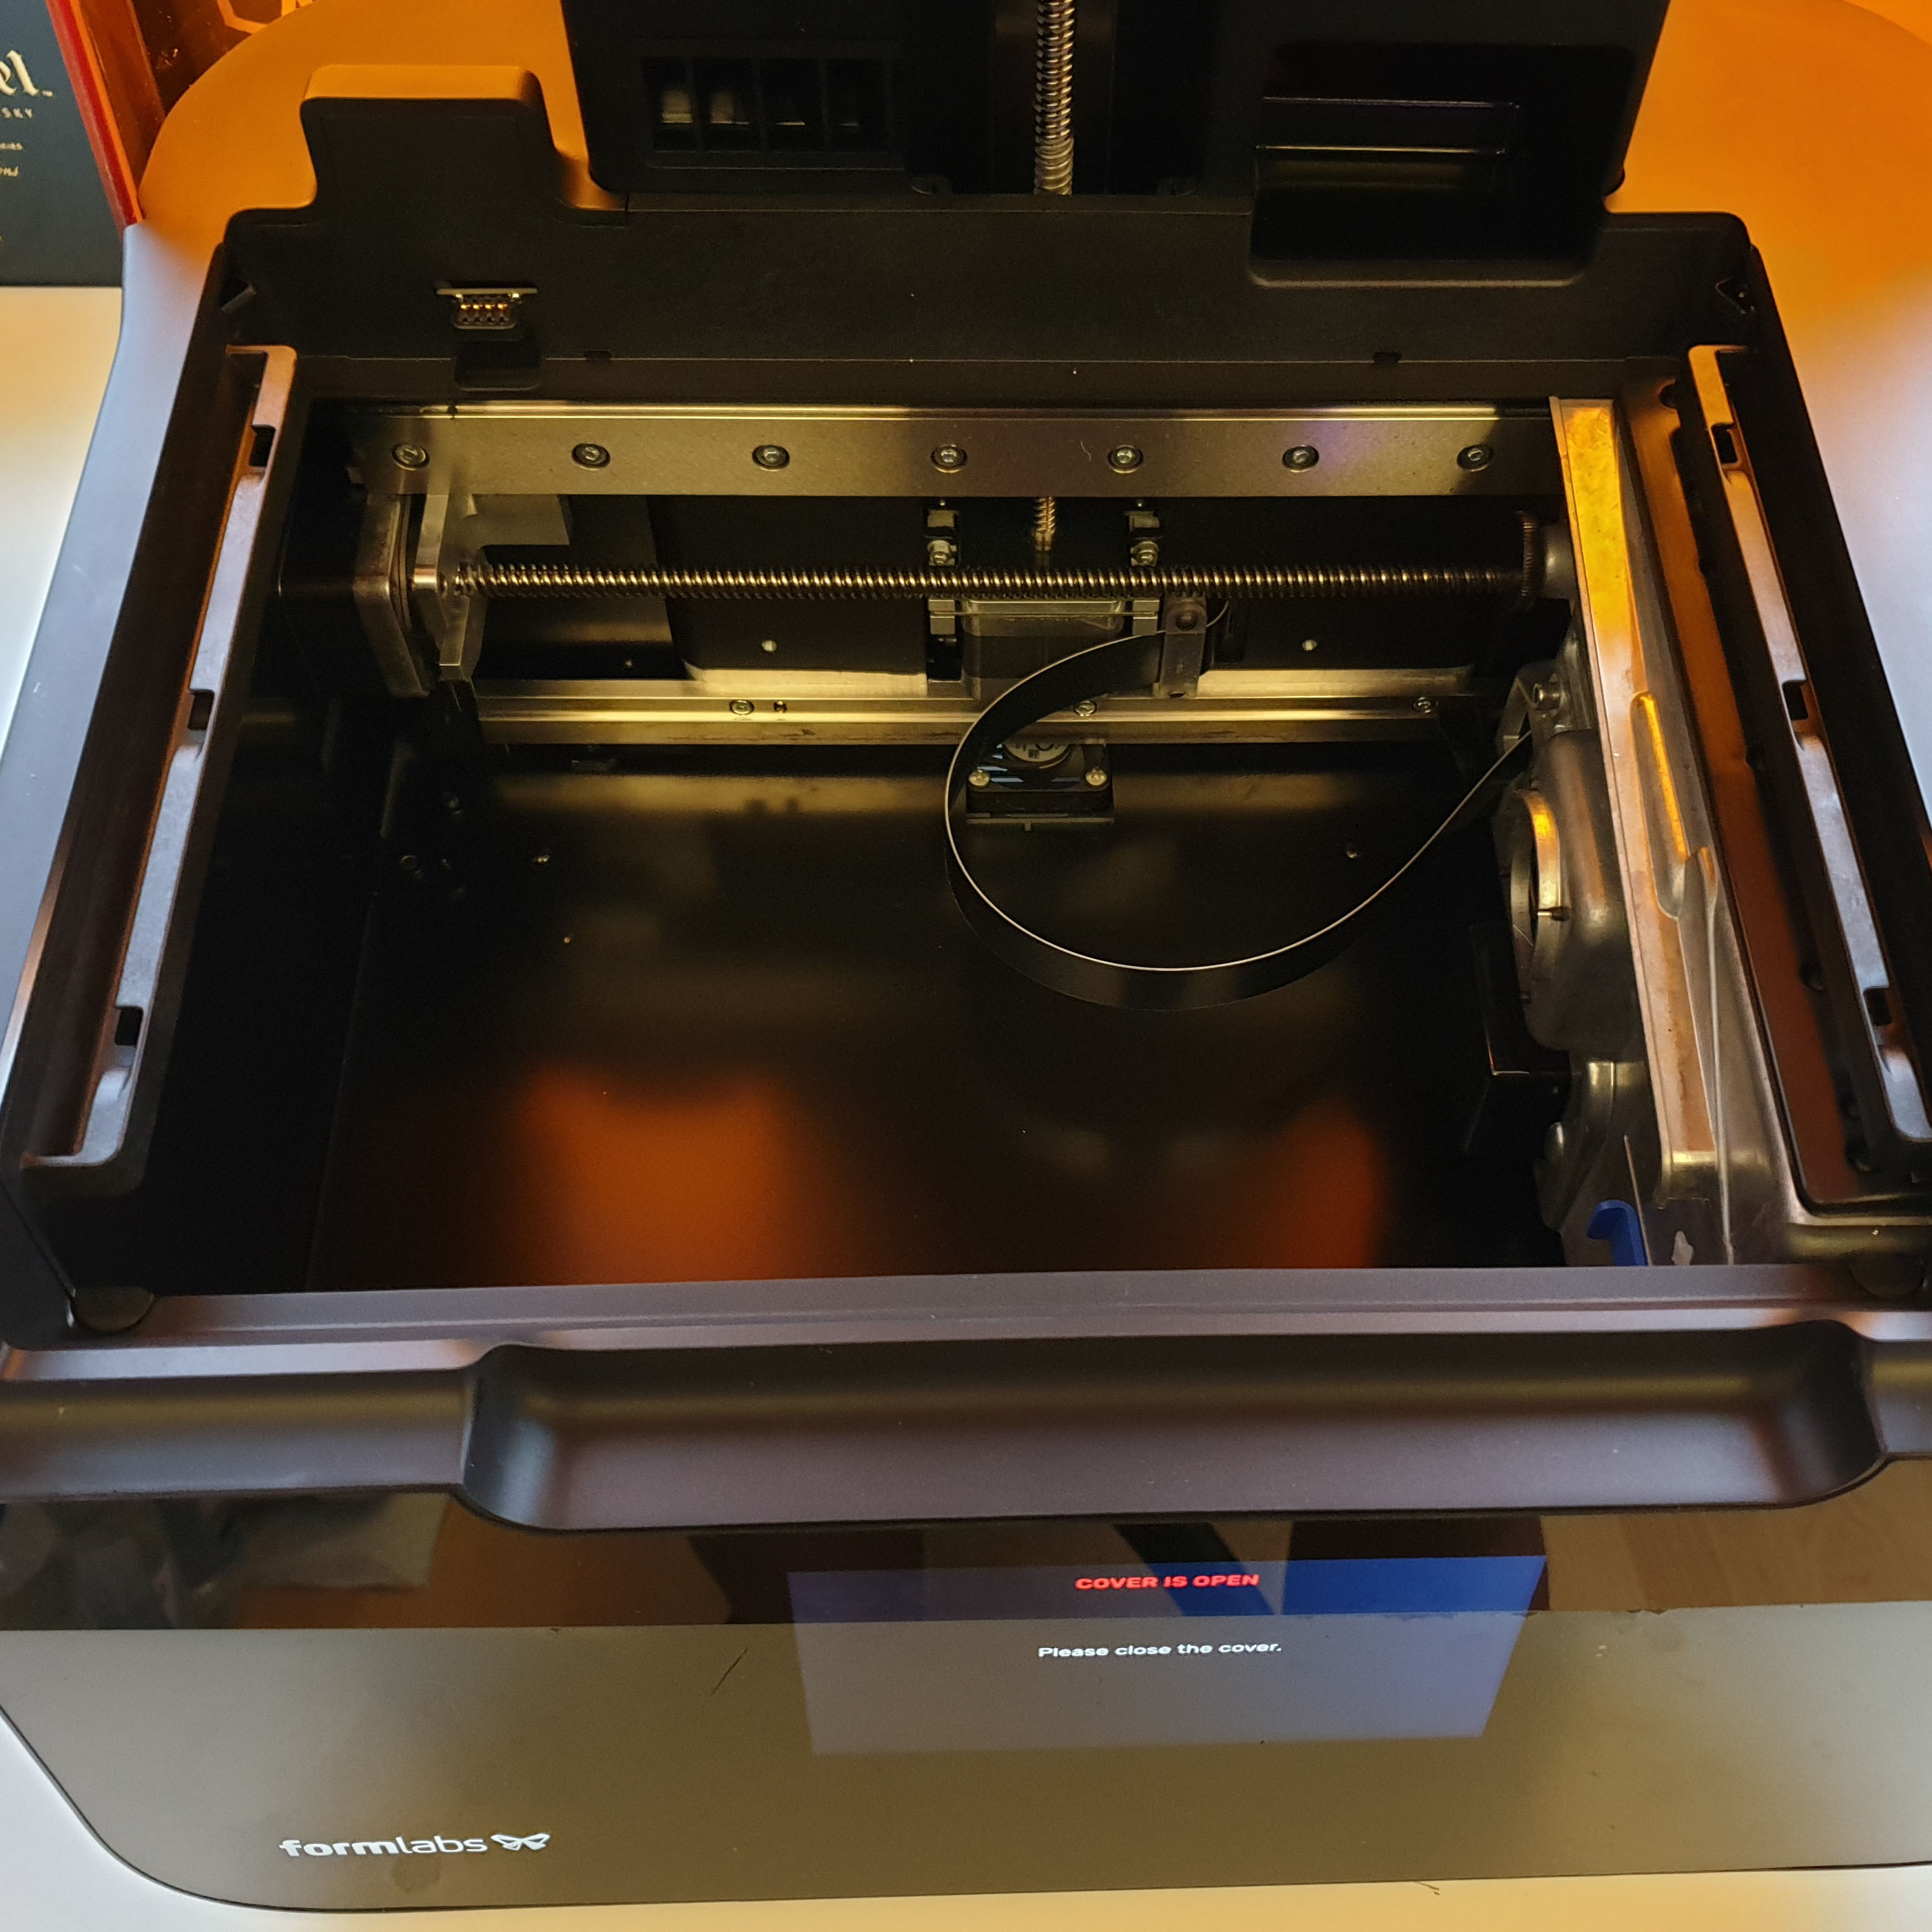
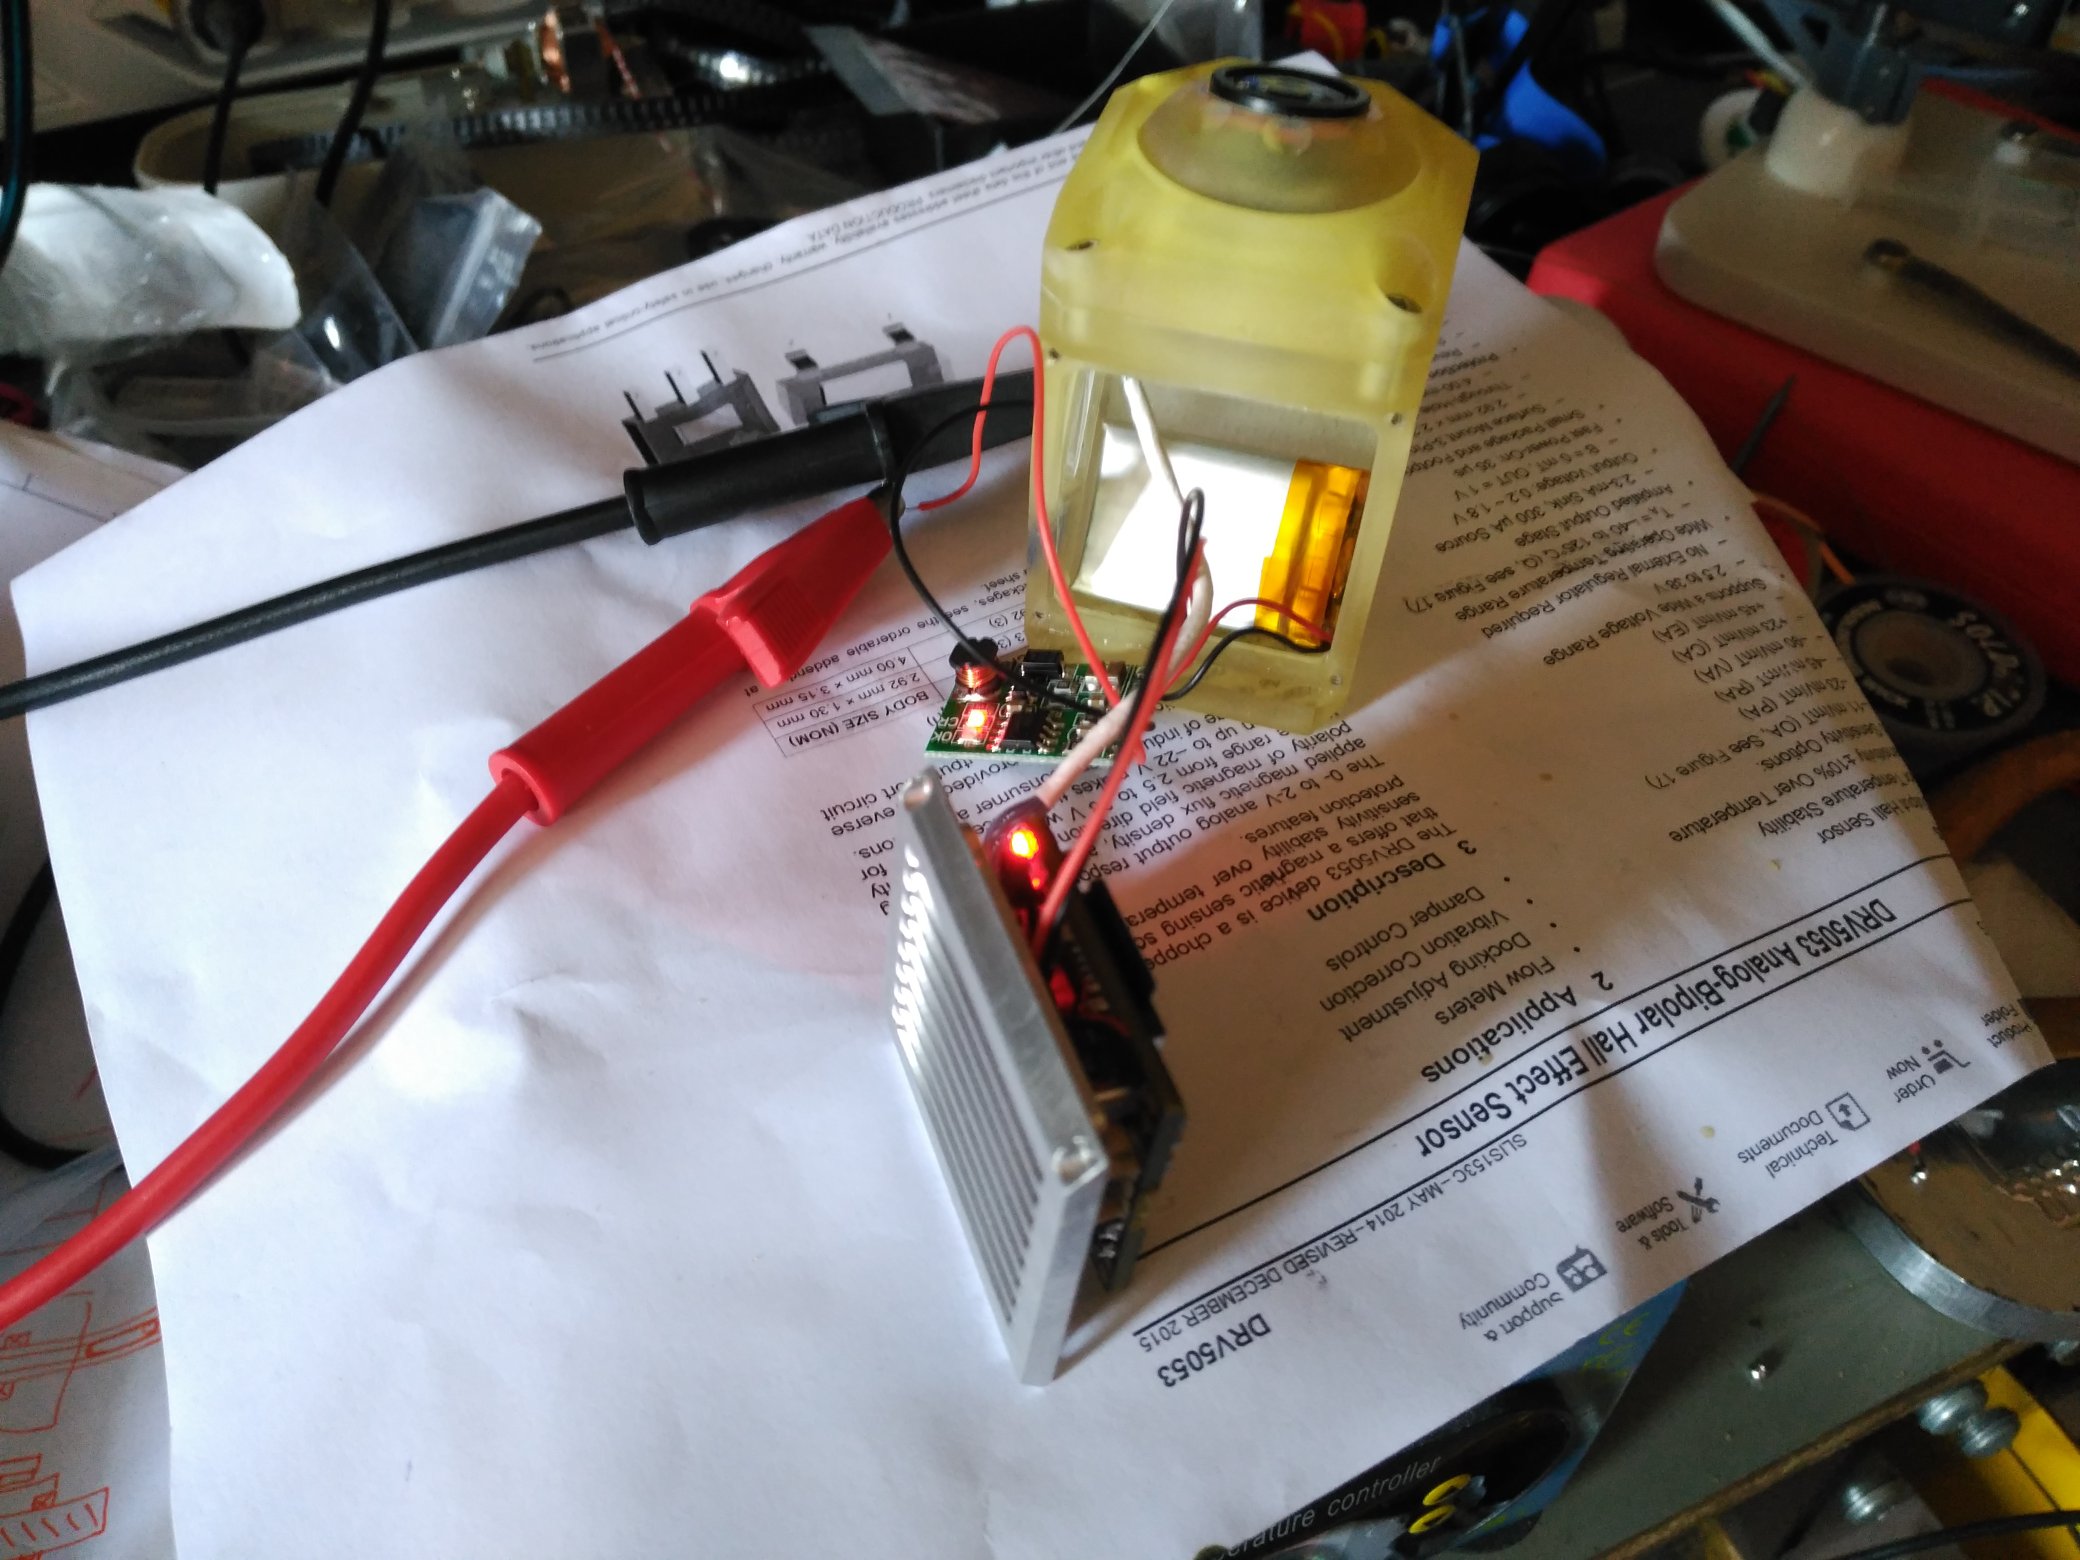
Where can you get a small, high quality camera? The drone industry has been iterating on this problem for a decade now and that’s where the guts of this creation come from. That produced an interesting issue, the board of the CADDX Turtle V2 camera gets really hot when in use and needs to have air flowing over it. So he threw a custom-milled heat sink into the side of the SLA resin printed housing to keep things somewhat cool.

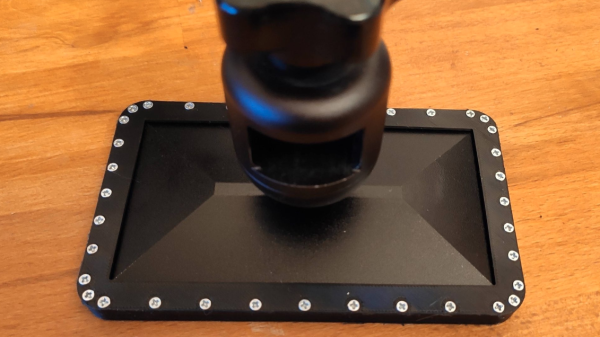
Since the mill was already warmed up, why not do some mold making? Having already been working on a project to use a casting process for soft PCB membranes, this was the perfect technique to keep the buttons and the SD card slots weather tight on the helmet cam. A little pouch battery inside provides power, and the charging port on the back is a nice little magnet job.

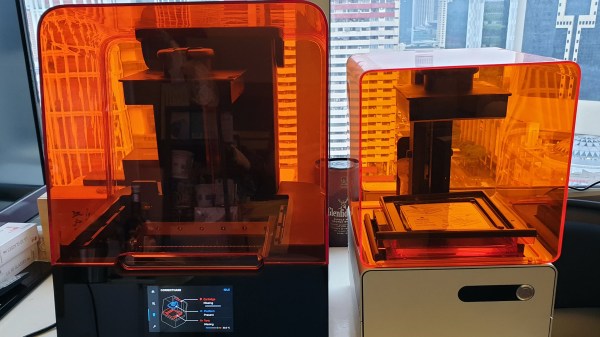
Everything came together incredibly well. [Nixie Guy] does lament the color of the resin case, but that could be easily fixed by reprinting with colored resin.

While you’re bolting stuff onto your helmet, maybe some excessive bling is in order?

Continue reading “Building A Gimballed Motorcycle Helmet Camera From Scratch”

Art of 3D printer in the middle of printing a Hackaday Jolly Wrencher logo

3D Printering: Sticky Resin Prints And How To Fix Them

After going through all the trouble of printing a part in resin, discovering it feels sticky or tacky to the touch is pretty unwelcome. Giving the model some extra ultraviolet (UV) curing seems like it should fix the problem, but it probably does not. So, what can be done?

The best thing to do with a sticky print is to immediately re-wash it in clean isopropyl alcohol (IPA) before the UV present in ambient light cures stray resin. If the part remains sticky after it is dry, more aggressive steps can be taken.

We’ll get into those more extreme procedures shortly, but first let’s understand a bit more about how resin works, then look at how that applies to preventing and removing tacky surfaces on finished prints. Continue reading “3D Printering: Sticky Resin Prints And How To Fix Them”

Art of 3D printer in the middle of printing a Hackaday Jolly Wrencher logo

3D Printering: Will A Resin Printer Retire Your Filament-based One?

Adding a resin printer to one’s workbench has never looked so attractive, nor been so affordable. Complex shapes with effortlessly great detail and surface finish? Yes, please! Well, photos make the results look effortless, anyway. Since filament-based printers using fused deposition modeling (FDM) get solid “could be better” ratings when it comes to surface finish and small detail resolution, will a trusty FDM printer end up retired if one buys a resin printer?

The short answer is this: for users who already use FDM, a resin-based stereolithography (SLA) printer is not likely to take over. What is more likely to happen is that the filament printer continues to do the same jobs it is good at, while the resin printer opens some wonderful new doors. This is partly because those great SLA prints will come at a cost that may not always justify the extra work.

Let’s go through what makes SLA good, what it needs in return, and how it does and doesn’t fit in with FDM.

Continue reading “3D Printering: Will A Resin Printer Retire Your Filament-based One?”

Art of 3D printer in the middle of printing a Hackaday Jolly Wrencher logo

3D Printering: When Resin Printing Gets Smelly

Nowadays, resin printers are highly accessible and can do some great stuff. But between isopropyl alcohol for part rinsing and the fact that some resins have a definite smell to them, ventilation can get important fast. The manufacturers don’t talk much about this part of the resin printing experience, but it’s there nevertheless. So what can be done when smells become a problem?

I recently had to deal with this when I printed several liters of resin worth of parts. That’s a lot of resin, and a lot of alcohol for part washing. Smells — which had never been much of a problem in my work area — suddenly became an issue.

Where Odors Come From

Smells come from two sources: the resin itself, and the isopropyl alcohol used for cleanup and part washing. Continue reading “3D Printering: When Resin Printing Gets Smelly”

Flexible Build Platforms Work For FDM, How About SLA?

Flexible steel sheets as the foundation for build platforms are used to great advantage in FDM 3D printers. These coated sheets are held flat by magnets during printing, and after printing is done the sheet (with print attached) can be removed and flexed to pop the prints free. This got [Jan Mrázek] thinking. He was pretty sure the concept could extend to the build platform on his Elegoo Mars resin printer. With a flexible build platform, troublesome prints could be more easily removed, so he non-destructively modified his printer to have a similar system. [Jan] is clear that this is only a proof of concept, but the test results were good! He printed several jobs that were known to be trouble, and they were all a piece of cake to remove.

[Jan]’s mod consists of a 3D printed, two-piece unit that encapsulates the normal build platform and contains a few strong magnets. A thin sheet of steel sticks flat to this new piece, held in place by the magnets within, and becomes the new build platform. After a print is done, the sheet is removed and [Jan] reports that its flexibility is a big help in removing otherwise troublesome prints, such as the 3D printed solder stencil we covered recently.

[Jan] provides his CAD model but doesn’t really recommend using it for anything other than development work. Results were promising, but there are a number of drawbacks to the prototype. For one thing, it makes the build platform thicker and the Z-axis limit switch needs to be physically lowered in order to zero the unit. Also, the thicker build platform means the volume of resin the build tank can hold is reduced. Still, the idea clearly has merit and shows there absolutely is value in hardware having a hackable design.

$200 Resin Printer Reviewed

[3DPrintFarm] got an early version of the Phrozen Sonic Mini resin printer. If you look at the video below, he was very impressed with its build quality and results. The price is reported to be $200, although we have seen it on some web sites for a bit more. The build quality does look good, although you have to admit, the motion mechanism on a resin printer is pretty simple, since you just need to move up and down.

The printer uses a monochrome LCD which allows it to cure layers very fast (apparently, monochrome panels pass more ultraviolet light through). The panel also has a higher-rated lifetime than color LCDs

Continue reading “$200 Resin Printer Reviewed”

Form 3 SLA Printer Teardown, Bunnie Style

[Bunnie Huang] has shared with all of us his utterly detailed teardown on the Form 3 SLA printer from Formlabs (on the left in the image above) and in it he says one of the first things he noticed when he opened it to look inside was a big empty space where he expected to see mirrors and optics. [Bunnie] had avoided any spoilers about the printer design and how it worked, so he was definitely intrigued.

The view inside the Form 3.

Not only does the teardown reveal the kind of thoughtful design and construction that [Bunnie] has come to expect of Formlabs, but it reveals that the Form 3 has gone in an entirely new direction with how it works. Instead of a pair of galvanometers steering a laser beam across a build surface (as seen in the Form 1 and Form 2 printers) the new machine is now built around what Formlabs calls an LPU, or Light Processing Unit, which works in conjunction with a new build tank and flexible build surface. In short, the laser and optics are now housed in a skinny, enviromentally-sealed unit that slides left and right within the printer. A single galvo within steers the laser vertically, as the LPU itself moves horizontally. Payoffs from this method include things such as better laser resolution, the fact that the entire optical system is no longer required to sit directly underneath a vat of liquid resin, and that build sizes can be bigger. In addition, any peeling forces that a model is subjected to are lower thanks to the way the LPU works.

Details about exactly how the Form 3 works are available on Formlabs’ site and you can also see it in action from a practical perspective on Adam Savage’s Tested (video link), but the real joy here is the deeply interesting look at the components and assembly through the eyes of someone with [Bunnie]’s engineering experience. He offers insights from the perspective of function, supply, manufacture, and even points out a bit of NASA humor to be found inside the guts of the LPU.

[Bunnie] knows his hardware and he’s certainly no stranger to Formlabs’ work. His earlier Form 2 teardown was equally detailed as was his Form 1 teardown before that. His takeaway is that the Form 3 and how it works represents an evolutionary change from the earlier designs, one he admits he certainly didn’t see coming.