Conductive Gel Has Potential

There are some technologies first imagined in the Star Trek universe have already come to exist in the modern day. Communicators, tablet computers, and computer voice recognition are nearly as good as seen in the future, and other things like replicators and universal translators are well on their way. Star Trek: Voyager introduced a somewhat ignored piece of futuristic technology, the bio-neural gel pack. Supposedly, the use of an organic gel improved the computer processing power on the starship. This wasn’t explored too much on the series, but [Tom] is nonetheless taking the first steps to recreating this futuristic technology by building circuitry using conductive gel.

[Tom]’s circuitry relies on the fact that salts in a solution can conduct electricity, so in theory filling a pipe or tube with a saline solution should function similarly to a wire. He’s also using xanthan gum to increase viscosity. While the gel mixture doesn’t have quite the conductivity of copper, with a slight increase in the supplied voltage to the circuit it’s easily able to be used to light LEDs. Unlike copper, however, these conductive gel-filled tubes have some unique properties. For example, filling a portion of the tube with conductive gel and the rest with non-conductive mineral oil and pushing and pulling the mixture through the tube allows the gel to move around and engage various parts of a circuit in a way that a simple copper wire wouldn’t be able to do.

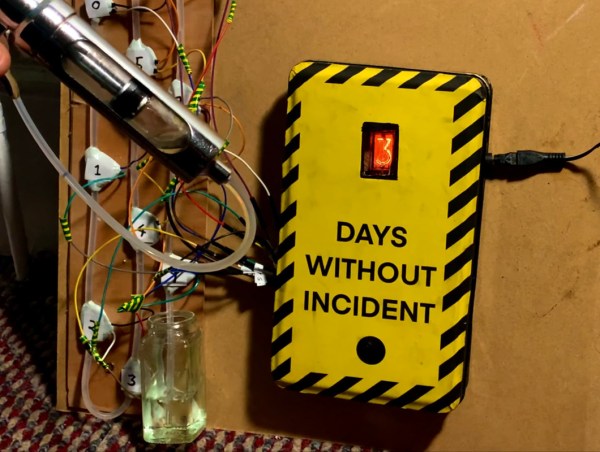
In this build specifically, [Tom] is using a long tube with a number of leads inserted into it, each of which correspond to a number on a nixie tube. By moving the conductive gel, surrounded by mineral oil, back and forth through the tube at precise intervals each of the numbers on the nixie tube can be selected for. It’s not yet quite as good as the computer imagined in Voyager but it’s an interesting concept nonetheless, not unlike this working replica of a communicator badge.

Continue reading “Conductive Gel Has Potential”

Stirring Up 3D-Printed Lab Equipment

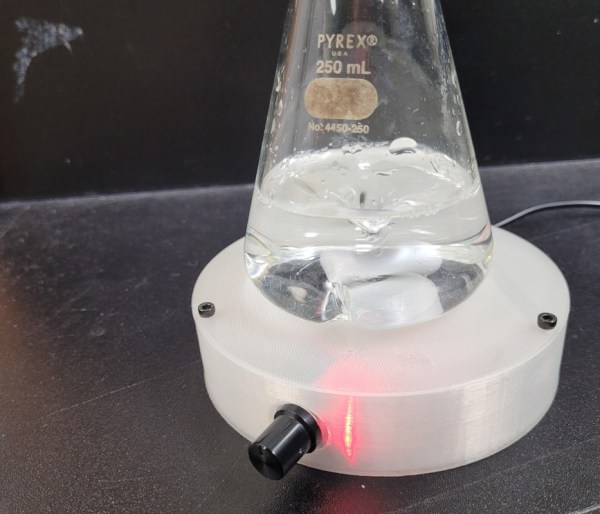
Magnetic stirrers are a core part of many chemistry labs. They offer many advantages for ensuring the effective mixing of solutions compared to other methods of stirring, including consistency, precise control, operation within closed systems, and of course, hands-free automatic operation. With so many reasons for employing a magnetic stirrer, it’s not too surprising that [Joey] would want one. He built his using 3D-printed parts rather than purchasing it.

The magnetic stirrer uses a 3D-printed enclosure for the base. Inside is a PWM controller which sends power to a small DC motor. A 3D-printed arm is attached to the motor, which hosts a pair of magnets. As the arm spins inside the enclosure, the magnetic fields from the magnet couple with the stir bar inside the mixture, allowing it to spin without any mechanical link to the stirring device and without any input from the user. [Joey] has also made all the 3D-printed parts for this build available on Printables.

While magnetic stirrers aren’t the most complicated of devices (or the most expensive), building tools like this anyway often has other advantages, such as using parts already on hand, the ability to add in features and customizations that commercial offerings don’t have, or acting as a teaching aid during construction and use. It’s also a great way to put the 3D printer to work, along with this other piece of 3D-printed lab equipment designed for agitating cell cultures instead.

Machining Without Machines

It’s a luxury to be able to access a modern machine shop, complete with its array of lathes, mills, and presses. These tools are expensive though, and take up a lot of space, so if you want to be able to machine hard or thick metals without an incredible amount of overhead you’ll need a different solution. Luckily you can bypass the machines in some situations and use electricity to do the machining directly.

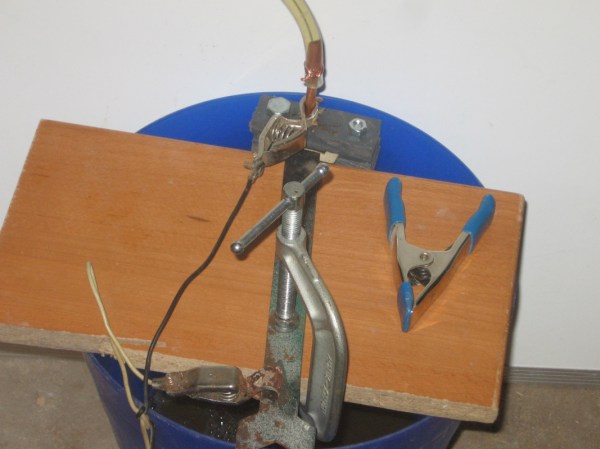
This project makes use of a process known as electrochemical machining and works on the principle that electricity passed through an electrolyte solution will erode the metal that it comes in contact with. With a well-designed setup, this can be used to precisely machine metal in various ways. For [bob]’s use this was pretty straightforward, since he needed to enlarge an existing hole in a piece of plate steel, so he forced electrolyte through this hole while applying around half an amp of current in order to make this precise “cut” in the metal, avoiding the use of an expensive drill press.

There are some downsides to the use of this process as [bob] notes in his build, namely that any piece of the working material that comes in contact with the electrolyte will be eroded to some extent. This can be mitigated with good design but can easily become impractical. It’s still a good way to avoid the expense of some expensive machining equipment, though, and similar processes can be used for other types of machine work as well.

Levitating Objects In Paramagnetic Liquids

Two weekends ago was the Bay Area Maker Faire, and lacking a venue to talk to people who actually make things, we had a meetup at a pub. This brought out a ton of interesting people, and tons of interesting demos of what these people were building. By either proclivity or necessity, most of these demos were very blinkey. The demo [Grant McGregor] from Monterey Community College brought was not blinkey, but it was exceptionally cool. He’s levitating objects in paramagnetic liquids with permanent magnets.

Levitating objects in a paramagnetic solution around a magnetic field has been an intense area of research for the Whitesides Research Group for a few years now, with papers that demonstrate methods of measuring the density of objects in a paramagnetic solution and fixing diamagnetic objects inside a magnetic field. [Grant] is replicating this research with things that can be brought to a bar in a small metal box – vials of manganese chlorate with bits of plastic and very strong neodymium magnets. The bits of plastic in these vials usually float or sink, depending on exactly what plastic they’re made of. When the paramagnetic solution is exposed to a magnetic field, the density of the solution changes, making the bits of plastic sink or float.

It’s a bizarre effect, but [Grant] mentioned a nurd rage video that shows the effect very clearly. [Grant]’s further experiments will be to replicate the Whitesides Research Group’s experiment to fix a diamagnetic object inside a magnetic field. As for any practical uses for this effect, you might be able to differentiate between different types of plastic (think 3D printing filament) with just a vial of solution and a strong magnet.

[Grant] was heading out of the pub right when I ran into him, but he did stick around long enough to run into the alley behind the pub and record an interview/demo. You can check that out below.

Continue reading “Levitating Objects In Paramagnetic Liquids”

Barcode Challenge – Part 2

HaD_barcode

Yesterday we issued a barcode challenge in honor of the Barcode’s birthday. Congratulations to [The Moogle] for winning this challenge. His submission offers a very detailed explanation of how he solved the puzzle using Photoshop, OpenOffice Calc, and some web resources. We’ve got a detailed writeup on it after the break.

Honorable mentions go to [nex] for putting up a Java solution and to [jwmaag] for showing a Python solution. Finally, kudos to all who used a CueCat in one way or another to decode the string. Just having one of those still around is pretty hack-it-y.

Because of the ubiquity of Barcode scanners and online image translation programs the challenge might have been a bit too easy. Do you think you’re up for a greater challenge? Download the new barcode and get to work. This one should be quite a bit harder to decipher. Once again, leave a comment that includes the message stored in the Barcode. Please remember, only entries that solve the puzzle and include a full description of the process will be considered. Good luck, and let the games begin.

Update: It only took [JP] 19 minutes to post a correct solution to the new Barcode.  Great work!

Continue reading “Barcode Challenge – Part 2”