
The FPGA Chronicles: Open Source It

Last time, we looked at getting started with the GOWIN tools and a Tang Nano 20K FPGA. The software from GOWIN isn’t bad, but it isn’t open source, and there are a few oddities about it. In addition, simulation is through a third-party simulation package that has undergone some changes since an acquisition. There are tons of free simulation programs that are extremely good, and there is an open-source toolchain for the FPGA.

You could go grab everything you need piece by piece. But you don’t have to. There are several efforts to produce a toolchain from all the different pieces. We’re going to look at APIO.

APIO

APIO isn’t so much an FPGA toolchain project as it is an aggregator of toolchain projects. It reminded us of PlatformIO, and notes that it was inspired by it. It updates the tools you need, includes its own libraries, and gives you a common workflow across the FPGAs it supports.

You can download it for the command line, but you can also install it as a Visual Studio Code extension, which is what I did. You have to create a simple file that describes your project, and that’s about it.

Install Problems

Since APIO has its own libraries, it is possible that you will find some conflicts with your system libraries. In my case, the libreadline.so.8 file (in ~/.apio/bin/_internal) was causing problems that prevented anything from working. I simply renamed it out of the way, or you can just delete it. That took care of the problem.

Keep in mind that APIO just orchestrates a bunch of other tools like Yosys and GTKWave. Even if you have your own versions, APIO expects to use its private copies. For example, GTKWave on my system is a different version than the APIO copy, and if I try to read wave files without using APIO, I get error messages. You can, however, open a shell from the Tools/Misc menu of the APIO panel in Visual Studio Code.
Continue reading “The FPGA Chronicles: Open Source It” →

The FPGA Chronicles: Exploring The Tang Nano 20K

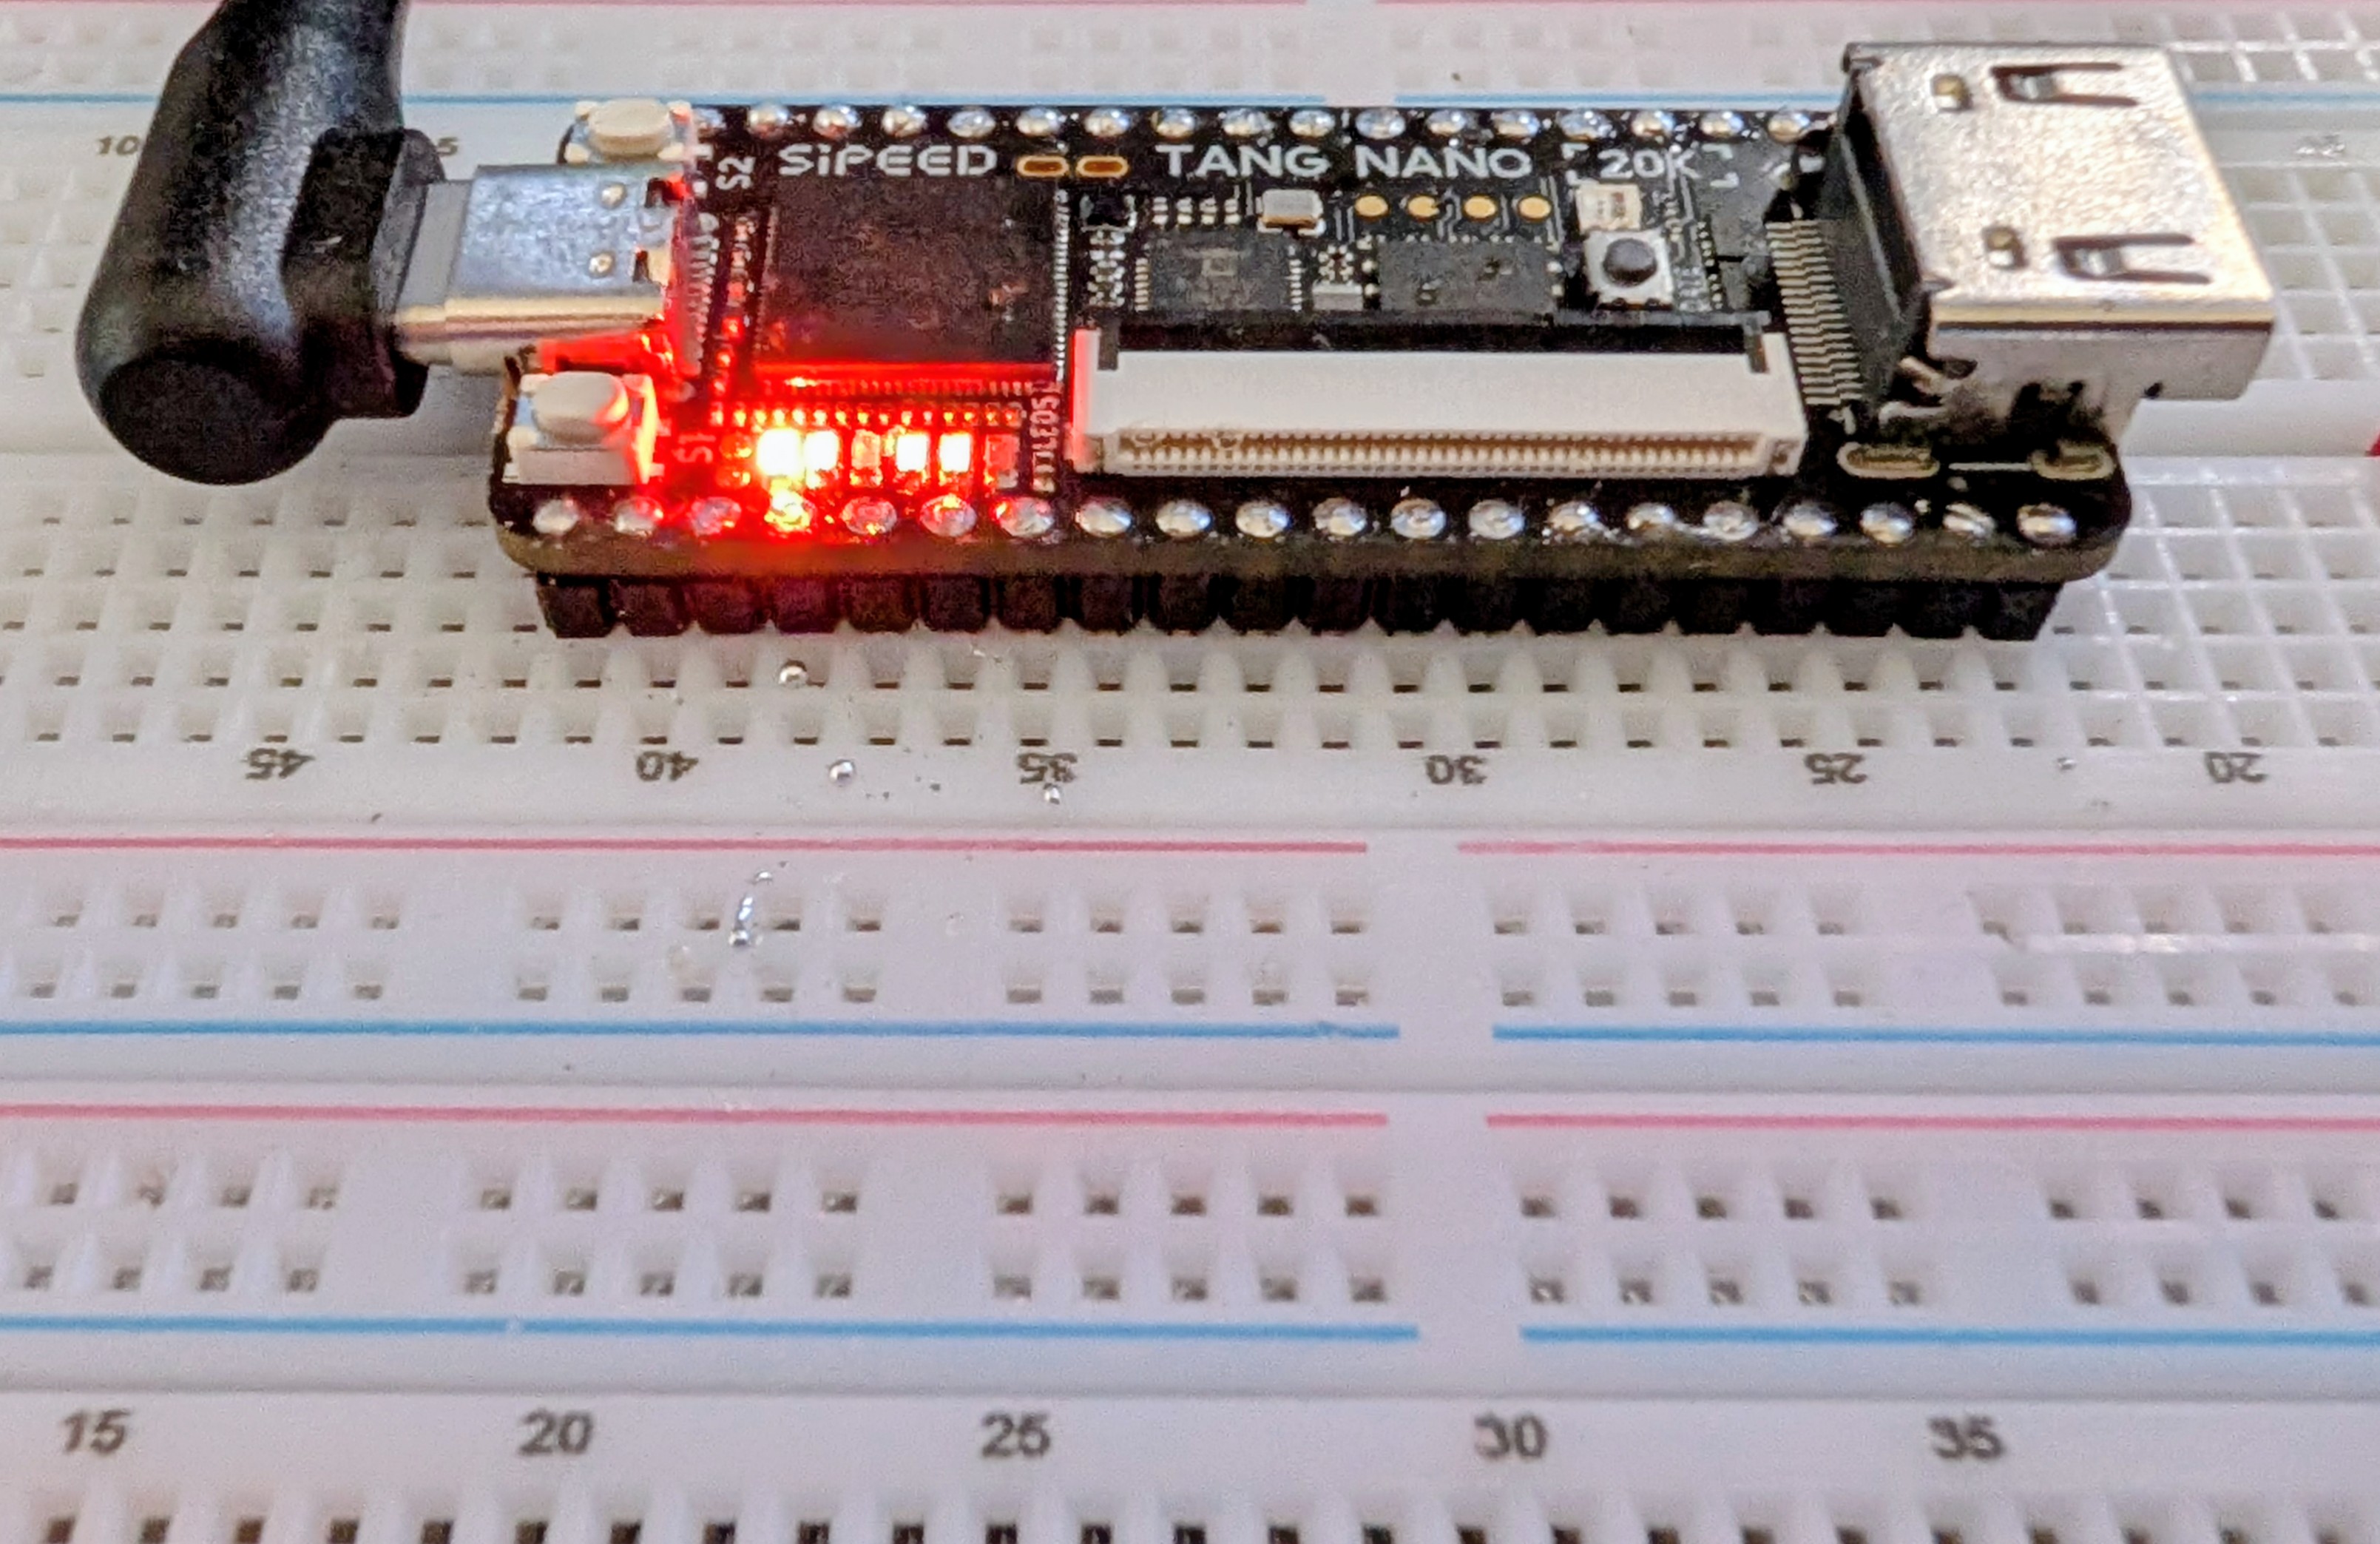
FPGAs used to be mysterious, expensive devices, but these days you can buy surprisingly capable boards for very little money. Some years ago, I did an FPGA Bootcamp over on Hackaday.io. Much of that material still applies, but the hardware is dated. So I decided it was time to update it, using the inexpensive Tang Nano 20K and its GOWIN GW2AR-18 FPGA as the main platform, with perhaps a few excursions into other FPGAs.

History and Motivation

Once upon a time, if you wanted to have a custom IC, you went with a wheelbarrow full of money to a semiconductor company. However, some smart person at a semiconductor fab eventually realized they could make a chip with a lot of uncommitted blocks on it and then, for a custom chip, only design the wiring that connected them together. This still required a wheelbarrow full of money, but it was a smaller wheelbarrow.

Then one day, someone realized they could do the same thing but make the electrical connections between the blocks configurable. Maybe have fuses you can blow, or use EEPROM or RAM cells to remember which blocks are connected to which. It is complicated, sure, but then you can make many of these chips and sell them to people who could, in theory, make their own custom chips without your help.

When do you need an FPGA? A classic classroom exercise for an FPGA, for example, is a traffic light because it shows off how to do state machines, which are important for some kinds of FPGA designs. But other than as a learning example, why would you do this? Even a simple 8-bit CPU can handle a traffic light.

Suppose instead that you have hundreds of digital sensors on a rocket, and any one of them must raise an alarm within a few microseconds. A processor has to sample inputs in groups, service interrupts, or rely on extra hardware. An FPGA can simply implement the equivalent of one enormous OR gate. It watches every input continuously, and unrelated logic elsewhere in the FPGA does not steal execution time from it. Can you do it with a microcontroller? Probably, but not easily. For some classes of problems, an FPGA is the better answer.

Of course, you can also build a CPU on your FPGA and some FPGAs have CPUs in the same package. This is often a sweet spot because then things that are easy to do in software, you do in software. Things that are easier to do in hardware, you do in the FPGA.

Continue reading “The FPGA Chronicles: Exploring The Tang Nano 20K” →

FPGA Brings UNIX V1 To The DEC J-11

If you’ve never used a PDP-11 before it’s probably because you simply weren’t around in the 70s and 80s. Although they started as expensive machines only in research labs and industry, they eventually became much more accessible. They’re a bit of a landmark in computing history, too, being largely responsible for the development of things like UNIX and the C programming language. [ryomuk] is using an FPGA in combination with an original DEC J-11 to bring us a new take on this machine. (Google Translate from Japanese)

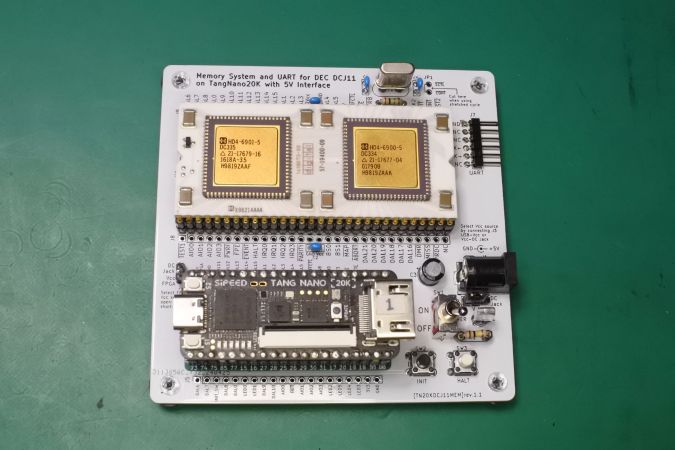
The FPGA used in this build is a Tang Nano 20k, notable for its relatively low cost. The FPGA emulates the memory system and UART of a PDP-11 system down to the instruction set, while the original, unmodified DEC chip is left to its own devices. After some initial testing [ryomuk] built a PC11 paper tape emulator to ensure the system was working which runs a version of BASIC from the era. The next thing up was to emulate some disk drives and co-processors so that the machine can run the first version of UNIX. 

[ryomuk] also developed a PCB for the DEC microprocessor and the FPGA to sit on together, and it includes all of the jumpers and wiring needed to allow the computer to run UNIX, as well as handling other miscellaneous tasks like power. It’s an interesting build that gets to the heart of the early days of computer science. PDP-11 computers did eventually get smaller and more accessible, and if you want to build a modern version this build fits a complete system into an ATX case.

Thanks to [RetepV] for the tip!









