Near Field Communication (NFC) is something we take for granted these days. Nearly all smartphones have it. We even have NFC interfaces for all our favorite development boards. NFC’s history goes back all the way to 1997, when an early version was used in Star Wars special edition toys. Radio Frequency Identification (RFID), which NFC builds on, goes back even further. The patent citation trail leads all the way back to 1983 in a patent awarded to [Charles Walton]. NFC is much more than RFID though. The idea of two way communication between devices opens up tons of possibilities for projects and hacks. This week on the Hacklet we’re checking out some of the best NFC projects on Hackaday.io!
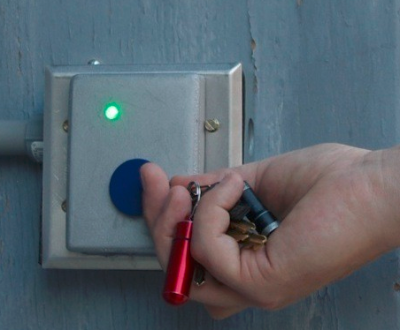 We start with [Patrick] and Ctrl-O. Somewhere in the hackerspace bible there is a clause that states “Thou shalt build an electronic access control system”. In [Patrick’s] case, a door lock became a complex membership subscription management database. Members who have paid can use an NFC tag to gain access to the hackerspace. The system consists of a Raspberry Pi with an NFC interface. A relay allows the Pi to control the door lock. The Pi can be manually configured through a web interface. It connects to Paypal to verify that each user’s membership has actually been paid. Of course a project like this is never done. The last we heard from [Patrick], he was planning future upgrades such as startup company memberships with multiple people.
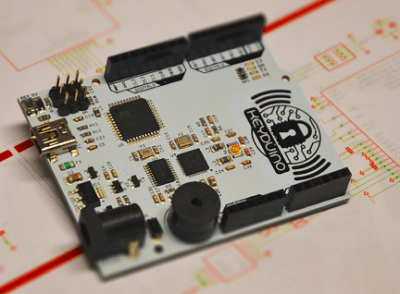 Next up is [Pierre Charlier] and KeyDuino. KeyDuino is an Arduino compatible board with all the NFC hardware baked right in. The board is based upon the Arduino Leonardo, with an ATmega32u4 processor. [Pierre] must be on to something, because the KeyDuino had a successful Kickstarter back in 2015. It’s also open source hardware, so you can build your own whenever you want. The real gem is checking out [Pierre’s] other projects. He’s documented all his KeyDuino example projects right on Hackaday.io. These include an NFC Controlled infinity mirror coffee table, a locking wooden gift box, and NFC controlled car door locks, just to name a few.
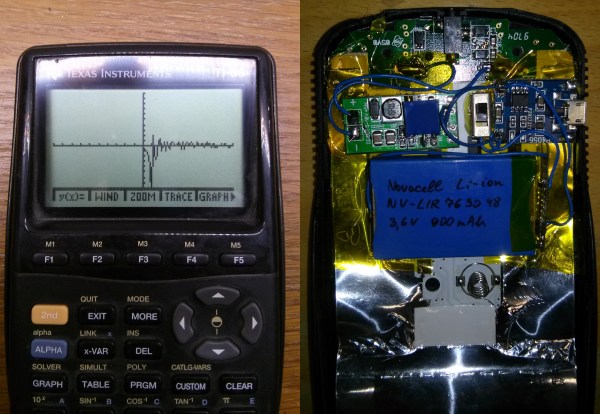
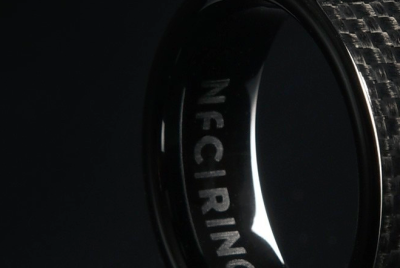 Next we have [John McLear] with 2016 NFC Ring. [John] jumped into wearable technology with one of the toughest form factors imaginable – a ring. Between the tiny amount of space and the lack of batteries, you might think there isn’t much you can do with a ring. Undaunted, [John] managed to fit two NXP NFC chips and their antennas inside a standard ring. This is the upgraded 2016 version of the ring. [John] was nice enough to supply several hundred of the earlier models to hackers at the Hackaday Supercon back in 2015. [John’s] rings would be hard for the average hacker to reproduce. [Sean Hodgins] comes to the rescue here with his own project, DIY NFC Bentwood Ring.
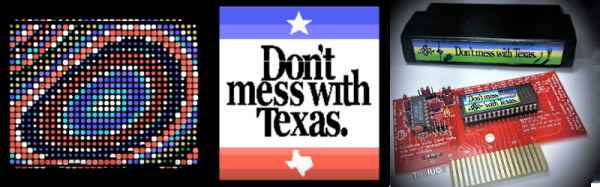
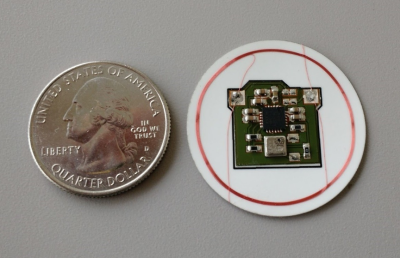 Finally, we have [CaptMcAllister] with RFID air pressure sensor. As the name implies, this sensor measures air pressure. It could be in open air, a tire, or even a football used by the New England Patriots. Sure, cars all have Tire Pressure Monitoring Systems (TPMS) sensors which do something similar. [CaptMcAllister’s] design has one important difference – it has no batteries. The heart of the system is a Texas Instruments RF430FRL15X, a device with the NFC radio and a low power MSP430 microcontroller in one chip. The system is energy harvesting, being powered by an external reader. As you can imagine, tuning the antenna was critical to this design. You can read all about it in [CaptMcAllister’s] 24 project logs.
If you want to see more NFC projects and hacks, check out our new near field communication projects list. See a project I might have missed? Don’t be shy, just drop me a message on Hackaday.io. That’s it for this week’s Hacklet, As always, see you next week. Same hack time, same hack channel, bringing you the best of Hackaday.io!