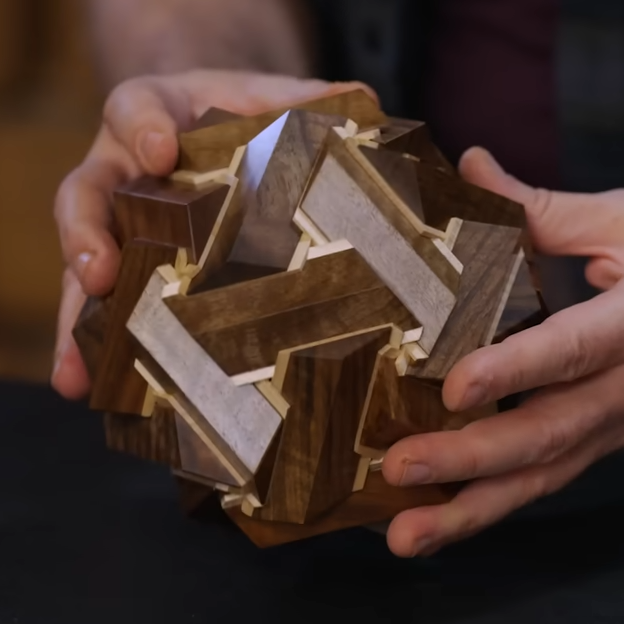
[Kagen Sound] is a woodworker and artist who gives a great behind-the-scenes look at his amazingly high-quality puzzle boxes (video). Not only do his varied puzzle box designs show his math background, but they are all made entirely of wood. There are no nails or fasteners; just intricately-fitted wood and some glue.
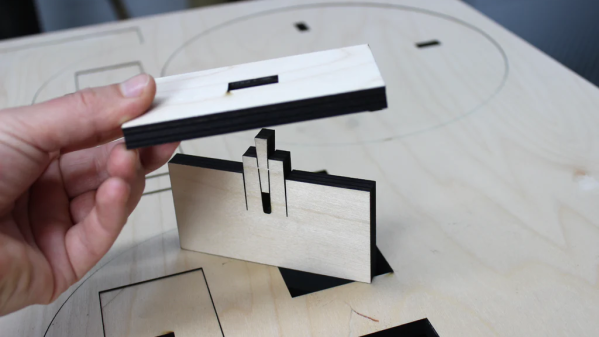
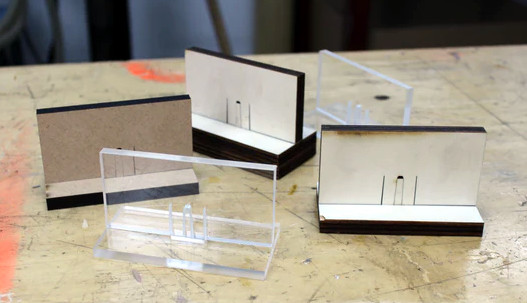
 There’s a lot of variety in his designs, and while it’s all fantastic from beginning to end, two things stood out to us as being of particular interest. One is the “Plus Box” which makes a clicking sound when the pieces are moved (at 2:47) thanks to a clever wooden spring. [Kagen] shows an example of the concept, where a flat wood piece with slots cut from the sides acts as a spring and clicks into notches when moved, providing audible and tactile feedback without anything other than wood.
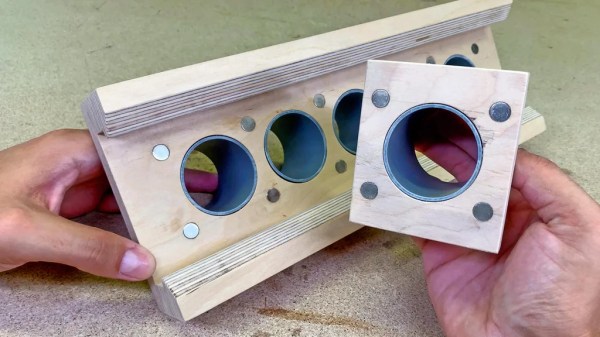
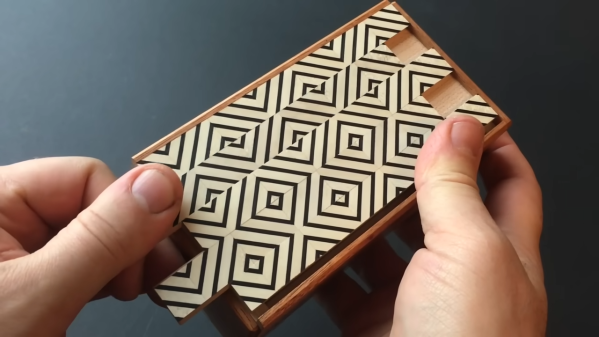
The other is a patterned puzzle box (at 7:10) whose geometric designs change as the user moves the pieces. A reminder that [Kagen]’s devices are made entirely of wood and glue, so the design comes from two different types of wood assembled and cut at an angle to create the patterns seen. [Kagen] shaves thin layers of veneer from this block to attach to the puzzle pieces as needed to create the patterns without resorting to ink, paint, or decals.
[Kagen] has a math degree but is entirely self-taught as a woodworker, so don’t let lack of formal training stop you from experimenting. You can watch him give a tour of his work in the video, embedded below.
Feeling the urge to make your own puzzle boxes? Take a look at some we’ve seen over the years, and we even have a collection of single-line cryptex fonts to make laser-engraving puzzle bits a little easier.
Continue reading “Design Secrets Of Fantastic, Hand-made Puzzle Boxes”