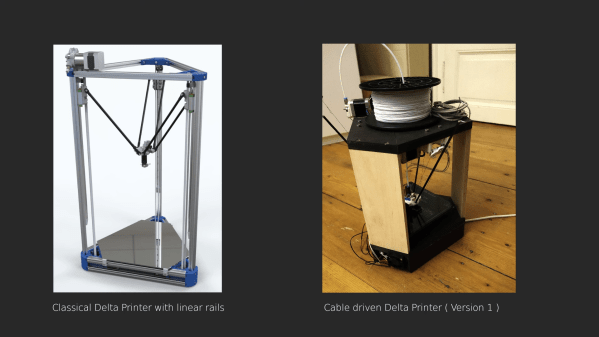
Accessibility devices are a wonder of modern technology, allowing people with various needs to interact more easily with the world. From prosthetics to devices to augment or aid someone’s vision or hearing, devices like these can open up many more opportunities than would otherwise exist. A major problem with a wide array of these tools is that they can cost a fortune. [3D Printy] hoped to bring the cost down for Braille trainers which can often cost around $1000.
Braille trainers consist of a set of characters, each with six pins or buttons that can be depressed to form the various symbols used in the Braille system. [3D Printy]’s version originally included six buttons, each with a set of springs, that would be able to pop up and down. After some work and real-world use, though, he found that his device was too cumbersome to be effective and redesigned the entire mechanism around flexible TPU filament, allowing him to ditch the springs in favor of indentations and buttons that snap into place without a dedicated spring mechanism.
The new design is modular, allowing many units to be connected to form longer trainers than just a single character. He’s also released his design under the Creative Commons public domain license, allowing anyone to make and distribute these tools as they see fit. The design also achieves his goal of dramatically reducing the price of these tools to essentially just the cost of filament, provided you have access to a 3D printer of some sort. If you need to translate some Braille writing and don’t want to take the time to learn this system, take a look at this robotic Braille reader instead.
Thanks to [George] for the tip!
Continue reading “3D Printed Braille Trainer Reduces Barrier To Entry”


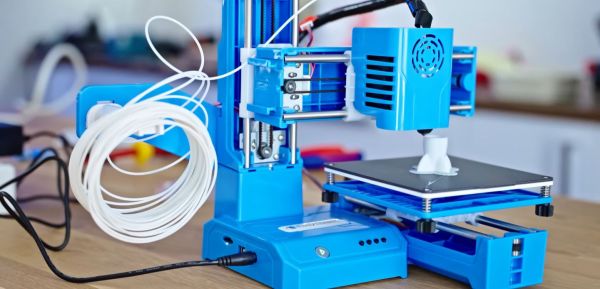
![The hot end of the EasyThreed K9 is actually pretty nifty. (Credit: [Thomas Sanladerer])](https://hackaday.com/wp-content/uploads/2024/02/cheapest_fdm_printer_hotend.jpg)