Standing desks are great conversation starters in the office – whether you like it or not. How do you know someone’s got a standing desk? Don’t worry, they’ll tell you. Standing desks have their benefits, but for maximum flexibility, many people choose a desk that can raise and lower depending on their needs. [Wassim] had just such a desk, but found pushing the buttons too 20th century for his tastes. Naturally, Google Assistant integration was the key here.
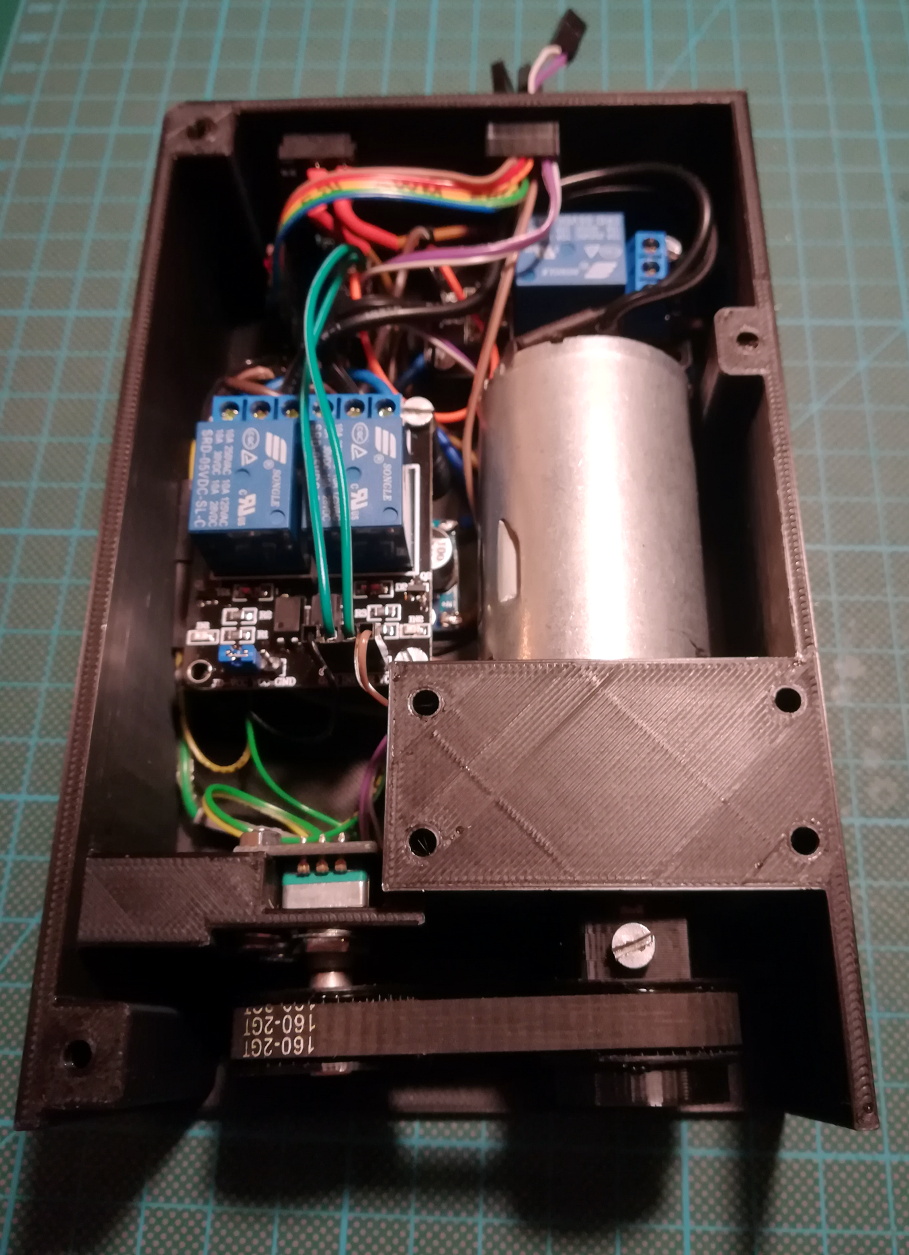
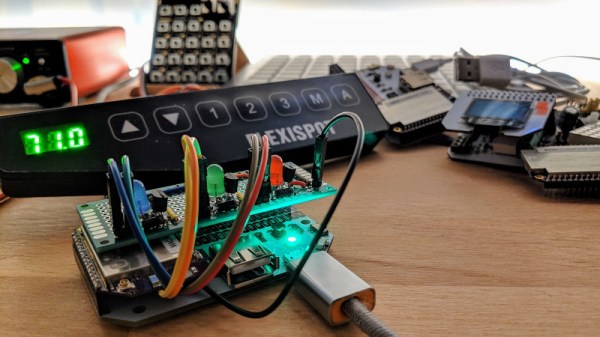
[Wassim] started out intending to capture and then spoof the desk controller’s signals to the motors, before realising it was likely easier to simply spoof button presses instead. This was achieved through a handful of NPN transistors and an Onion Omega2+ microcontroller board. Then it was a simple case of coding the controller to press the various buttons in response to HTTP requests received over WiFi. Google Assistant integration was then handled with IFTTT, though [Wassim] also discusses the possibility of implementing the full Smart Home API.
It’s entertaining to watch [Wassim] issue commands and have the desk slowly rise in response. Of course, there are other approaches, like this sneaky use of PVC to hack the office furniture.
https://medium.com/@wassimchegham/hey-google-set-my-desk-to-standing-mode-b21dcc40d4b5