Hackaday.io user [mabe42] works during the week away from their home city and rents a small apartment locally to make this life practical. However, the heating system, a night-storage system, is not so practical. They needed a way to remotely control the unit so that the place was habitable after a long winter commute; lacking internet connectivity, they devised a sensible solution to create an SMS-controlled remote heating controller.
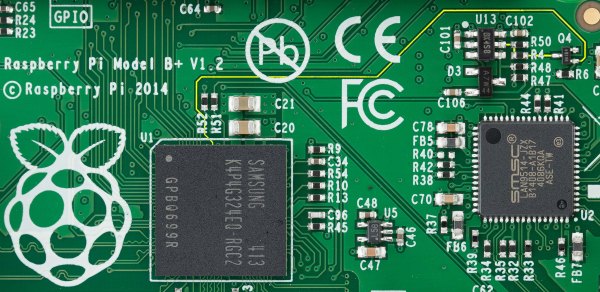
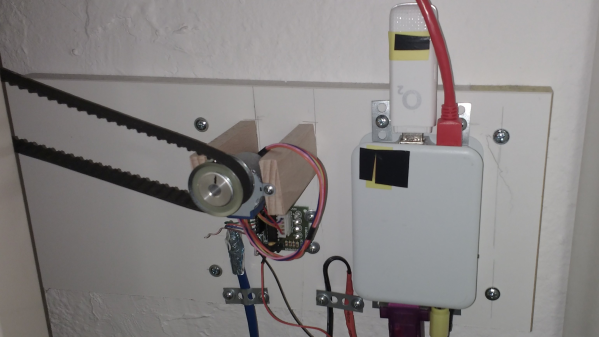
The controller runs atop an old Raspberry Pi B inside a 3D-printed case. Seeing such an old board given a real job to do is nice. Connectivity is via a USB UMTS stick which handles the SMS over the cellular network. The controller knob for the heater thermostat (not shown) is attached via a toothed belt to a pully and a 28BYJ-48 5V geared stepper motor. Temperature measurement is via the ubiquitous DS1820 module, which hooks straight up to the GPIO on the Pi and works out of the box with many one-wire drivers.
The software is built on top of Gammu, which handles the interface to the UMTS device. Daily and historical temperature ranges are sent via SMS so [mabe42] can decide how to configure the heating before their arrival. The rest of the software stack is in Python, as per this (German-language) GitHub project.
While we were thinking about storage heating systems (and how much of a pain they are), we came across this demonstration of how to build one yourself.