A Machine Shop In A Toolbox: Just Add Time

You don’t need any fancy tools. A CNC machine is nice. A 3D printer can help. Laser cutters are just great. However, when it comes to actually making something, none of this is exactly necessary. With a basic set of hand tools and a few simple power tools, most of which can be picked up for a pittance, many things of surprising complexity, precision, and quality can be made.

Not as pretty, but worked just the same.

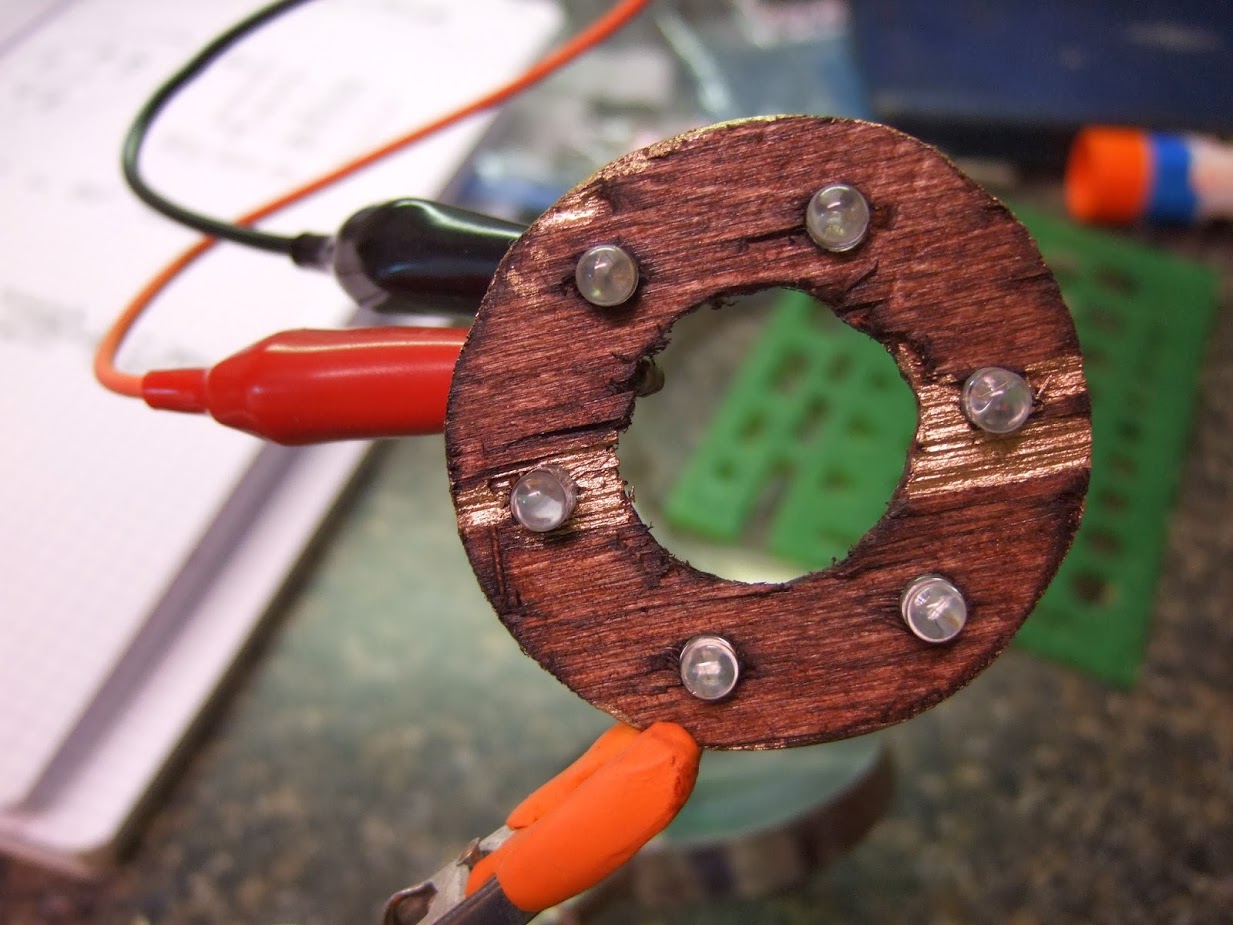
A while back I was working on a ring light for my 3D printer. I already had a collection of LEDs, as all hackers are weak for a five-dollar assortment box. So I got on my CAD software of choice and modeled out a ring that I was going to laser cut out of plywood. It would have holes for each of the LEDs. To get a file ready for laser cutting ook around ten minutes. I started to get ready to leave the house and do the ten minute drive to the hackerspace, the ten minutes firing up and using the laser cutter (assuming it wasn’t occupied) and the drive back. It suddenly occurred to me that I was being very silly. I pulled out a sheet of plywood. Drew three circles on it with a compass and subdivided the circle. Under ten minutes of work with basic layout tools, a power drill, and a coping saw and I had the part. This was versus the 40 minutes it would have taken me to fire up the laser cutter.

Continue reading “A Machine Shop In A Toolbox: Just Add Time”

Send A Raspberry Pi Back In Time To 1980

One of our favorite hacker-scavengers on YouTube, [The Post-Apocalyptic Inventor], has been connecting his Raspberry Pi up to nearly every display that he’s got in his well-stocked junk pile. (Video embedded below.)

Modern monitors with an HDMI input connect right up to the Pi. Before HDMI came VGA, but the Pi doesn’t do that natively. One solution is to use a composite-to-VGA converter and pull the composite signal out of the audio jack. Lacking the right 4-pole audio cable, [TPAI] soldered some RCA plugs directly onto the Pi, and plugged that into the converter. On a yet-older monitor, he faced a SCART adapter. If you’re European, you’ll know these — it’s just composite video with a different connector. Good thing he had a composite video signal already on hand.

online-with-my-1980-tv-set-huc2ls56hwimkv-shot0004The pièce de resistance, though, was attaching the Pi to his 1980 Vega TV set. It only had an antenna-in connector, so he needed an RF modulator. With a (presumably) infinite supply of junk VCRs on hand, he pulled an upconverter out of the pile, and got the Pi working with the snazzy retro TV.

Continue reading “Send A Raspberry Pi Back In Time To 1980”

3D Print An Enigma Machine That’s Close To The Real Thing

The Enigma machine as used by the German military during World War Two exerts a curious fascination among our community of hardware hackers and makers. Perhaps it is the mechanical complexity of the machine itself, or maybe the tale of how its encoded messages were decrypted by Allied codebreakers that contributes to this interest, but whatever it is we’ve seen a succession of Enigma-related projects over the years that shows no sign of abating.

The latest Enigma project to come our way is a particularly nice one from a group of first year students at CentraleSupélec Rennes, in Northwestern France. Their Réplique Enigma is a fully mechanical Enigma replica using 3D printing techniques, and unlike so many replicas which use modern electronics it has a set of rotors just like those you would have found in the original. The rotors themselves have a 3D-printed plastic shell which houses brass contacts and the associated writing, while the keyboard and lamp board are both made from plywood. Rather than trying to replicate the original switches from the keyboard they are using modern microswitches, however the keys themselves are upright posts that resemble the original. An AZERTY layout may not have been present on the real Enigma machines, but lends a pleasing twist to the build.

It’s worth browsing all the pages for this build, as the front page does not necessarily capture the whole build. The rotors set this Enigma apart from many of the replicas we’ve featured in the past, so you may find it interesting to take a look and make a few comparisons.