Most robots are built out of solid materials like metal and plastic, giving them rigid structures that are easy to work with and understand. But you can open up much wider possibilities if you explore alternative materials and construction methods. As it turns out, that’s precisely what [Jesse T. Gonzalez] specializes in.
Jesse is a PhD candidate at Carnegie Mellon’s Human-Computer Interaction Institute, and an innovator to boot. His talk at the 2023 Hackaday Supercon covers his recent work on making circuit boards that can breathe and bend. You might not even call them robots, but his creations are absolutely robotic.
While fluid dynamics sounds like a dull topic, SoapFilmScope promises to make it fun by using your cell phone to observe the interactions between sound waves and liquid membranes. You can make your own with some PVC pipe, some 3D-printed attachments, a speaker, and a few other odds and ends.
If your PVC pipe doesn’t match [DaniloR29’s] exactly, no problem. The files are in OpenSCAD so you can easily change them to suit your needs. One end of the PVC tee dips into soap solution to form a film — think like a soap bubble before you blow it out of the bubble wand. The other ends have the speaker and the cell phone camera.
Science and engineering usually create consistent results. Generally, when you figure out how to make something, you can repeat that at will to make more of something. But what if, one day, you ran the same process, and got different results? You double-checked, and triple-checked, and you kept ending up with a different end product instead?
Perhaps it wasn’t the process that changed, but the environment? Or physics itself? Enter the scary world of disappearing polymorphs.
The process of creating a diamond naturally takes between 1 and 3.3 billion years. Conversely, a lab-grown diamond can now be created in 150 minutes. But despite being an ethical and environmentally-friendly alternative to the real thing, the value of lab-grown diamonds has plummeted in recent years. Manufacturers are doing various things to battle the stigma and increase their value by being carbon neutral and using recycled metals.
About halfway through is where this article gets really interesting. Swiss jeweler LOEV has partnered with lab growers Ammil to produce a line of Swiss-made jewelry by relying on renewable energy sources. 90% comes from hydroelectric power, and the rest comes from solar and biomass generation. Now, on to the process itself.
You can have your cake and heat it, too.
Growing a diamond starts with a seed — a thin wafer of diamond laser-shaved off of an existing stone, and this is placed in a vacuum chamber and subjected to hydrocarbon gas, high heat (900 to 1200 °C), and pressure.
Then, a microwave beam induces carbon to condense and form a plasma cloud, which crystallizes and forms diamonds. The result is called a ‘cake’ — a couple of diamond blocks. The excess carbon is lasered away, then the cake is processed and polished. This is known as the chemical vapor deposition method (CVD).
There is another method of growing diamonds in a lab, and that’s known as the high-pressure, high-temperature (HPHT) method. Here, a small bit of natural diamond is used to seed a chamber filled with carbon, which is then subjected to high pressure and temperatures. The carbon crystallizes around the seed and grows around a millimeter each day.
As the industry evolves, lab-grown diamonds present a sustainable alternative to natural diamonds. But the consumer is always in charge.
Sometimes, all it takes is a change in perspective to take something boring and make it fun. That’s true about 16×2 LCD; in its usual landscape format, it’s a quick and easy way to provide a character-based display for a project. But flip it 90 degrees and use a little imagination, and it can become a cool retro racing game that fits in the palm of your hand.
[arduinocelantano] has made it a habit to press the humble 16×2 character LCD into service in ways it clearly wasn’t intended to support, such as playing Space Invaders and streaming video on it. Both of these projects seem to inform the current work, which was one of the first entries in our current Tiny Games Challenge contest. The racing game requires multiple sprites to animate the roadway and the cars, using six “layers” of eight custom characters and rapidly switching between them to create the appearance of movement. The video below has a brief sample of gameplay.
Flipping the display on its side makes for a somewhat limited game — it’s all straightaway, all the time — but that could probably be fixed. [arduinocelentano] suggests scaling it up to a 16×4 to include curves, but we’d bet you could still simulate curves on the upper part of the game field while leaving the player’s car fixed on a straight section. Higher difficulties could be achieved by moving the curved section closer to the player’s position.
Sure, it’s limited, but that’s half the charm of games like these. If you’ve got an idea for our Tiny Games Challenge, head over to our contest page and let us know about it. We’re keen to see what you come up with.
To be clear, when we are talking about tubes, we mean ordinary cylinders, not vacuum-amplifying elements. With that out of the way, when we need a tube like that, we usually think of PVC or some other kind of pipe product. Or maybe we’ll 3D print what we need. But not [GregO29]. He made his tubes from plywood.
You can make tubes as small as 12 inches in diameter, and [GregO29] made some that were 16 inches. The first step was to make a mold or form. In this case, he elected to make a form that the tube-to-be wraps around. The plywood is thin 2-ply white birch. This makes it easy to shape.
The basic idea is to wrap the wood around the form and glue it. You hold it together with a strap until it dries. Then, you can add more layers until it is the thickness you need.
The real problem turned out to be removing the form once it was done. Why make a tube like this? In [Greg]’s case, he’s building a telescope, which is as good a reason as any to have a tube, we suppose.
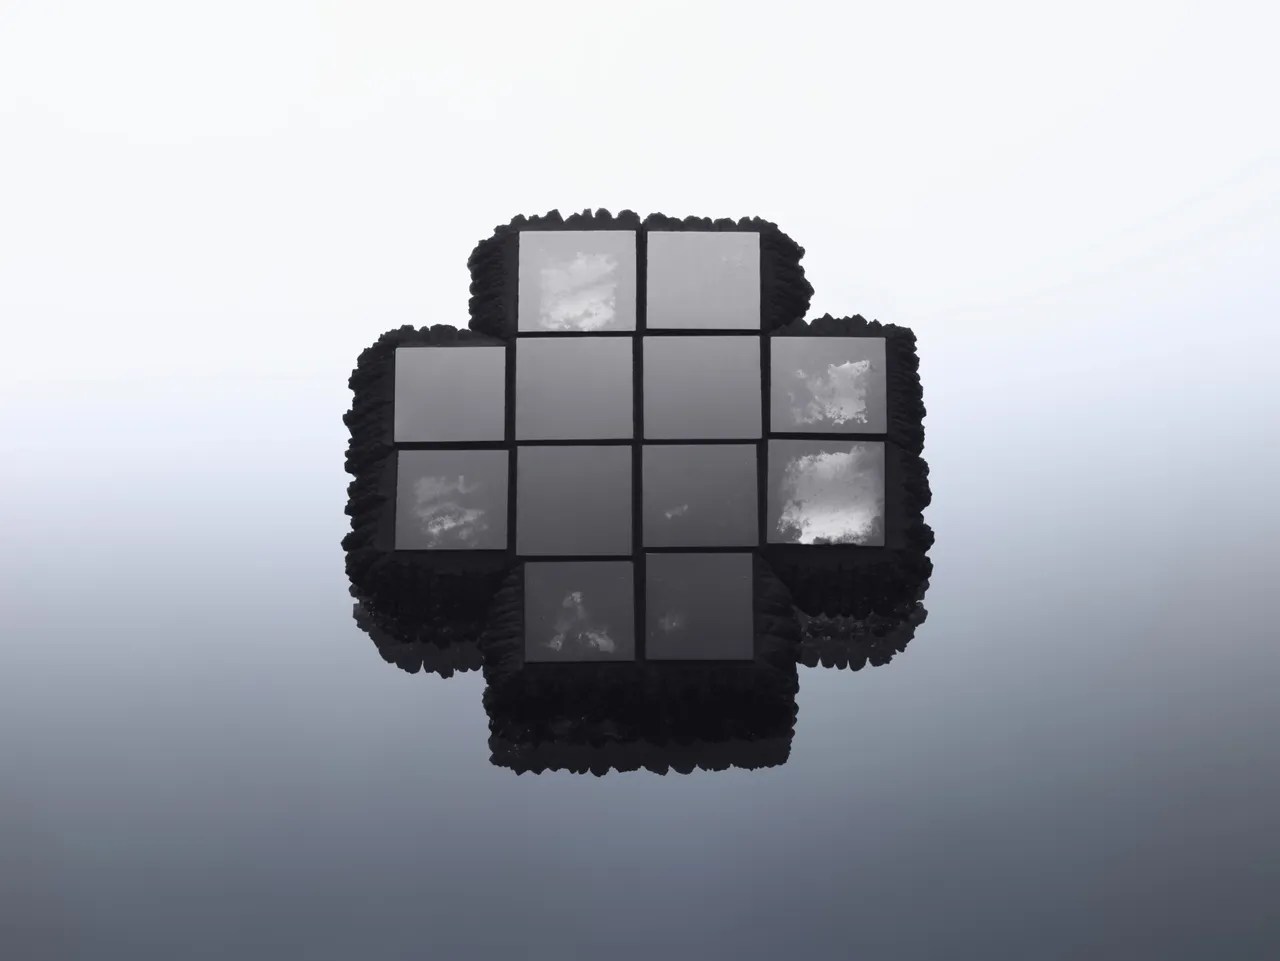
We’re now somewhere over two decades since the mass adoption of digital photography made chemical film obsolete in a very short time, but the older technology remains in use by artists and enthusiasts. There’s no longer a speedy developing service at you local mall though, so unless you don’t mind waiting for one of the few remaining professional labs you’ll be doing it yourself. Black-and-white is relatively straightforward, but colour is another matter. [Jason Koebler] has set up his own colour processing lab, and takes us through the difficult and sometimes frustrating process.
From an exhaustive list of everything required, to a description of the ups and downs of loading a Patterson tank and the vagiuaries of developer chemicals, we certainly recognise quite a bit of his efforts from the Hackaday black-and-white lab. But this is 2024 so there’s a step from days past that’s missing. We no longer print our photos, instead we scan the negatives and process then digitally, and it’s here that some of the good advice lies.
What this piece shows us is that colour developing is certainly achievable even if the results in a home lab can be variable. If you’re up for trying it, you can always automate some of the process.