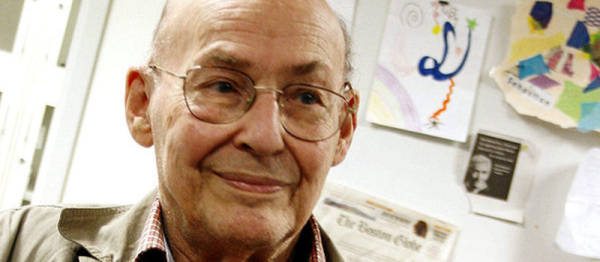
Marvin Minsky, one of the early pioneers of neural networks, died on Sunday at the age of 88.
The obituary in the Washington Post paints a fantastic picture of his life. Minsky was friends with Richard Feynman, Isaac Asimov, Arthur C. Clarke, and Stanley Kubrick. He studied under Claude Shannon, worked with Alan Turing, had frequent conversations with John Von Neumann, and had lunch with Albert Einstein.
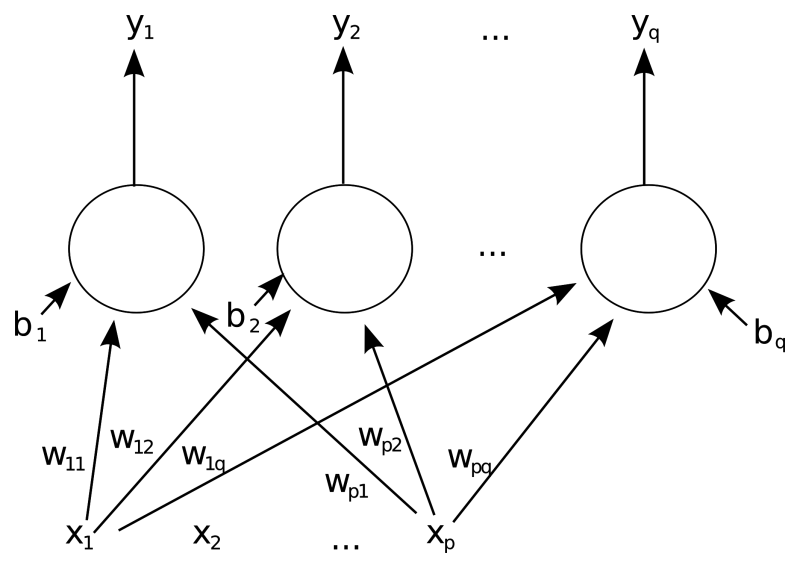
Minsky’s big ideas were really big. He built one of the first artificial neural networks, but was aiming higher — toward machines that could actually think rather than simply classify data. This was one of the driving forces behind his book, Perceptrons, that showed some of the limitations in the type of neural networks (single-layer, feedforward) that were being used at the time. He wanted something more.
Minsky’s book The Society of Mind is interesting because it reframes the problem of human thought from being a single top-down process to being a collaboration between many different brain regions, the nervous system, and indeed the body as a whole. This “connectionist” theme would become influential both in cognitive science and in robotics.
In short, Minksy was convinced that complex problems often had necessarily complex solutions. In research projects, he was in for the long-term, and encouraged a bottom-up design procedure where many smaller elements combined into a complicated whole. “The secret of what something means lies in how it connects to other things we know. That’s why it’s almost always wrong to seek the “real meaning” of anything. A thing with just one meaning has scarcely any meaning at all.”
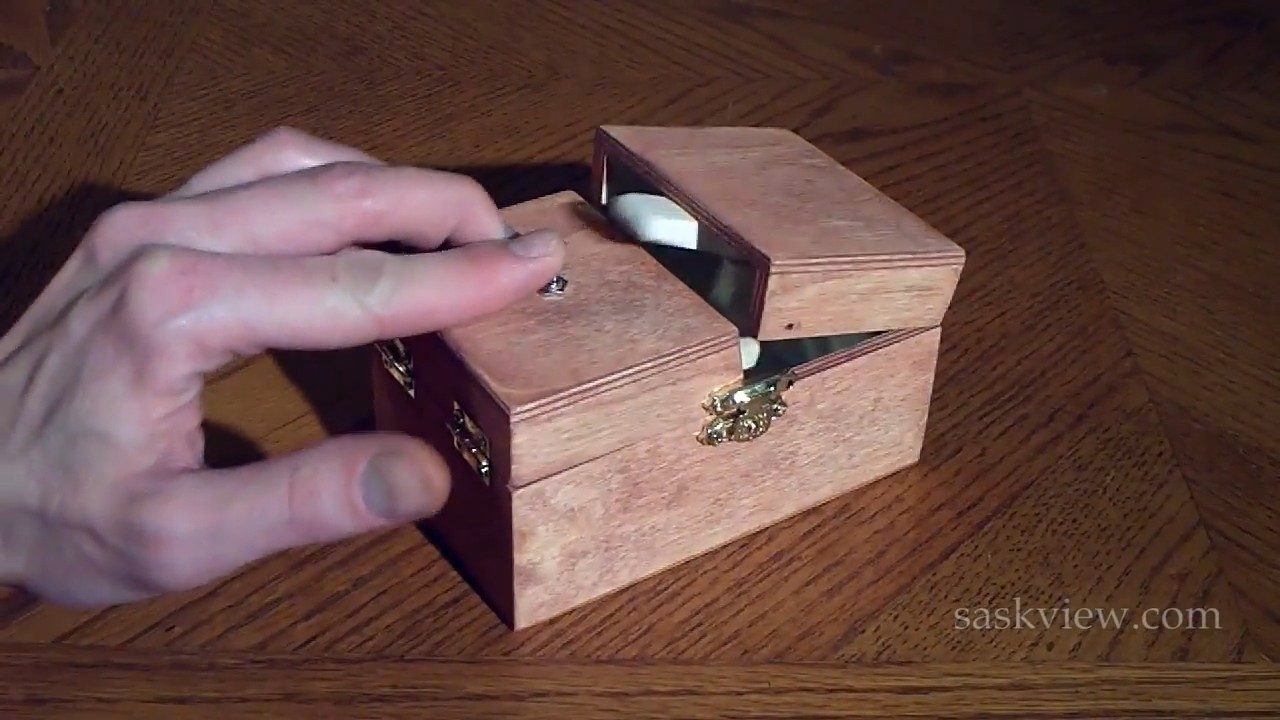 Minsky was a very deep thinker, but he kept grounded by also being a playful inventor. Minsky is credited with inventing the “ultimate machine” which would pop up in modern geek culture and shared numerous times on Hackaday as the “most useless machine”. He inspired Claude Shannon to build one. Arthur C. Clarke said, “There is something unspeakably sinister about a machine that does nothing — absolutely nothing — except switch itself off.”
He also co-designed the Triadex Muse, which was an early synthesizer and sequencer and “automatic composer” that creates fairly complex and original patterns with minimal input. It’s an obvious offshoot of his explorations in artificial intelligence, and on our bucket list of must-play-with electronic instruments.
Minsky’s web site at MIT has a number of his essays, and the full text of “The Society of Mind”, all available for your reading pleasure. It’s worth a bit of your time, not just in memoriam of a great thinker and a wacky inventor, but also because we bet you’ll see the world a little bit differently afterwards. That’s a legacy that lasts.