A Japanese protester flew a quadcopter with a symbolic amount of soil from the contaminated Fukushima region onto the roof of the Prime Minister’s office in April. Although it was a gesture, it alerted the Tokyo police department to the potential need to be able to pull drones out of the air.
Simply shooting them down won’t do — think of the innocent bystanders on the ground subjected to a rain of quadcopter parts. The Tokyo police’s solution: catch them in a net, flown by another quadcopter, of course.
We can’t embed it here, but go click through to the video. It looks like the police are having a really good time. How long before we see drone-net sets under the Christmas tree, or quadcopter-tag leagues? We’re uncertain of how far the Battlebots in the Sky movement got.
We have no shortage of yahoos driving quadcopters in the States, of course. From interfering with fire-fighting aircraft to simply flying too close to commercial airplanes, people are doing things that they simply shouldn’t. We’ve been covering the US government’s response that finally culminated in the FAA making rules requiring medium-weight drones to be registered. Watch our front page for more on that next week. Fly safe, folks.
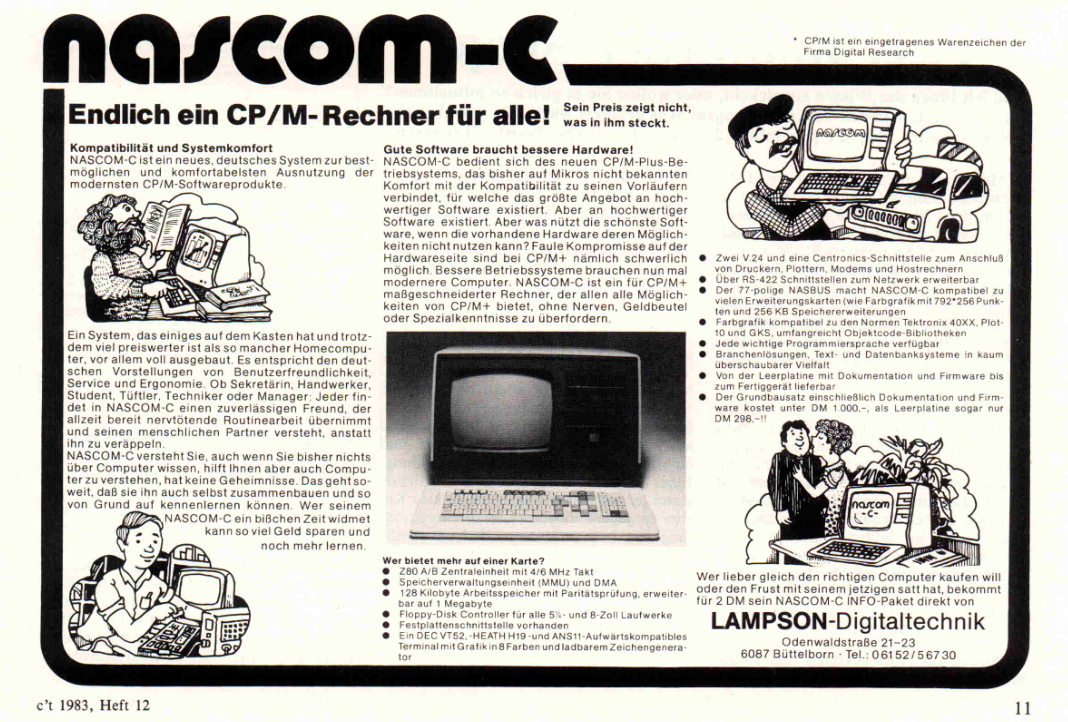
Every once in a while we get nostalgic for the old days of computing. Here, we’re getting nostalgic for a past that wasn’t even our own, but will probably bring a smile to all the German hackers out there. c’t magazine has its first issue available on their website (PDF, via FTP), and it’s worth checking out even if you can’t read a word of German.
It’s dated November/December 1983, and you’re definitely hopping in the WABAC machine here. The cover image is a terminal computer project that you’re encouraged to build for yourself, and the magazine is filled with those characteristic early-computer-era ads, many of them for the physical keyboards that you’d need to make such a device. Later on, c’t would provide plans for a complete DIY PC with plotter, one of which we saw still running at the 2015 Berlin Vintage Computer Festival.
The issue is chock-full of code for you to type out into your own computer at home. If you didn’t have a computer, there are of course reviews of all of the popular models of the day; the TRS-80 Model 100 gets good marks. And if you need to buy a BASIC interpreter, there’s an article comparing Microsoft’s MBASIC with CBM’s CBASIC. A battle royale!
Other hot topics include modifications to make your ZX81’s video output sharper, the hassle of having to insert a coded dongle into your computer to run some software (an early anti-piracy method), and even a computer-music band that had (at least) a Commodore 64 and a CBM machine in their groovy arsenal.
It’s no secret that we like old computers, and their associated magazines. Whether you prefer your PDP-11’s physical or virtual, we’ve got you covered here. And if your nostalgia leans more Anglophone, check out this Byte magazine cover re-shoot.
Amateur radio operators are always trying some new stunt or other. It’s like they’ve got something to prove. Take Aircraft scatter for instance: the idea is to extend your radio’s range by bouncing it directionally off of overhead airplanes.
Radio signals travel in straight lines, which is a bummer because the Earth (despite what you’ve heard) is round. Inevitably, if you want to talk to someone far enough away, they’re over a hill. We’ve covered various oddball propagation methods recently, so if you don’t know about moonbounce, you’ve got some background reading to do. But airplane scatter was new to us.
Actually pulling it off requires knowing where the airplanes are, of course. To do so, you could simply look up the aircraft in your target area on the web, using something like FlightRadar24, but where’s the fun in that? There’s also the possibility of tracking local aircraft yourself using RTL-SDR if you’re feeling hard core.
The rest is just details. Hams [Rex Moncur (VK7MO)] and [David Smith (VK3HZ)], for instance, got 10 GHz signals to skip off airplanes over 842 km (PDF). If you’re an old-school ham operator, you’re double-checking the “gigahertz”, but it’s not a mistake. It’s tremendously impressive that these guys got a link over such a long distance using only 10 watts — but note that they’re doing it with highly directive dishes, and telescopes to aim them.
Not to discourage you from trying this at home, but there are all sorts of difficulties that you’ll encounter when you do. Airplanes moving perpendicular to the path between sender and receiver will Doppler-shift the signal, and there’s still quite a chunk of atmosphere to get the signal through. Finally, although airplanes look pretty big when they’re on the ground, they’re actually tiny when they’re up in the sky at 35,000 ft and 500 miles away; you’re bouncing your signal off of a small target.
The good news? People like [W3SZ] are sharing their well-documented results, and at least it’s 20dB easier than bouncing signals off the moon!
Here at Hackaday we see a lot of technological hoaxes looking for funding. Some are on Kickstarter, others are firms looking for investors. And unlike a lot of the press, we’re both skeptical and experienced enough to smell the snake oil. When you read about a laser-powered razor blade that looks too good to be true, you know we’ve got your back.
The background: [Zachary Feinstein] is a professor at Washington University in St. Louis who studies financial engineering, and in particular systemic financial risk in the banking sectors. So he’s just exactly the guy you’d tap to write a paper on the financial repercussions of the destruction of the Death Stars in Star Wars (PDF). Wait, what?
The central argument of the paper is that, since the Empire has so much money wrapped up in building the Death Stars, it’s economic suicide for the Rebels to destroy it. To quantify any of this, [Feinstein] runs financial crisis models. The idea is that the Rebels win, but they inherit an economy that’s so dysfunctional that they’d have been better off not destroying the Death Stars.
We’re not saying that the rest of the press is gullible, but we are saying that they’re not putting their best economists onto articles about financing Death Stars. But here at Hackaday, we are. And we’re calling it a hoax. So let’s look into what the paper gets right, and what makes less sense even than Chewbacca’s infernal growling. Spoiler: we’ll get wrapped up in numbers because it’s fun, but the whole thing is moot for Econ 101-style reasons.
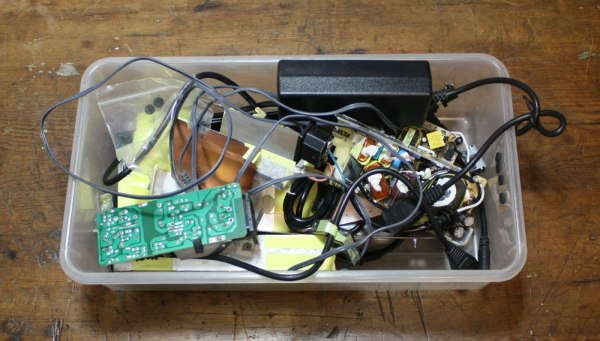
We love a good tear-down, and last week’s “Enginursday” at Sparkfun satisfied our desire to see the insides of AC-DC switching power supplies, accompanied by knowledgeable commentary. [MTaylor] walks us through how the basic circuit works and then points out why various other elaborations are made, and how corners are sometimes cut, in a few power supplies that he’s taken apart.
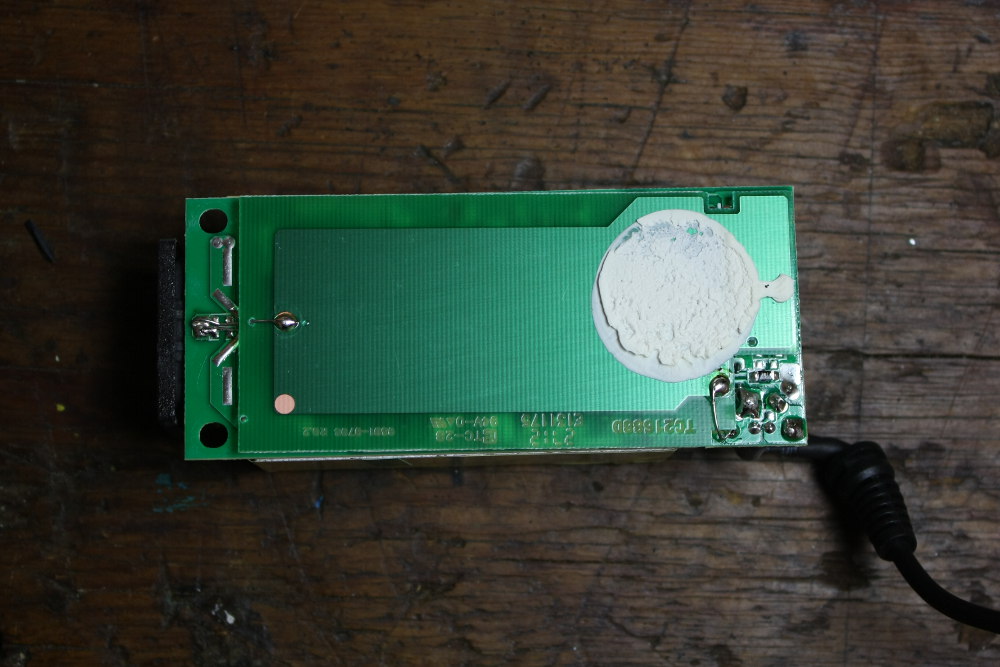
What struck us in the comparison was that some of the power supplies were very minimal designs, while others had “features” that were obviously added after the fact. For instance, the Li Shin supply (about half-way down the page) has an extra circuit board tacked on to the bottom of the real circuit board to act as EM shielding.
Rather than declare this a dodgy hack, as we would have, [MTaylor] declares it to be “Good News!” because it means that they’ve probably run an emissions test, failed it, and then added this bit on to make it pass. This is of course in contrast to the other makers who’ve probably never even considered emissions testing. Sigh.
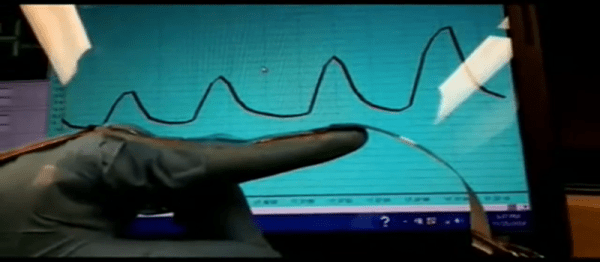
Normally, strain sensors are limited in their flexibility by the underlying substrate. This lead researchers at the University of Manitoba to an off-the-wall solution: mixing carbon nanotubes into a chewing-gum base. You can watch their demo video below the break.
The procedure, documented with good scientific rigor, is to have a graduate student chew a couple sticks of Doublemint for half an hour, and then wash the gum in ethanol and dry it out overnight. Carbon nanotubes are then added, and the gum is repeatedly stretched and folded, like you would with pizza dough, to align the ‘tubes. After that, just hook up electrodes and measure the resistance as you bend it.
The obvious advantage of a gum sensor is that it’s slightly sticky and very stretchy. The team says it works when stretched up to five times its resting length. Try that with your Power Glove.
The 900-pound gorilla in the corner of the Internet of Things (IoT) hype that everyone is trying to ignore is interoperability. In the Internet of Internets (IoI) everything works on a few standards that are widely accepted: IP and HTML. The discrepancies are in the details and the standards wars are in the past. Websites are largely interoperable. Not so in the wild-west ethos of the IoT.
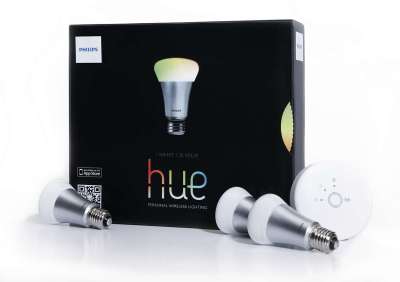
Philips makes a line of ZigBee-enabled RGB lightbulbs that took the enthusiast community by storm. And initially, Philips was very friendly to other devices — it makes a ZigBee-to-WiFi bridge that would let you control all of your ZigBee-based lights, regardless of their manufacturer, from your phone. Until now.
Philips has just rolled out a “Friends of Hue” certification process, and has since pushed out a firmware update where their Hue bridges stop interoperating with non-certified devices. You can read Philips’ version of the story here.
Philips Locks Out 3rd Party ZigBee Hardware
The hub shown on the right is what’s being locked down.
The short version is that, ZigBee standards be damned, your future non-Philips lights won’t be allowed to associate with the Philips bridge. Your GE and Osram bulbs aren’t Friends of Hue. DIY RGB strips in your lighting mix? Not Friends of Hue. In fact, you won’t be surprised to know who the “Friends of Hue” are: other Philips products, and Apple. That’s it. If you were used to running a mixed lighting system, those days are over. If you’re not on the friends list, you are an Enemy of Hue.
Their claim is that third party products may display buggy behavior on a Philips network, and that this loads up their customer-response hotlines and makes people think that Philips is responsible. Of course, they could simply tell people to disable the “other” devices and see how it works, putting the blame where it belongs. Or they could open up a “developer mode” that made it clear that the user was doing something “innovative”. But neither of these strategies prevent consumers from buying other firms’ bulbs, which cost only 30-50% of Philips’ Hue line.
While Philips is very careful to not couch it as such, the Friends of Hue program really looks like an attempt to shut out their competitors; Philips got an early lead in the RGB LED game and has a large share of the market. As they say themselves in their own press release “Today these 3rd party bulbs represent a minimal fraction of the total product connected to our bridges so the percentage of our users affected is minimal.” And they’d like to keep it that way, even though the people they’re hurting are probably their most vocal and dedicated customers.
And while we, with our manual light switches, laugh comfortably at the first-world problems of Hue consumers, we have to ask ourselves whether we’re next. Today they come for our RGB lightbulbs, but tomorrow it might be our networked toasters. A chilling thought!
Snark aside, the IoT brings two of the saddest realities of the software world into your home appliances: Where there’s code, there’s vulnerabilities, and when you can’t control the code yourself you aren’t really in control. You may own the lightbulb, but you’re merely licensing the firmware that runs it. The manufacturer can change the rules of the game, or go out of the product line entirely, and you’re high and dry. What can you do? Pull out your JTAG debugger.
Of course it’s insane to suggest that everyone needs to become an embedded-device firmware hacker just to keep their fridge running. As we’ve written before, we need to come up with some solution that puts a little more control in the hands of the ostensible owners of the devices, while at the same time keeping the baddies out. We suggest a press-to-revert-firmware button, for instance. When Philips pushes a non-consumer-friendly upgrade, you could vote with your fingertips — but then you’d miss out on bug fixes as well. Maybe it’s better to just give in an learn to love Windows 10.
There are no easy solutions and no perfect software. The industry is still young and we’ll see a lot of companies staking out their turf as with any new technology. It seems to us that IoT devices leave consumers with even less choice and control than in the past, because they are driven by firmware that’s supposed to be invisible. It’s just a lightbulb, right?
What do you think? Any ideas about how to put the power back in the hands of the “owner” of the device without everyone’s refrigerators becoming botnet zombies? Let us know in the comments.
“We underestimated the impact this would have upon the small number of our customers who currently use uncertified lights from other brands in the Philips Hue system. We have decided to continue to enable our customers who wish to integrate these uncertified products within their Philips Hue system.”

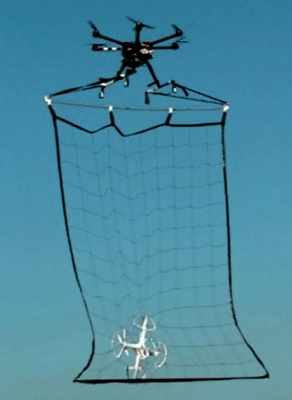 Simply shooting them down won’t do — think of the innocent bystanders on the ground subjected to a rain of quadcopter parts. The Tokyo police’s solution: catch them in a net, flown by another quadcopter, of course.