2025 Hackaday Component Abuse Challenge: Let The Games Begin!

In theory, all parts are ideal and do just exactly what they say on the box. In practice, everything has its limits, most components have non-ideal characteristics, and you can even turn most parts’ functionality upside down.

The Component Abuse Challenge celebrates the use of LEDs as photosensors, capacitors as microphones, and resistors as heat sources. If you’re using parts for purposes that simply aren’t on the label, or getting away with pushing them to their absolute maximum ratings or beyond, this is the contest for you.

If you committed these sins against engineering out of need, DigiKey wants to help you out. They’ve probably got the right part, and they’re providing us with three $150 gift certificates to give out to the top projects. (If you’re hacking just for fun, well, you’re still in the running.)

This is the contest where the number one rule is that you must break the rules, and the project has to work anyway. You’ve got eight weeks, until Nov 11th. Open up a project over at Hackaday.io, pull down the menu to enter in the contest, and let the parts know no mercy!

Honorable Mention Categories:

We’ve come up with a few honorable mention categories to get your ideas flowing. You don’t have to fit into one of these boxes to enter, but we’ll be picking our favorites in these four categories for a shout-out when we reveal the winners.

  • Bizarro World: There is a duality in almost every component out there. Speakers are microphones, LEDs are light sensors, and peltier coolers generate electricity. Turn the parts upside down and show us what they can do.
  • Side Effects: Most of the time, you’re sad when a part’s spec varies with temperature. Turn those lemons into lemonade, or better yet, thermometers.
  • Out of Spec: How hard can you push that MOSFET before it lets go of the magic smoke? Show us your project dancing on the edge of the abyss and surviving.
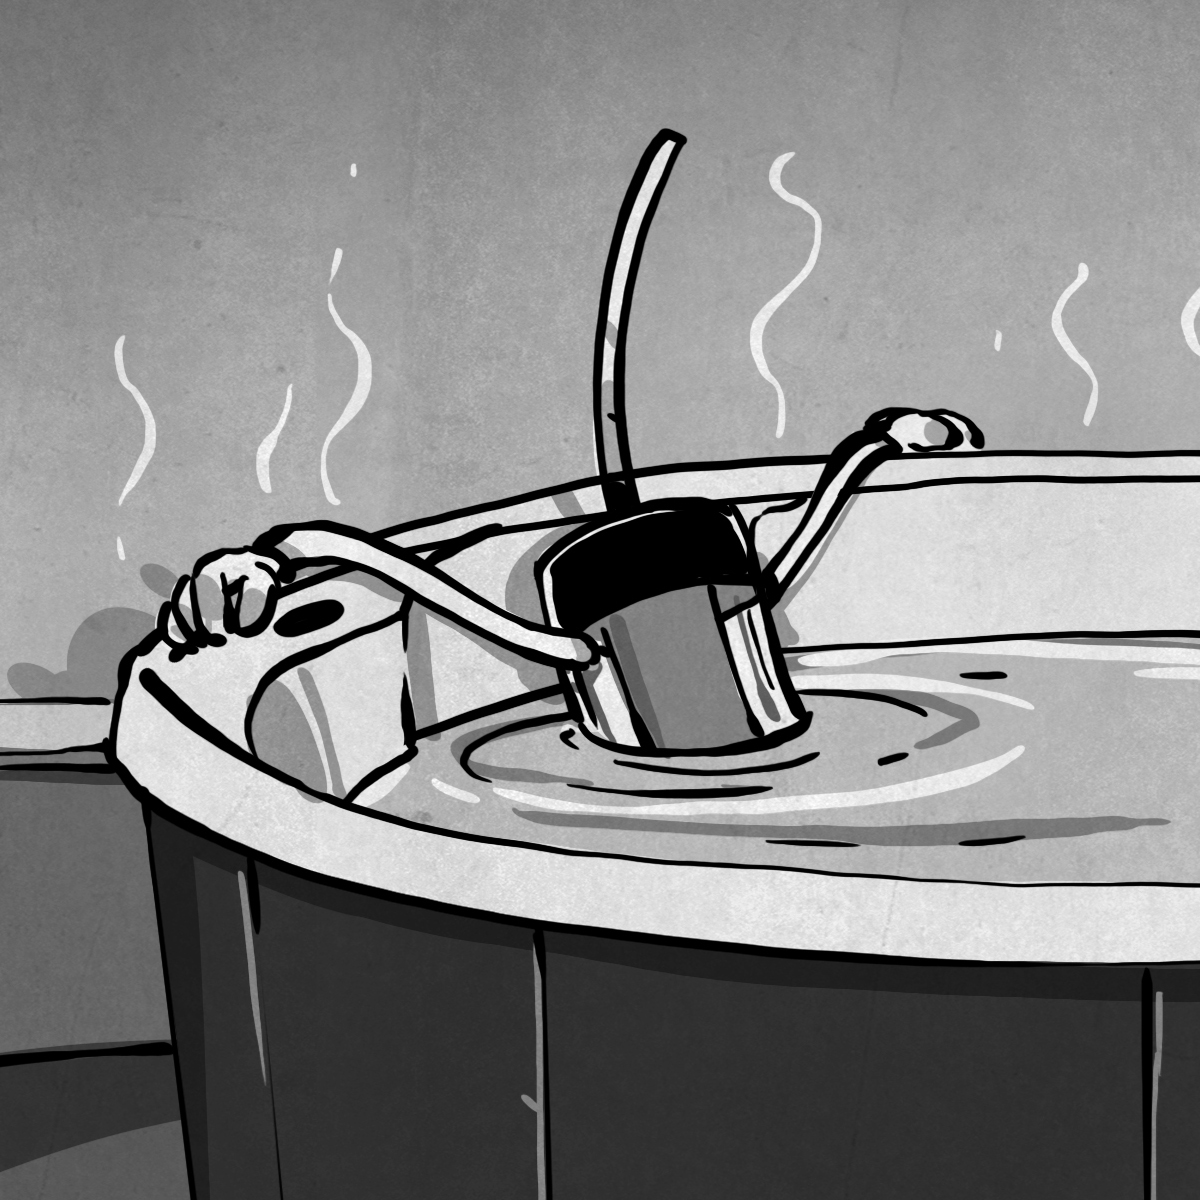
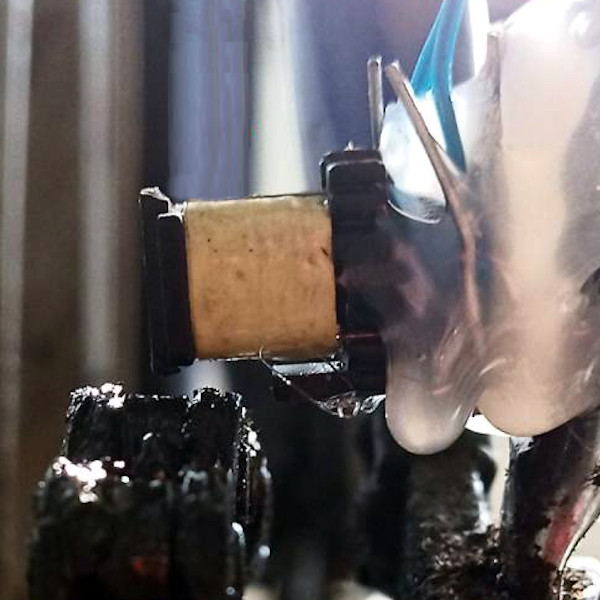
  • Junk Box Substitutions: What you really needed was an igniter coil. You used an eighth-watt resistor, and got it hot enough to catch the rocket motor on fire. Share your parts-swapping exploits with us.

Inspiration

Diodes can do nearly anything.  Their forward voltage varies with temperature, making them excellent thermometers. Even the humble LED can both glow and tell you how hot it is. And don’t get us started on the photo-diode. They are not just photocells, but radiation detectors.

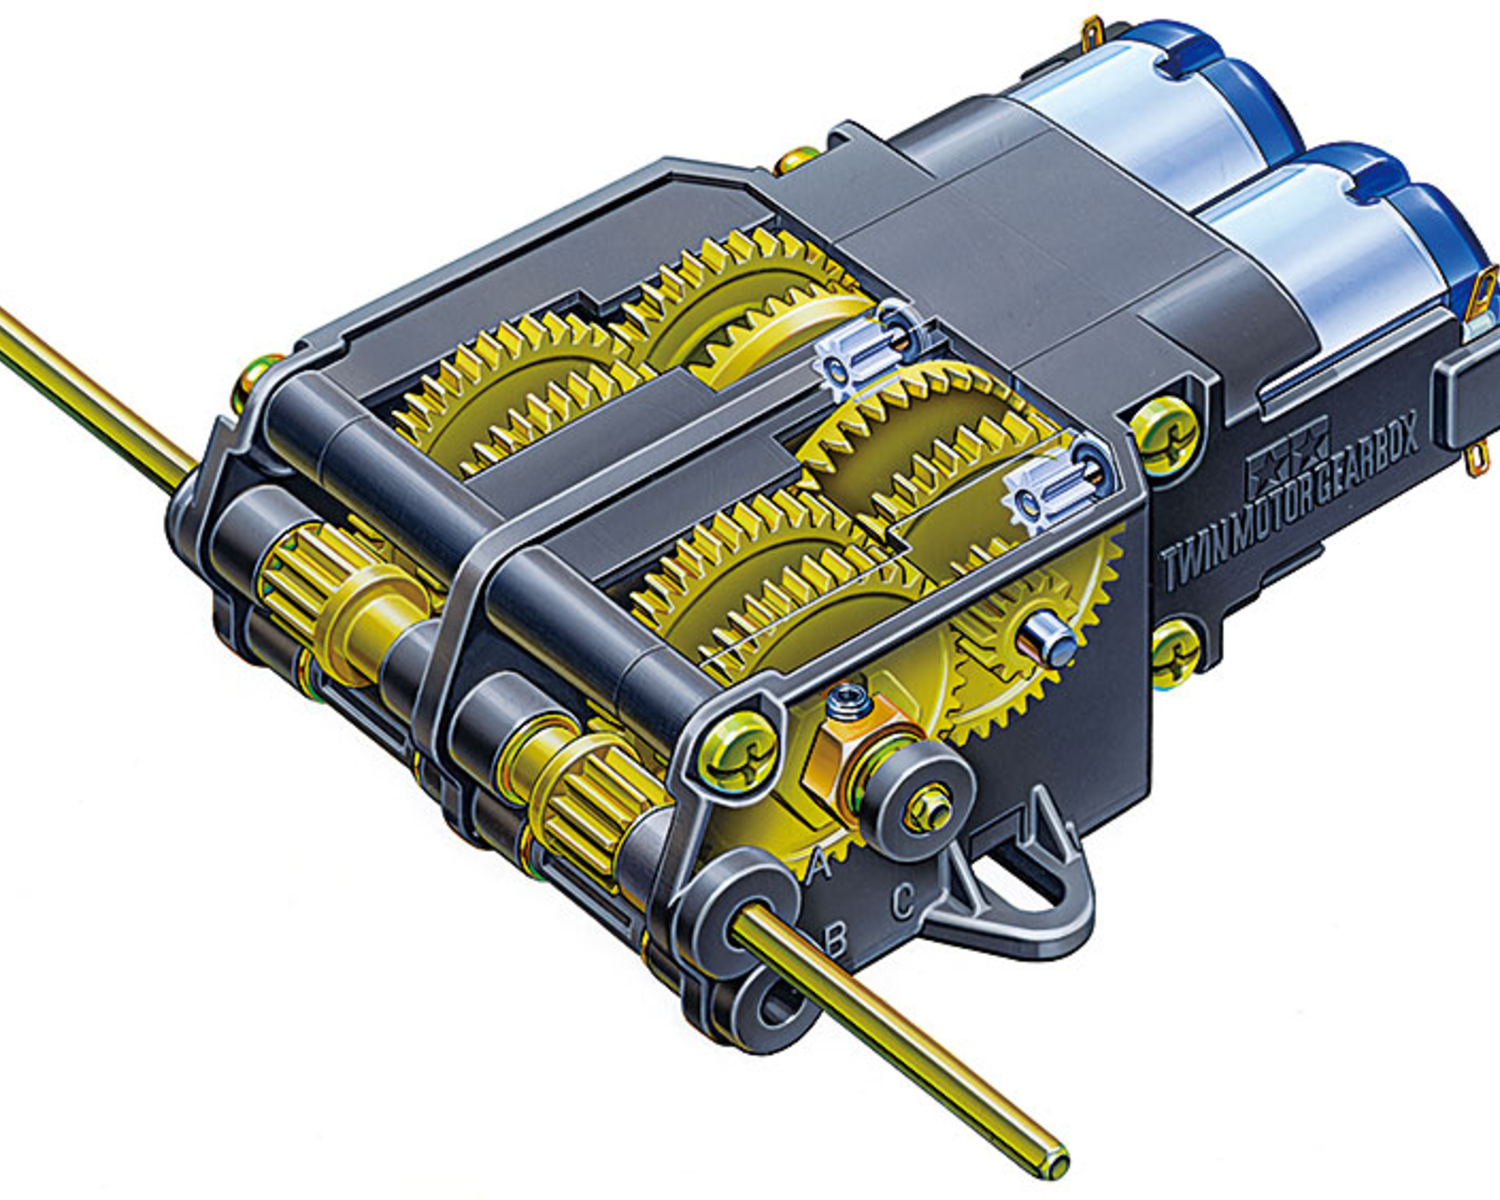
Here’s a trick to double the current that a 555 timer can sink. We’d love to see other cases of 555 abuse, of course, but any other IC is fair game.

Resistors get hot. Thermochromic paint changes color with temperature. Every five years or so, we see an awesome new design. This ancient clock of [Sprite_tm]’s lays the foundation, [Daniel Valuch] takes it into the matrix, and [anneosaur] uses the effect to brighten our days.

Of course, thin traces can also be resistors, and resistors can get really hot. Check out [Carl Bujega]’s self-soldering four-layer PCB. And while magnetism is nearly magic, a broken inductor can still be put to good use as a bike chain sensor.

Or maybe you have a new twist on the absolutely classic LEDs-as-light-sensors? Just because it’s been done since the early says of [Forrest Mims] doesn’t mean we don’t want to see your take.

Get out there and show us how you can do it wrong too.

Keep Reading, Keep Watching

I’ve been flying quadcopters a fair bit lately, and trying to learn some new tricks also means crashing them, which inevitably means repairing them. Last weekend, I was working on some wiring that had gotten caught and ripped a pad off of the controller PCB. It wasn’t so bad, because there was a large SMT capacitor nearby, and I could just piggyback on that, but the problem was how to re-route the wires to avoid this happening again.

By luck, I had just watched a video where someone else was building up a new quad, and had elegantly solved the exact same routing problem. I was just watching the video because I was curious about the frame in question, and I had absolutely no idea that it would contain the solution to a problem that I was just about to encounter, but because I was paying attention, it make it all a walk in the park.

I can’t count the number of times that I’ve had this experience: the blind luck of having just read or seen something that solves a problem I’m about to encounter. It’s a great feeling, and it’s one of the reasons that I’ve always read Hackaday – you never know when one hacker’s neat trick is going to be just the one you need next week. Indeed, that’s one of the reasons that we try to feature not just the gonzo hacks that drill down deep on a particular feat, but also the little ones too, that solve something in particular in a neat way. Because reading up on the hacks is free, and particularly cheap insurance against tomorrow’s unexpected dilemmas.

Read more Hackaday!

Knowing That It Is Possible

We like to think that we can do almost anything. Give me a broken piece of consumer electronics, and I’ll open it up and kick the capacitors. Give me an embedded Linux machine, and I’ll poke around for a serial port and see if it’s running uboot. But my confidence suddenly pales when you hand me a smartphone.

Now that’s not to say that I’ve never replaced a broken screen or a camera module with OEM parts. The modern smartphone is actually a miracle of modularity, with most sub-assemblies being swappable, at least in principle, and depending on your taste for applying heat to loosen up whatever glue holds the damn things together.

But actually doing hardware hacking on smartphones is still outside of my comfort zone, and that’s a shame. So I was pretty pleased to see [Marcin Plaza] attempt gutting a smartphone, repackaging it into a new form factor, and even adding a new keyboard to it. The best moment in that video for me comes around eight minutes in, when he has completely disassembled all of the modules and is laying them out on his desk to see how little he needs to make the thing work. And the answer is batteries, motherboard, USB-C, power button, and a screen. That starts to seem like a computer build, and that’s familiar turf.

That reminded me of [Scotty Allen]’s forays into cell-phone hackery that culminated in his building one completely from parts, and telling us all about it at Supercon ages ago. He told me that the turning point for him was realizing that if you have access to the tools to put it together and can get some of the impossibly small parts manufactured and/or assembled for you, that it’s just like putting a computer together.

So now I’ve seen two examples. [Scotty] put his together from parts, and [Marcin] actually got a new daughterboard made that interfaces with the USB to add a keyboard. Hardware hacking on a cellphone doesn’t sound entirely impossible. You’d probably want a cheap old used one, but the barrier to entry there isn’t that bad. You’ll probably have to buy some obscure connectors – they are tiny inside smartphones – and get some breakout boards made. But maybe it’s possible?

Anyone have more encouragement?

Who Is Your Audience?

Here at Hackaday HQ, we all have opinions about the way we like to do things. And no surprise, this extends to the way we like to lay out circuits in schematics. So when we were discussing our own takes on this piece on suggested schematic standards, it was maybe more surprising how much we did agree on than how much we had different preferred styles. But of course, it was the points where we disagreed that provoked the most interesting discussion, and that’s when I had a revelation.

Besides torturing electronics, we all also write for you all, and one thing we always have in mind is who we’re writing for. The Hackaday audience, not to blow you up, is pretty knowledgeable and basically “full-stack” in terms of the hardware/software spectrum. This isn’t to say that everyone is a specialist in everything, though, and we also have certain archetypes in mind: the software type who is just starting out with hardware, the hardware type who isn’t as savvy about software, etc. So, back to schematic layout: Who is your audience? It matters.

For instance, do you organize the pinout for an IC by pin number or by pin function, grouping the power pins and the ADC pins and so on? If your audience is trying to figure out the circuit logic, you should probably go functional. But if you are trying to debug a circuit, you’re often looking at the circuit diagram to figure out what a given pin does, and the pin-number layout is more appropriate.

Do you lay out the logical flow of the circuit in the schematic, or do you try to mimic the PCB layout? Again, it could depend on how your audience will be using it. If they have access to your CAD tool, and can hop back and forth seamlessly from schematic to PCB, the logical flow layout is the win. However, if they are an audience of beginners, or stuck with a PDF of the schematic, or trying to debug a non-working board, perhaps the physical layout is the right approach.

Al Williams, who has experience with projects of a much larger scale than most of us self-taught hackers, doesn’t even think that a schematic makes sense. He thinks that it’s much easier to read and write the design in a hardware description language like VHDL. Of course, that’s certainly true for IC designs, and probably also for boards of a certain complexity. But this is only true when your audience is also familiar with the HDL in question. Otherwise, you’re writing in Finnish for an audience of Spaniards.

Before this conversation, I was thinking of schematic layout as Tom Nardi described it on the podcast – a step along the way to get to the fun parts of PCB layout and then to getting the boards in hand. But at least in our open-source hardware world, it’s also a piece of the documentation, and a document that has an audience of peers who it pays to keep in mind just as much as when I’m sitting down and writing this very newsletter. In some ways, it’s the same thing.

(And yeah, I know the featured image doesn’t exactly fit the topic, but I love it anyway.)

Metric, Imperial, And Flexibility

Al Williams wrote up a seemingly innocent piece on a couple of rules-of-thumb to go between metric and US traditional units, and the comment section went wild! Nothing seems to rile up the Hackaday comment section like the choice of what base to use for your unit system. I mean, an idealized version of probably an ancient Egyptian’s foot versus a fraction of the not-quite-right distance from the North Pole to the equator as it passes through Paris? Six of one, half a dozen the other, as far as I’m concerned. Both are arbitrary.

What’s fun, though, is how many of us need to know both systems and how schizophrenic it all can be. My favorite example is PCB layout, where tenths and thousandths of an inch are unavoidable in through-hole and surface-mount parts, yet we call out board sizes and drill bits in millimeters – on the same object, and without batting an eye. American 3D printer enthusiasts will know their M3 hardware, and probably even how much a kilogram weighs, because that’s what you buy spools of filament in. Oddly enough, though I live in Europe, I have 3/4” thread on my garden hose and a 29” monitor on my desk. Americans buy two liter bottles of soda without thinking twice.

The absolute kings of this are in the UK, where the distance between cities is measured in miles, but the dimensions of an apartment in meters. They’ll buy gas in liters and beer in pints. Humans are measured both in feet-and-inches and centimeters, and weighed in pounds, kilograms, or even stone.

And I think that’s just fine. Once you give up on the rightness of either system, they both have their pros and cons. Millimeters are superb for doing carpentry in – that’s just about how tight my tolerances are with hand tools anyway, and if it’s made of wood, you can fudge 0.5 mm either way pretty easily. Sure, you could measure in 32nds of an inch, but have you ever bought a plywood sheet that’s 1536 x 3072 thirty-seconds? (That’s 4’ x 8’, or 1200 mm x 2400 mm.) No, you haven’t.

But maybe stick to one system when lives or critical systems are on the line. Or at least be very careful to call out your units. While it’s annoying to spec the wrong SMT part size because KiCAD calls some of them out in millimeters and inches – 0402 in inches is tiny, but 0402 in metric is microscopic – it’s another thing entirely to load up half as much fuel as you need for a commercial airline flight because of metric vs imperial tons. There’s a limit to how units-flexible you want to be.

A Love Letter To Prototype Zero

An old friend of mine at my hackerspace introduced me to the concept of Prototype Zero: The Version that Even Your Own Sweet Mother Isn’t Allowed to See. The idea is that when you’re building something truly new, or even just new to you, your first take will almost always be ugly, and nothing will work the way it will by the time you make your second one. But it’s also important to the exercise that you see it all the way through to the end if you can.

I’m reminded of this after seeing a marvelous video by [Japhy Riddle] where he discusses his Prototype Zero of the Tape-Speed Keyboard. About halfway through the video he says that he would have done it totally differently if he knew then what he knows now: the hallmark of Prototype Zero. Yet he finishes it up, warts and all, documents it, and plays around with all of its possibilities. (Documenting it publicly isn’t part of the Prototype Zero method.)

I don’t think that [Japhy] is going to make a Prototype 1.0 out of this project, but I could be wrong; he seems to be content with having scratched the variable-speed tape itch. But if he did want to, he’s learned all of the gotchas on the engineering side, and found out exactly what such an instrument is capable of. And this loops back to the importance of getting Prototype Zero finished. You may have learned all of the tricks necessary to build the thing even before you’ve put the last screw in, but it’s when you actually have the thing in your hands to explore that you get the ideas for refinement that you simply can’t think up when it’s still just a concept.

Don’t be afraid to make your prototype quick and dirty, because if it ends up too dirty, you can just call it Prototype Zero. But don’t be tempted by the siren’s song of the 80% finished prototype either. Exploring putting Prototype Zero into use is its real purpose.

Thanks, Tamiya-san

We’re saddened to report the passing of Shunsaku Tamiya, the man behind the Tamiya line of models. What was surprising about this, though, is how many of our readers and writers alike felt touched by the Tamiya model company. I mean, they made great models, and they’re definitely a quality outfit, but the outpouring of fond memories across a broad spectrum was striking.

For example, we originally ran the story as breaking news, but our art director Joe Kim spent a good part of his childhood putting together Tamiya kits, and felt like he absolutely had to do a portrait of Mr. Tamiya to pay his respects. I presume Joe is more on the painting-the-models end of the spectrum of Tamiya customers, given his artistic bent. Jenny’s writeup is absolutely touching, and her fond remembrances of the kits shines through her writing.

Myself, I’m on the making-small-robots end of the spectrum, and was equally well served. Back in the early ’90s, the “twin motor gearbox” was a moderately challenging and tremendously rewarding build for me, but it was also the only variable-ratio small motor gearbox that we had easy access to for making small bots to run around the living room.

Indeed, the Tamiya line included a whole series of educational models and components that were just perfect for the budding robot builder. I’m sure I have a set of their tank treads or a slip clutch in a box somewhere, even today.

It’s nice to think of how many people’s lives were touched by their kits, and to get even a small glimpse of that, you just need to read our comment section. We hope the company holds on to Mr. Tamiya’s love for quality kits that inspire future generations, whether they end up becoming artists, engineers, or simply hackers.