The humble 555 timer has its origins back in the early 1970s as the NE555, a bipolar integrated circuit. Over the years it has spawned a range of derivatives, including dual versions, and ones using CMOS technology. Have these enhancements improved the performance of the chip significantly? [MagicWolfi] has been pushing the envelope in an effort to see just how fast an astable 555 can be.
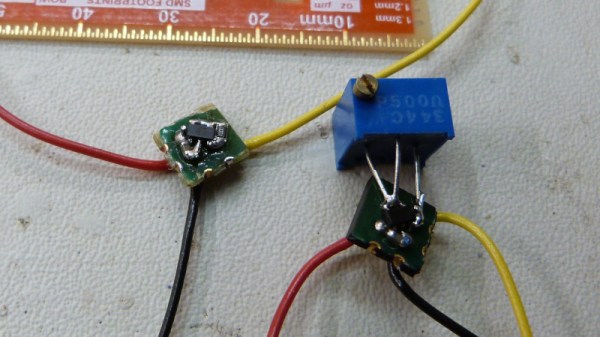
The Microchip MIC1555 may be the newest of the bunch, a 5-pin CMOS SOT-23 which has lost the frequency control and discharge pins of the original. It’s scarcely less versatile though, and it’s a fine candidate for an oscillator to push. We see it at a range of values for the capacitor and resistor in an astable configuration, each of which is tested across the supply voltage range. It’s rated as having a maximum frequency of 5 MHz, but with a zero Ohm resistor and only the parasitic capacitance of an open circuit, it reaches the giddy heights of 9.75 MHz. If we’re honest we find this surprising, but on reflection the chip would never be a first choice for super-fast operation.
We like it that someone’s managed to tie in the 555 to the contest, and given that it still has a few days to run at the time of writing, we’re hoping some of you might be inspired to enter one of your own.