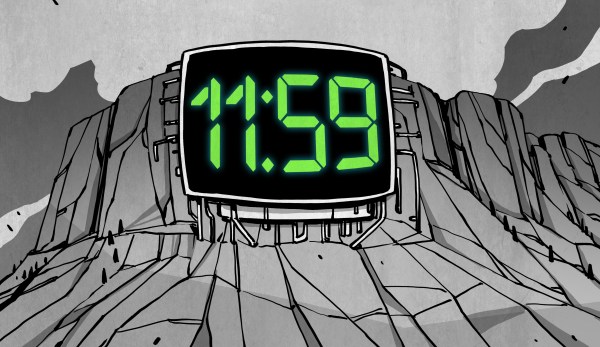
You wake up in the middle of the night. Is it time to get up? Well, you can look at the nightstand clock. Unless your partner is in the way. Whoops. Even then, without your glasses, the time is just a fuzzball of light. You could ask Alexa, but that’s sure to wake your partner, too. The answer is a projection clock. In its modern form, it shoots a digital time display on a wall or ceiling with digits so large that you don’t need your glasses. If you can see the ceiling, you can tell what time it is.
New Tech
A modern invention, of course. No, not really. According to [Roger Russel], a UK patent in 1909 used an analog clock face and lightbulbs to project the clock face and hands on the ceiling. Unfortunately, [Roger’s] website is no more, but the Wayback Machine is on the job. You can see a device of the same type at the British Museum.
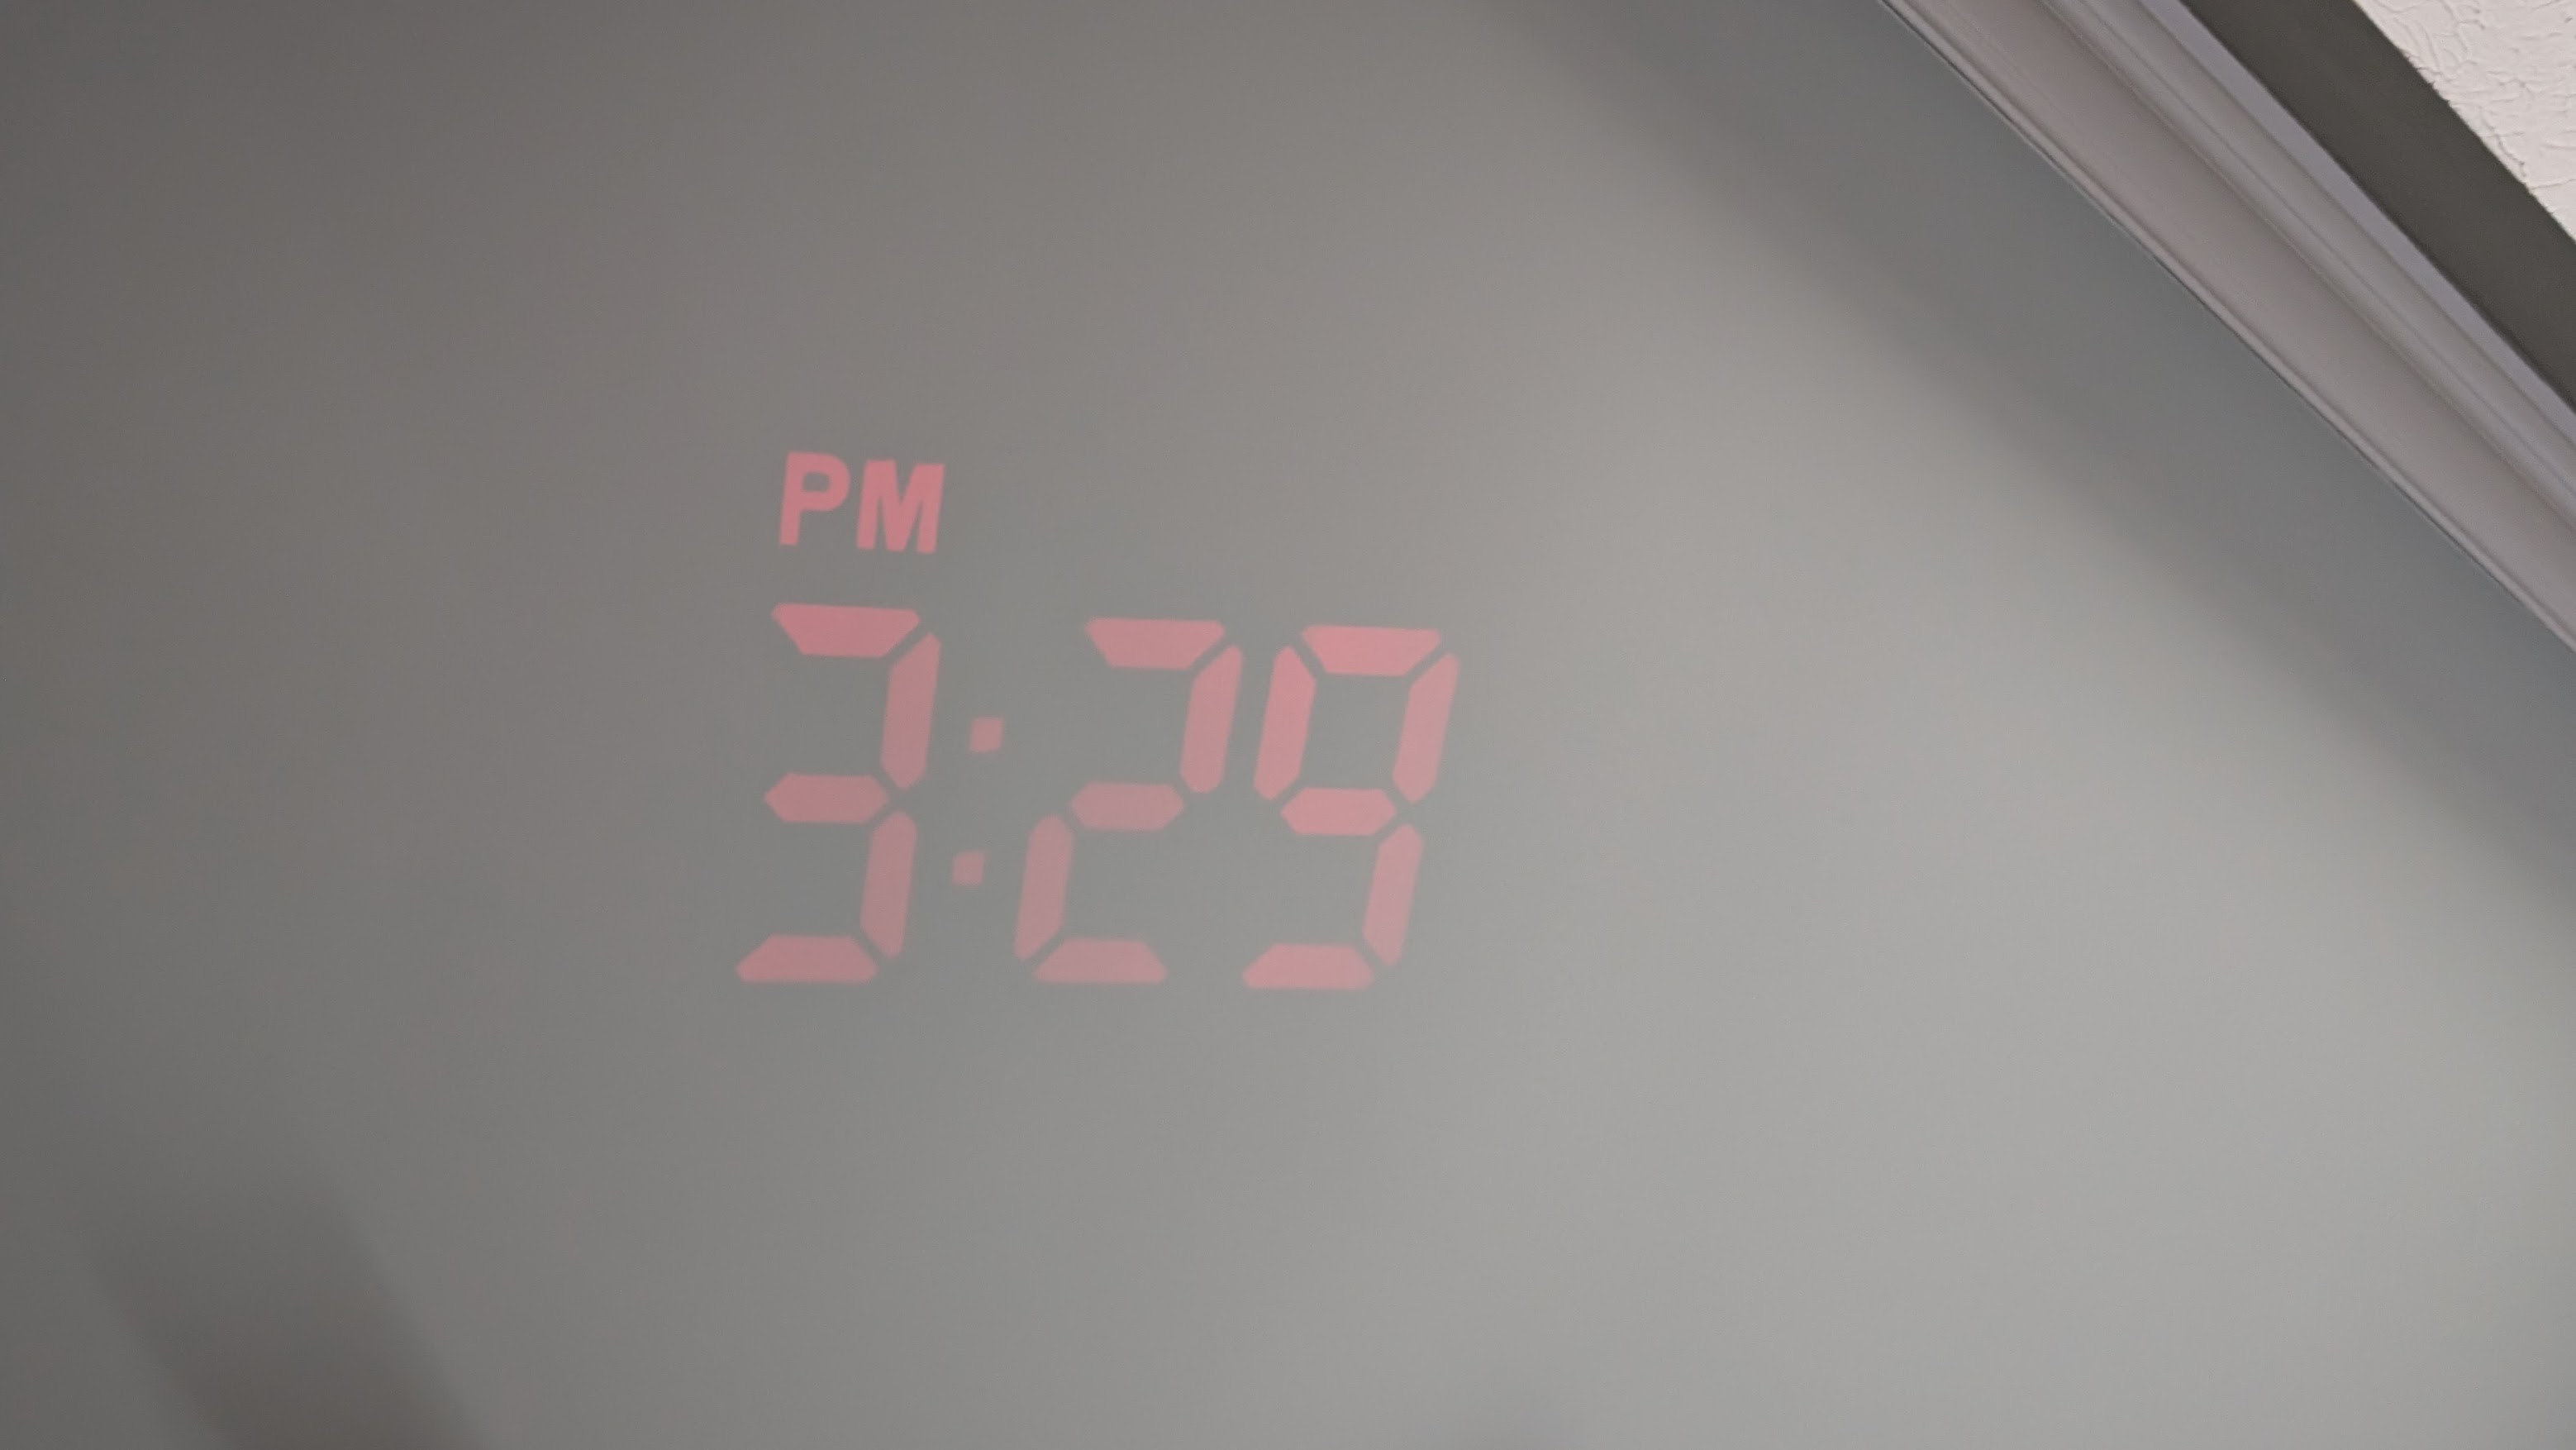
In 1938, [Leendert Prins] filed for a patent on a similar projection clock. Sometimes known as “ceiling clocks” or “night clocks,” these devices often have a regular clock visible as well as a way to project the time. In the old days, this was often an image of a translucent analog clock lit up by light bulbs. In the modern era, it is almost always either LEDs or an LCD with a halogen backlight. Of course, there are many variations. A clock might use numbers on a rotating drum with a lamp behind it, for example.
Development
It isn’t hard to imagine someone putting a pocket watch in a magic lantern as a prototype. In general, some bright light source has to pass through a condenser lens. The light then travels through the LCD or translucent clock face. Finally, a projector lens expands the image.
We couldn’t find much about the actual history of old projection clocks outside of [Roger’s] defunct website. But if you can project an image and build a clock, all you need is the idea to combine them.