A black-and-white clock face is shown. The numerals are ranged around the right edge of the clock. One pointer extends from the center of the clock, and one is on the left side of the face.

A Clock Inspired By Failed Cognitive Tests

One simple screening tool for cognitive impairment is the clock-drawing test (CDT): the patient is provided with a printed circle and asked to draw a clock face with the hands pointing to a certain time. Depending on how the clock is drawn, this could indicate a variety of different disorders, particularly dementia, with a particular deformity in the drawing sometimes pointing to a specific issue. These failed tests inspired [John Silvia] to create a clock with a unique, disordered face.

The numerals in this clock face are placed exclusively along the right half of the clock (in the test, this can be a sign of damage to the right parietal lobe, or of executive dysfunction caused by dementia), and out of order. The hour hand is controlled by a servo motor, and the minute hand is mounted on a separate, commercially-purchased clock mechanism on the left-hand side of the face.

The frame for the clock and the face are 3D-printed, and the servo motor is controlled by an ESP32-C3 with an RTC module. To minimize power draw, a MOSFET disconnects the servo motor from power except for the once-per-hour position update. Once per month, the ESP32 connects to Wi-Fi to synchronize to NTP time, otherwise remaining in a low-power state – even its indicator LEDs are disconnected to save power. These efforts paid off: when the servo isn’t active, it draws only about 160 µA, and a set of three AA NiMH cells lasts about a year.

Since the servo motor draws most of the power budget, it wouldn’t make much difference, but the ESP32’s co-processor can also be used for ultra-low-power projects. For a happier take on a drawing-related clock, check out one of these projects.

Voltmeter Clock Has The Time Dialled In

You could make a clock with three hands spinning about nested central shafts. If you did that, we probably wouldn’t publish it on Hackaday unless you really found a way to make it interesting. Make a clock out of voltmeters, however, and that usually catches our eye. [lcamtuf] has done just that.

The heart of the build is an AVR128DB28 microcontroller, an 8-bit microcontroller that is still currently in production. It runs at 8MHz, and drives a series of three Baomain 65C5 voltmeters to display hours, minutes, and seconds. Each has a custom printed face with the correct number of 13 or 61 divisions as needed. The voltmeters are driven by a continuous stream of 1-bit pulses with a software-controlled duty cycle determining exactly how far the needle moves. Yes, it’s using simple pulse width modulation, coded by hand by [lcamtuf] to do the job. All the components are wrapped up in a beautiful wooden case, with delicately kerf-bent panels to create the attractive curved lines.

We’ve featured similar builds before, too. As it turns out, hackers just really love clocks and old-school dials. Video after the break, which is worth watching for the rollover behaviour alone.

Continue reading “Voltmeter Clock Has The Time Dialled In”

LED Matrix Clock Proudly Shows Its Inner Wiring

Some projects take great care to tuck away wire hookups, but not [Roberto Alsina]’s Reloj V2 clock. This desktop clock makes a point of exposing all components and wiring as part of its aesthetic. There are no hidden elements, everything that makes it work is open to view. Well, almost.

The exception is the four MAX7219 LED matrices whose faces are hidden behind a featureless red panel, and for good reason. As soon as the clock powers up, the LEDs shine through the thin red plastic in a clean glow that complements the rest of the clock nicely.

[Roberto]’s first version was a unit that worked similarly, but sealed everything away in a wedge-shaped enclosure that was just a little too sterile, featureless, and ugly for his liking. Hence this new version that takes the opposite approach. Clocks have long showcased their inner workings, and electronic clocks — like this circuit-sculpture design — are no exception.

The only components, besides the Raspberry Pi Zero W and the LED matrices, are the 3D-printed enclosure with a few hex screws and double-sided tape. Design files and code (including the FreeCAD project file) are available should you want to put your own spin on [Roberto]’s design.

There Are No LEDs Around The Face Of This Clock

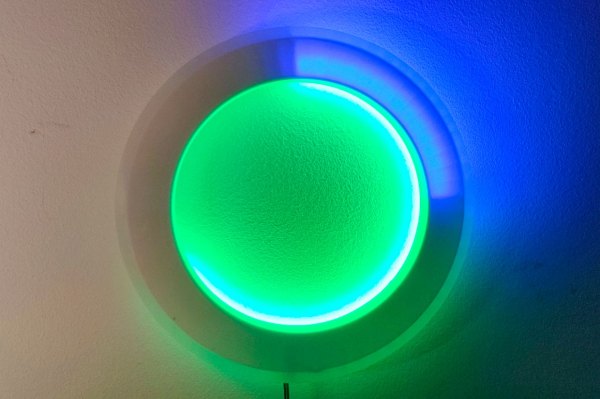
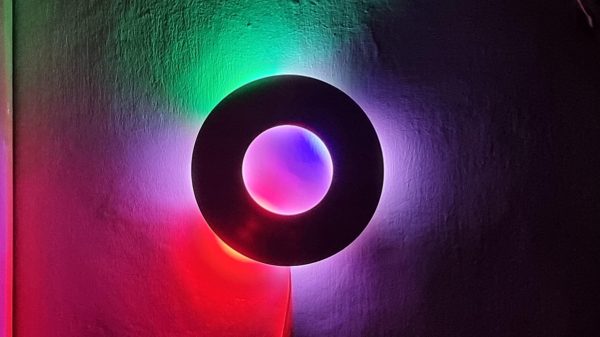
This unusual clock by [Moritz v. Sivers] looks like a holographic dial surrounded by an LED ring, but that turns out to not be the case. What appears to be a ring of LEDs is in fact a second hologram. There are LEDs but they are tucked out of the way, and not directly visible. The result is a very unusual clock that really isn’t what it appears to be.

The face of the clock is a reflection hologram of a numbered spiral that serves as a dial. A single LED – the only one visibly mounted – illuminates this hologram from the front in order to produce the sort of holographic image most of us are familiar with, creating a sense of depth.

The lights around the circumference are another matter. What looks like a ring of LEDs serving as clock hands is actually a transmission hologram made of sixty separate exposures. By illuminating this hologram at just the right angle with LEDs (which are mounted behind the visible area), it is possible to selectively address each of those sixty exposures. The result is something that really looks like there are lit LEDs where there are in fact none.

[Moritz] actually made two clocks in this fashion. The larger green one shown here, and a smaller red version which makes some of the operating principles a bit more obvious on account of its simpler construction.

If it all sounds a bit wild or you would like to see it in action, check out the video (embedded below) which not only showcases the entire operation and assembly but also demonstrates the depth of planning and careful execution that goes into multi-exposure of a holographic plate.

[Moritz v. Sivers] is no stranger to making unusual clocks. In fact, this analog holographic clock is a direct successor to his holographic 7-segment display clock. And don’t miss the caustic clock, nor his lenticular clock.

Continue reading “There Are No LEDs Around The Face Of This Clock”

This LED Strip Clock Aims To Make Your Next One Easier, Too

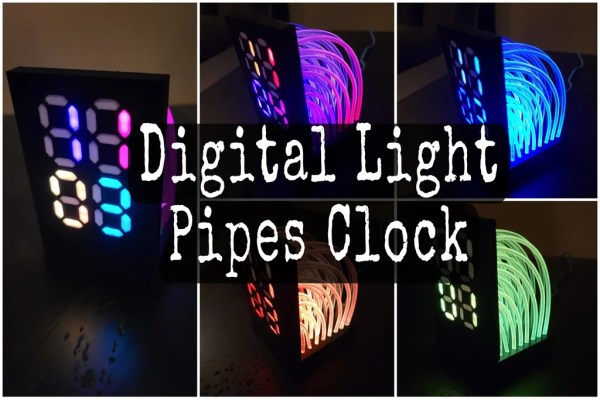
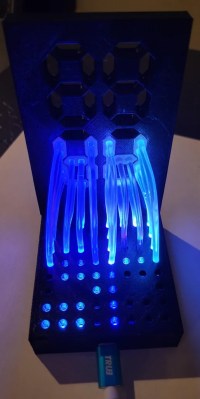
At first glance, it may look like [Rybitski]’s 7-segment RGB LED clock is something that’s been done before, but look past the beautiful mounting. It’s not just stylishly framed; the back end is just as attentively executed. It’s got a built-in web UI, MQTT automation, so Home Assistant integration is a snap, and allows remote OTA updates, so software changes don’t require taking the thing down and plugging in a cable.

Continue reading “This LED Strip Clock Aims To Make Your Next One Easier, Too”

Making A Clock With A Retooled Unihiker K10

The Unihiker K10 is intended to be a small single-board solution for light AI and machine learning tasks. However, you don’t have to use it in that way if you don’t want to. [mircemk] figured out how to repurpose the device, and whipped up a simple Internet clock build to demonstrate how it’s done. 

While the Unihiker K10 is based on the common ESP32 microcontroller, out of the box, it isn’t compatible with standard Arduino libraries. However, [mircemk] had previously figured out how to get the K10 to play nice with the Arduino environment, building a simple light meter as a proof of concept. It just took a little tinkering to get everything playing nicely together, but soon enough, the TFT LCD and a light sensor were playing nicely with the K10 platform.

Moving forward, [mircemk] wanted to unlock more capability, so set about figuring out how to get WiFi and the onboard buttons working within the Arduino environment. A great way to test this was building a clock—the screen would show an analog clock face, the buttons would be used for control, and the WiFi would be used to query an NTP time server to keep it synced up and accurate.

It took a little work, particularly as the buttons are accessed through an external I/O expansion chip, but [mircemk] got there in the end. The clock may not be a particularly advanced project, but the write-up demonstrates how the K10 can readily be used with Arduino libraries for when you’re not interested in leveraging its fancier AI/ML capabilities.

We’ve seen a few good builds from [mircemk] before, too, like this neat proximity sensor. Continue reading “Making A Clock With A Retooled Unihiker K10”

Neat Ring Clock Relies On Addressable LEDs

[WhiskeyTangoHotel] wanted to build an LED clock after seeing some great designs online. They elected to go after a ring clock design, based around the ever-popular WS2812B addressable LEDs.

The core of the build is the HELTEC WiFi 32 development board. It’s not one we’re intimately familiar with, but it’s based around the popular Expressif ESP32. Since it’s got WiFi, it’s able to simply dial up a network time server to always keep accurate time. It then drives a set of WS2812B LEDs set up in six rings. They display the current time with a layout akin to that of a typical analog clock.

What makes this build just a little more fun is the inclusion of Disco Mode. At the press of a button, the full set of LEDs flashes out some fun dancing patterns. The clock is also programmed to trigger the same display for sixty seconds at the top of each hour.

It’s a straightforward build—what might have been highly complicated to build two decades ago has been simplified with the magic of addressable LEDs. What’s also cool is that this clock was apparently inspired by another project shared on these very pages. If you’ve been spurred to build something cool yourself, don’t hesitate to notify the tipsline!