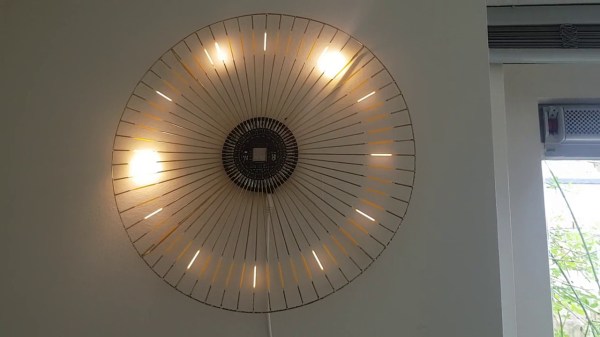
Clocks used to be dowdy old things with mechanical hands and sometimes even little cuckoo birds that would pop out to chime the hour. [David] built something altogether more modern that uses shifting colors on LED strips to tell the time.
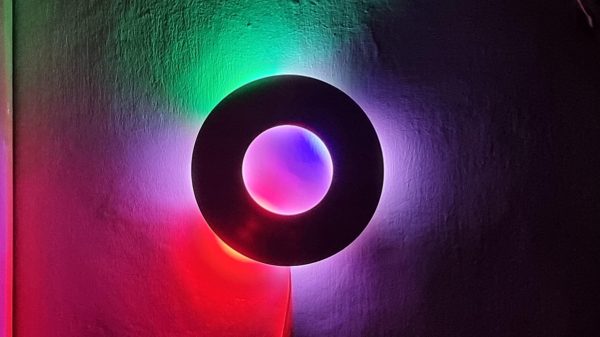
The core of the build is an ESP8266, which queries an NTP time server to keep itself synced up with the current time as accurately as possible. It then controls a WS2812B LED strip to display the time. The strip itself is hidden in a 3D-printed housing behind an opaque wooden ring, with the light from the LEDs diffusing out nicely on to the wall upon which the clock is mounted.
The display shows three “hands” in the colors it projects on the wall. The red second hand is projected inside and outside the ring. The minute hand is green, and projects outside the ring. Meanwhile, the hour hand is blue, and projects inside the ring. Without any numerical markings, you won’t get an exact reading of the time, but you can figure it out closely enough. As a bonus, the clock looks like a stylish light-based wall sculpture and your guests may not even realizes it tells the time.
We’ve featured [David’s] work before too, in the form of the handy ESP8266 breadboard socket. Video after the break.
Continue reading “Decorative Clock Uses LED Strips To Beautiful Effect”
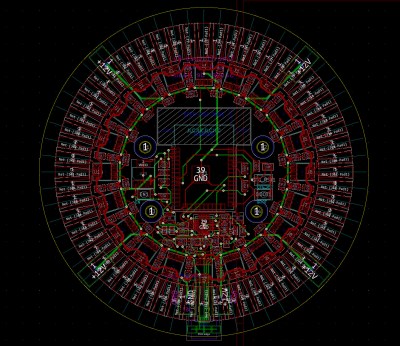 WS2811 LED controllers, which we’re so accustomed to seeing alongside RGB LEDs that they almost feel strange to see here, provide the 12 volts required for each filament and make individual addressing a breeze.


