3D printing is all well and good for prototyping, and it can even produce useful parts. If you want real strenght in plastics, though, or to produce a LOT of parts, you probably want to step up to injection molding. As it turns out, 3D printing can help in that regard, with injection molding company [APSX] has given us a look at how it printed injection molds for its APSX-PIM machine.
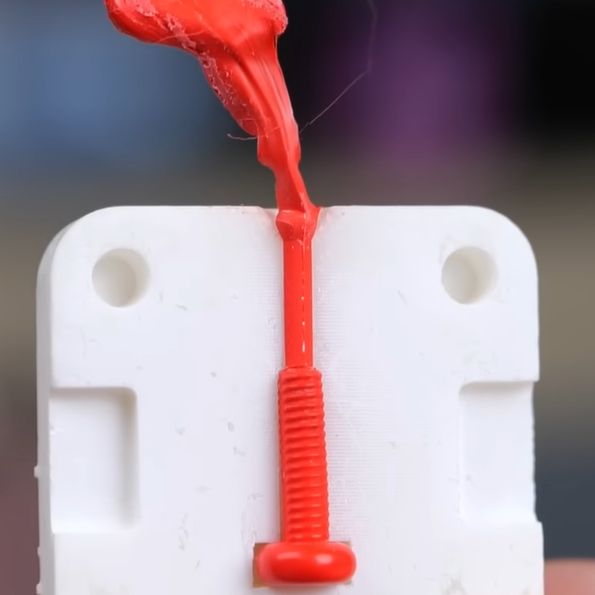
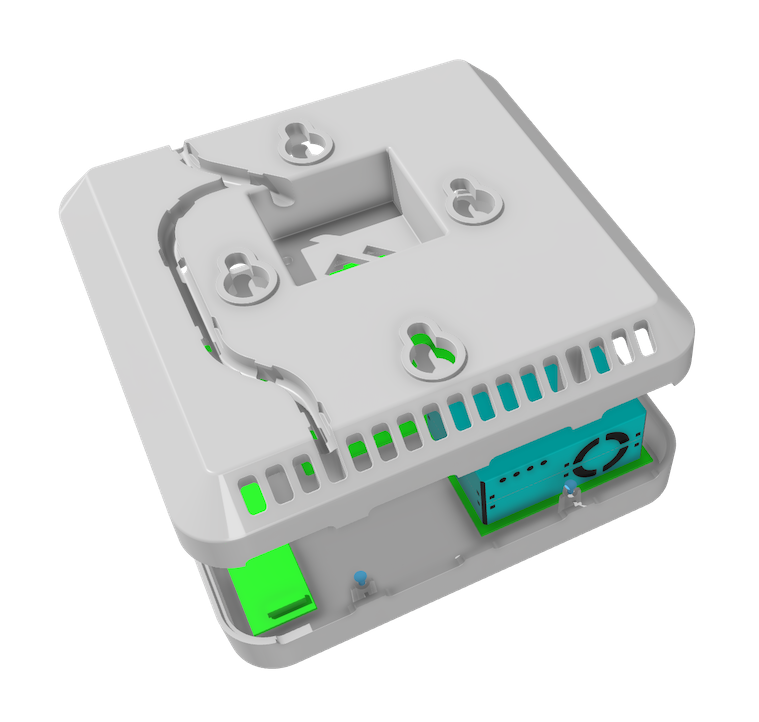
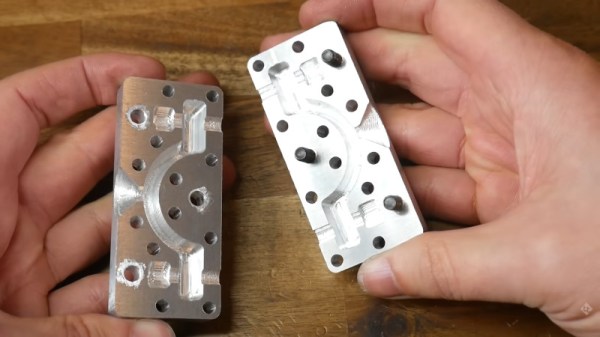
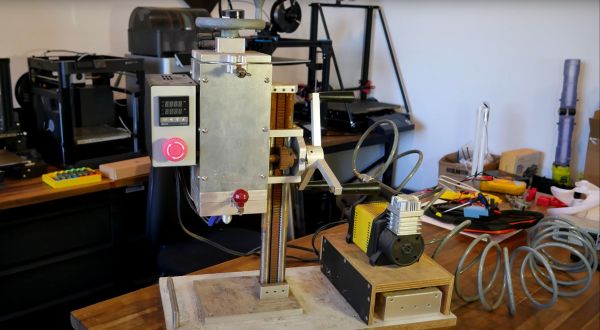
The concept is simple enough—additive manufacturing is great for producing parts with complex geometries, and injection molds fit very much under that banner. To demonstrate, [APSX] shows us a simple injection mold that it printed with a Formlabs Form3+ using Rigid 10K resin. The mold has good surface finish, which is crucial for injection molding nice parts. It’s also fitted with ejection pins for easy part removal after each shot of injection molded plastic. While it’s not able to hold up like a traditional metal injection mold, it’s better than you might think. [APSX] claims it got 500 automatic injection cycles out of the mold while producing real functional parts. The mold was used with the APSX-PIM injection molding machine squirting polypropylene at a cycle time of 65 seconds, producing a round part that appears to be some kind of lid or gear.
This looks great, but it’s worth noting it’s still not cheap to get into this sort of thing. On top of purchasing a Formlabs Form3+, you’ll also need the APSX-PIM V3, which currently retails for $13,500 or so. Still, if you regularly need to make 500 of something, this could be very desirable. You could get your parts quicker and stronger compared to running a farm of many 3D printers turning out the same parts.
We’ve seen similar projects along these lines before. The fact is that injections molds are complicated geometry to machine, so being able to 3D print them is highly desirable. Great minds and all that. Video after the break.
Continue reading “3D Print Your Own Injection Molds, Ejector Pins And All”