The design philosophy of Unix is fairly straightforward. Software should do one thing as simply as possible, and do that one thing only. As a design principle this is sound advice even well outside of the realm of Unix, and indeed software in general, but that doesn’t stop modern software packages from being too large for their own good. So, if you’re tired of bloated chat programs like Slack or Mattermost with their millions of lines of code, you might instead favor something like Simple Unix Chat (suc).
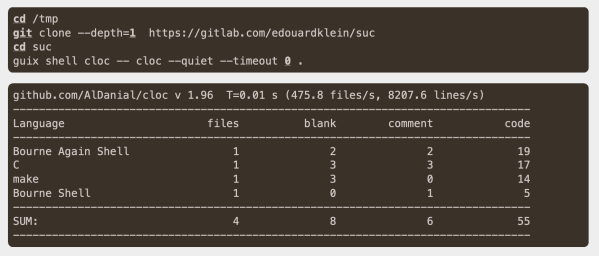
The idea is that suc can perform almost all modern chat functions in only five lines of Bash, supporting rich-text chat, file sharing, access control, and encryption. These five lines, though, only perform the core function of suc — which is to write text to a file on the system. Indeed, suc makes liberal use of plenty of other Unix services which do not add to the line counts, such as the use of SSH to handle authentication. It also relies on some other common Unix system features to handle things like ownership and access for the text files that host the text for the chat.

As channels are simply text files, it makes writing bots or other tools exceptionally simple. You can also easily pipe the output of commands directly into suc with one-liners that can do things like dump the output of make into a specific channel if compilation fails.
While it’s not likely that everyone will ditch tools like Slack to switch to something like this, it’s still an impressive demonstration of what can be done when designing around the Unix philosophy and taking advantage of system tools that already exist rather than reinventing the wheel and re-programming all of those tools into the application. Practices like this might decrease development time and increase the ease of developing cross-platform applications but they often also produce a less than desirable user experience.