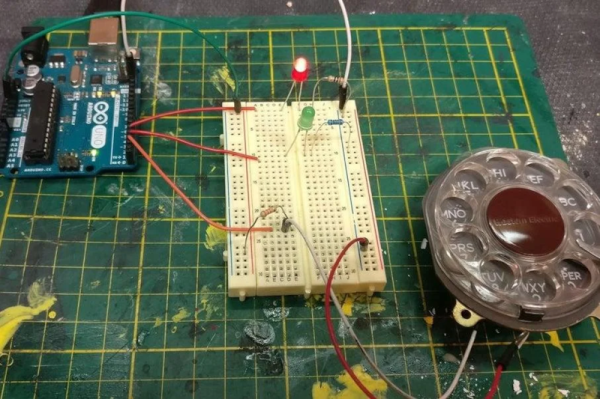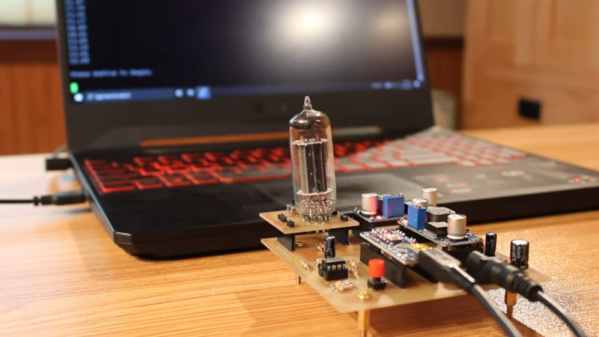
Among the plethora of obsolete removable media there are some which are lamented, but it can be difficult to find those who regret the passing of the floppy disk. These flexible magnetic disks in hard plastic covers were a staple of computing until some time in the early 2000s, and their drives could be found by the crateload in any spares box. But what about today, when there’s a need for a real floppy drive and none is to be found? Enter [Acemi Elektronikci], with an Arduino Nano based floppy emulator, that plugs into the floppy port of a PC old enough to have one, and allows the easy use of virtual floppy disks.
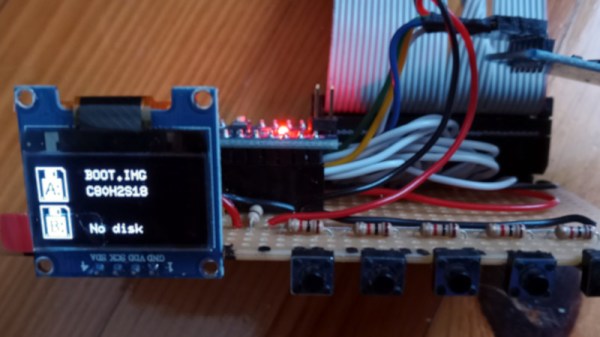
Aside from the Nano it has an SD card and associated level shifter, and an SSD1306 i2c screen. Most of the Arduino’s lines drive the floppy interface, so the five-button control comes to a single ADC pin via a resistor ladder. He freely admits that it’s not a perfect cycle-exact emulator of original hardware and there may be machines or even operating systems that complain when faced with it, but for all that it is a useful tool. One of the machines that may have issues is the Amiga, but fortunately there’s a fix for that with a Raspberry Pi.