Developing With EBay-sourced ARM + LCD Dev Boards

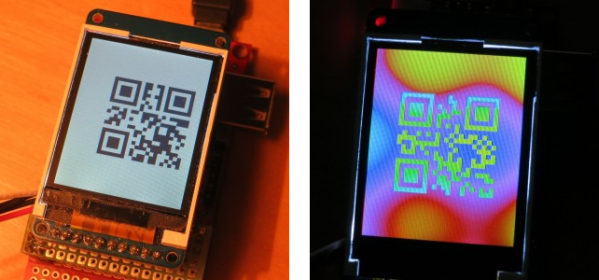
eBay isn’t only about counterfeit designer handbags and boxes of all-marshmallow Lucky Charms, sometimes there’s actually something useful for sale. [Matt] found a bunch of Chinese-made ARM development boards with integrated LCD displays on the ‘bay, but without a reliable toolchain, these boards – as cool as they are – are nearly useless. Thankfully, he figured out how to do something with these boards, and neatly packaged everything into a VirtualBox image.

The boards in question usually include a 2.4″ or 3.2″ touch panel LCD, an STM32F103 ARM Cortex-M3 CPU, a microSD card connector, and sometimes a few other goodies like 16MB of Flash memory and an RS-232 port. An amazing amount of computational capability packaged into an easy-to-use form factor made even more awesome by their $40 price point.

Because these boards offer so much more than a common Arduino, a proper OS is in order. [Matt] looked over FreeRTOS and included a few demo programs for his Ubuntu-based VirtualBox image (available for download on [Matt]’s site, it’s a dropbox, email us if you need some hosting, [Matt]) Never mind, see below.

Programming these boards can be done over a serial interface, but a JTAG programmer such as a Bus Blaster makes things very, very easy.

You can check out a few demos [Matt] put together after the break. It’s a very cool development that is much more suited for being integrated into an electronics project than a Raspberry Pi or other such high-power ARM board, and something we hope to see more of in the future.

EDIT: You know what’s really good for hosting Linux distros? Torrents. That’s [Matt]’s distro and the HaD crew is seeding. Please seed.

Continue reading “Developing With EBay-sourced ARM + LCD Dev Boards”

Laptop LCD Resurrection Gets Some Clean Packaging

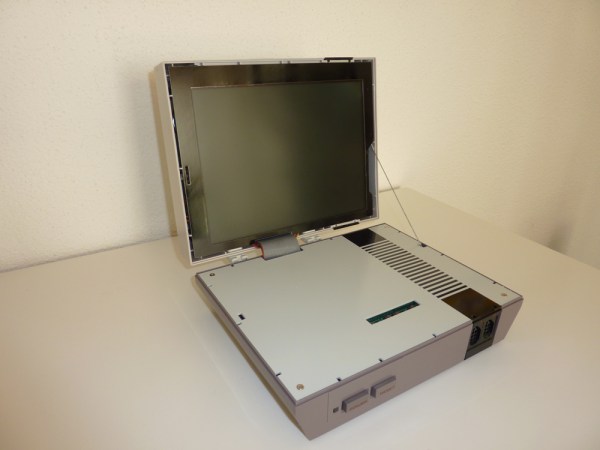
We love to see derivative works that take a great hack and make it even better. This LCD Laptop resurrection project is an excellent example. [Alex] took the work seen on this other FPGA LCD driver and delivered a leap forward on the final hardware packaging.

The link at the top drops you into the second page of [Alex’s] project thread. But if you go back to the beginning you’ll see the protoboard and spaghetti wiring which started off the process. Obviously if he plans to use this for a length of time it needs to be fortified or he’ll be cracking it open and grabbing a soldering iron again before long. But rather than just tidying up he ended up spinning his own circuit boards that make the screen look like it was manufactured to be used in this way.

He was able to mount the add-on board inside the LCD bezel, cutting out a space for the HDMI connector, barrel jack, trimpot, and the head of the inductor which was just a bit too large to fit inside. The trimpot allows him to adjust the LCD brightness. As far as we can tell the HDMI connector is just an easy way for him to deliver the drive signals from the Papilio board (FPGA) to the screen.

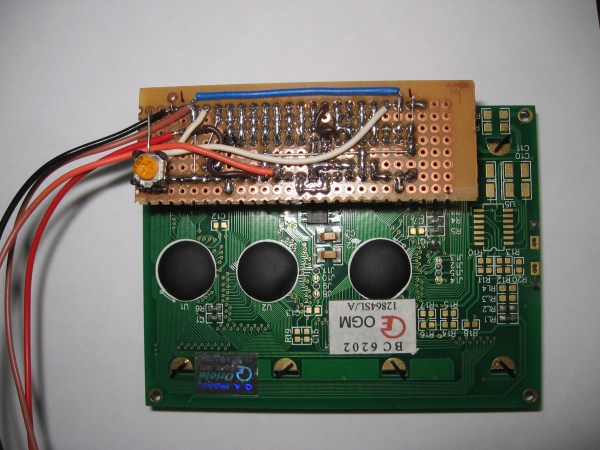
Driving An LCD Character Display Using Custom HID Codes

Here’s an external display meant to help you keep track of your computer’s status. It connects via USB and is driven by a PIC microcontroller. It listens for a small set of commands, using those to implement a simple control protocol to drive the screen.

[Andrew Gehringer] designed the device around a PIC 18F2550, which offers native USB control. He’s using Microchip’s USB stack to enumerate the module as an HID device. It listens for commands 0x10 through 0x23. These clear the display, write strings to each of the four lines of the display, and switch the LCD backlight. Of course the project includes a program [Andrew] wrote to feed the display. It  has a GUI which let’s him decide what information is displayed and how it is formatted. This helper app hangs out in the system tray for easy access.

LVDS On An FPGA Could Make It Possible To Reuse Laptops LCDs And The Like

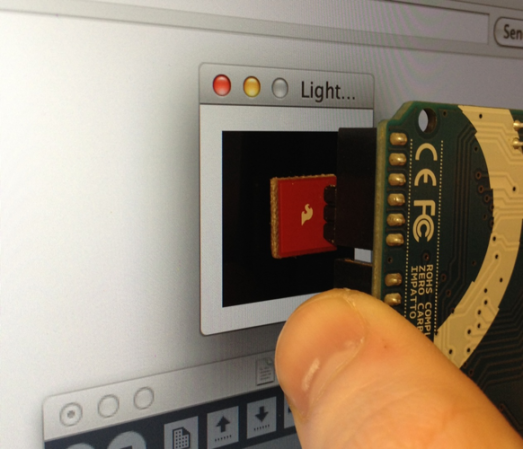
Search around the Internet and you’ll find a landfill of forum threads asking how to drive the LCD screen from a dead laptop. The answer is always that there is just no way to do it. That’s because most of them use a Low-Voltage Differential Signalling protocol that just isn’t available through the hardware used in hobby projects. But the appearance of this board could signal that things are about to change. We don’t want to get your hopes up too much. This isn’t an open source project, but it is a piece of hardware that can make LVDS available for the 8, 16, and 32-bit microcontrollers you’re used to working with.

It’s a derivative of a project [Thomas Jespersen] worked on for a customer. It uses an FPGA to implement the LVDS standard used by high-pixel-count LCD displays. It contains enough memory for a full frame-buffer, and includes a Motorola-8080 communication standard. [Thomas] gives a full description of how the setup works in the video after the break. Demonstrations start about 7:30 into the video with an STM32 F4 Discovery board driving the display.

Continue reading “LVDS On An FPGA Could Make It Possible To Reuse Laptops LCDs And The Like”

Sculpting With LCD Pixels

Each one of the small squares in this sculpture is actually an LCD cell, and this is just the tip of the iceberg. What you see here is just a small portion of the sculpture that spans multiple floors of the atrium at the North Carolina Museum of Natural Sciences. It’s made up of multiple panels hosting a total of 3600 LCD cells. We first saw it way back in April, but now there is a ‘making of’ video which you can see embedded after the break.

The project took about 18 months to complete, starting with a 256 pixel prototype. That served as proof that the non-lit hardware would achieve the look they were going for. From there they designed the code which would generate patterns on the sculpture and used it to drive a digital model (we’d bet that was to get the go-ahead and funding). The fast-motion footage of the three-man assembly line formed when soldering up the circuits is fun to watch, the real nail-biting stuff comes when they start mounting the fragile panels in the space.

Continue reading “Sculpting With LCD Pixels”

Digital Zoetrope Uses 18 LCD Displays

[Jasper] sent in a project he, [Quinten], and [Mr. Stock] have been working on for a while. It’s called the Pristitrope and brings the classic 19th centrury paper-based animation device into the 21st century with 18 LCD displays.

The lazy suzan portion of the build was fabricated out of plywood cut on a CNC router and fastened together with the help of a slip ring to transfer power between the stationary and spinning portions of the device. For the electronic part of the build, eighteen LCD displays were connected together on a data bus with each display independently addressable by a microcontroller.

One really interesting feature of the Pristitrope is its ability to detect if it is currently rotating clockwise or counterclockwise. While [Quinten]’s video doesn’t show off the full possibilities of this feature, the spin sensor makes it possible to always have an animation played in the right direction regardless of how the Pristitrope is spun.

Continue reading “Digital Zoetrope Uses 18 LCD Displays”

Library For Driving SSD1289 LCD Displays With Small Microcontrollers

[H. Smeitink] got his hands on a 320×240 color TFT LCD screen. He set out to drive it with a small PIC microcontroller but didn’t find a lot of help out there to get up and running quickly. This is surprising since it’s a really nice display for quite a low price (under $16 delivered on eBay at the time of writing). He decided to write his own library and support tools to help others.

The display includes an SPI touch screen, but since that works separately from the LCD controller, touch input is not supported in this package. The driver that he wrote is coming from a mikroC toolchain point of view, but it shouldn’t be too hard to port to your platform of choice. We took a quick look at the code and it seems all you need to do is tweak the defines to match your hardware registers, and implement your own delay_ms() function.

But he didn’t stop with the driver. You’ll also find a C# program which converts images to an array for easy use on the display. Incidentally, this is the same display which [Sprite_TM] got working with the Raspberry Pi.