In these trying times it seems appropriate to work through some ‘what if ‘ scenarios, such as the local gas station suddenly not having any more gasoline to sell you, or said gas station ceasing to exist altogether. In that case it can be incredibly useful to be able to create your own gasoline alternative in the form of ethanol. As demonstrated by [Hyperspace Pirate] in a recent video this process is fairly straightforward once you have procured an appropriate feedstock, such as here sugar (sucrose).
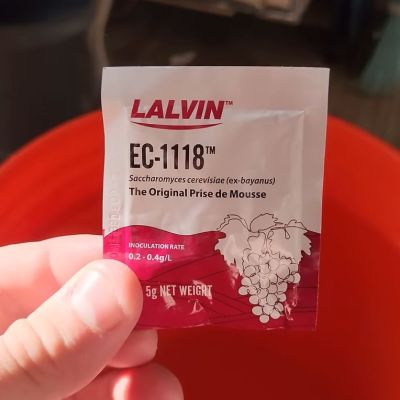
Although baker’s yeast (Saccaromyces cerevisiae) is more commonly associated with the production of ethanol-laced drinks, there’s nothing that says that you cannot distill out the approximately 10-15% ethanol that results from a yeast feeding frenzy and resulting waste products.
How to do this distillation step is explained in the video, with the mixture heated and put through a self-made reflux column to deal with the fact that the water/ethanol mixture is an azeotropic mixture, meaning that a lot of water is expected to make its way out of the condenser along with ethanol without this measure to condense as much of the water vapor before it can make its way to the top of the column.
Ultimately the conversion rate of plain white sugar to ethanol is about 54%, with the rest turning into CO2. With an appropriately converted combustion engine for running on 100% ethanol, it runs pretty well, though the final cost per liter of ethanol will heavily depend on your feedstock.
With the full costs of the electric heater of the distillation column taken into account – at 2.57 kWh/L – as well as the cost of the off-the-shelf sugar, [Hyperspace Pirate] with his Florida kWh cost of $0.12 paid around $2.62/L, or $9.91 per gallon. Even with how much prices at the gas pump have shot up recently, you’d pretty much need to find a free source of feedstock and otherwise optimize the process for it to make much sense, even in this economy.
That said, it’s crazy that the world of Mad Max doesn’t run on ethanol. If tomorrow a certain bubble were to implode and the global economy fell apart as a result, producing bioethanol would seem to be a highly marketable skill.
Continue reading “From Sugar To Ethanol Fuel With A Little Microbial Help”