Using An HD44780 Character LCD With The Raspberry Pi

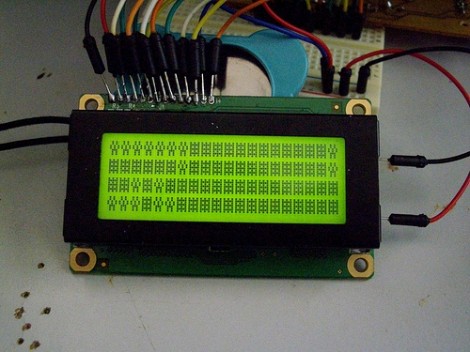
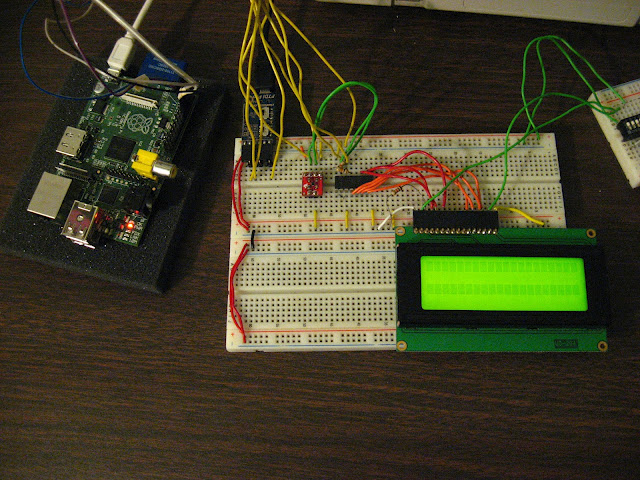
[Tech2077] is one of the lucky ones who already got his hands on a Raspberry Pi. He’s been looking into different interface options with the GPIO header and just posted a guide to using an HD44780 character display with the RPi. We like this approach because instead of doing some hard-core LCD work he’s using prototyping equipment you probably already have on hand.

Getting a character LCD running should be really simple. The gotcha is the logic level gap between the devices. If you’ve been working with Arduino, your add-ons are probably meant for a 5V power rail  and logic levels. The RPi outputs 3.3V logic. You could use a level converter (you’d need at least 7 pins to be converted in this case) or you can be a bit more clever. [Tech2077] grabbed an I2C port expander that uses just 2 of the RPi lines to address even lines of the display (four data bits plus three control bits). This is a bit of a hack, as the 3.3V logic is 0.2V below the recommended minimum for a digital 1 on the port expander. But it seems to work just fine! If it didn’t, a couple of NPN transistors would do the trick as well.

Addressing the new peripheral is just a matter of loading the i2c module and writing some Python.

[Sprite_tm] Connects An LCD To A Tiny Linux Board

One of [Sprite_tm]’s colleagues recently challenged him to connect a small LCD touch screen to a Raspberry Pi. Sadly, [Sprite_tm] has yet to take delivery of a Raspberry Pi, but he did manage to connect an LCD to a Linux board without video capabilities.

Because [Sprite_tm]’s display has a 16-bit parallel interface, and 16 GPIO pins are hard to come by on the Carambola Linux board, a few shift registers had to be brought into the build to make the LCD work. These shift registers are connected to the Carambola board via an SPI interface; a very simple way to connect all the LCD pins to the Linux board.

Of course, there’s no way for Linux to speak to the LCD without a kernel driver; [Sprite_tm] wrote a framebuffer driver so the LCD can be used as a console, an X session, or used by any other program that can write to a framebuffer device.

Like all good driver authors, [Sprite_tm] is giving away the patch to enable SPI-ified LCD panels on the Carambola along with the shift register schematic. With any luck we’ll also see the Raspi drivers when [Sprite_tm] takes delivery of his Raspberry Pi.

Remote Shutter Module Uses LCD Screen For Setup

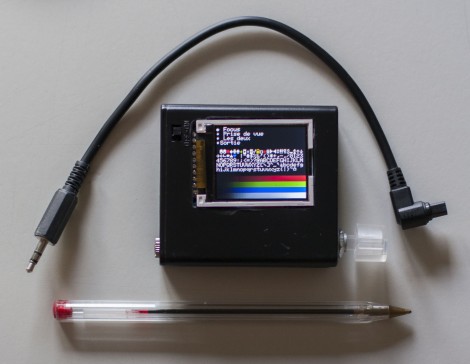
Here’s a full-featured remote shutter project which [Pixel-K] just finished. It seems that he’s interested in taking time-lapse images of the cosmos. Since astrophotography happens outside at night, this presented some special design considerations. He wanted something that he could configure in the dark without zapping his night-vision too much. He also wanted it to be easily configured with a pair of gloves on.

The project enclosure is a 4x AA battery box. He removed the partitions between each cell, leaving plenty of room for the guts. Inside you’ll find a lithium battery and a micro-USB recharger board. It powers the Arduino mini pro which drives the 1.8″ LCD screen and actuates the optoisolator which is responsible for triggering the camera. On the right you can see the clear knob of the clickable rotary encoder. All of the user settings are chosen and selected using just this one knob.

He’s already tried it out on a 6-hour shoot and had no battery life problems or other issues.

Small Life On A Character LCD

[Duality] just finished programming Conway’s Game of Life on a character LCD. The game is a great programming exercise that everyone should undertake at one point or another. It uses a very simple set of rules to evolve the playing area from a given starting state. In this case the game grid is only 64 pixels, one for each of the positions on this 16×2 character LCD screen. This makes for very quick games as the cells tend to quickly reach an equilibrium as they arrive at the outer borders. See for yourself in the clip after the break.

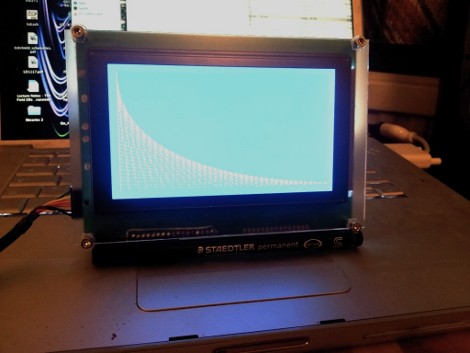
We could have sworn we’ve seen this before, but with four times the playing space thanks to some custom characters. We couldn’t find an example of that, but the idea is to use a larger grid (something more like what’s seen on this graphic LCD) by generating a set of custom characters that slices each 5×8 pixel character into four smaller discrete areas. Something along the lines of what is being done with this spectrum analyzer.

Continue reading “Small Life On A Character LCD”

Salvaged LCD Screen Hacking

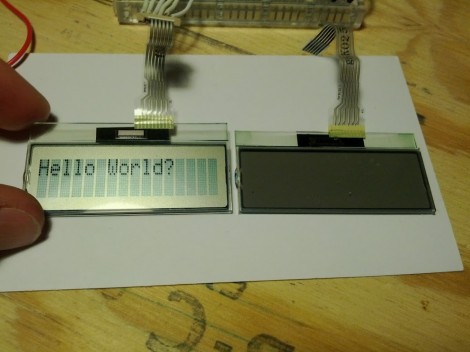
You can find all kinds of LCD screens in broken electronics. But it’s often a chore to figure out how they are controlled if you don’t have a working device that can be used to sniff the communications protocol. [Justin] grabbed this character LCD screen from an old Brother printer and decided to see if he could reuse it in his own projects. Luckily the driver card still worked so he patched into the LCD’s control lines and sniffed the signals when the printer is powered on.

He used the OpenBench Logic Sniffer for this project. It easily captured the data, and also provided analysis tools. The SPI analyzer managed to decode the command signals and message of “Please wait” that pops up at power up. After a bit of folly with the pin out of the display, he is now able to control it thanks to an Arduino library which he wrote. Check out the demo after the break to seem him scrolling through a bunch of different functions for the device.

Continue reading “Salvaged LCD Screen Hacking”

Arduino BASIC Interpreter Using LCD, Keyboard, And SD

This Arduino BASIC interpreter will make a really fun one-day project if you’ve already got the parts on hand. [Usmar A. Padow] put together an Arduino Uno, SD card, four line character LCD, and PS/2 keyboard. but he’s also included alternative options to go without an LCD screen by using a computer terminal, or without the SD card by using only the Uno’s RAM. As you can see in his demo after the break, this simple input/output is all you need to experiment with some ancient computing.

It’s hard for us to watch this and not think back to an orange or green monochrome display. Just like decades past, this implementation of BASIC has you start each line of code with a line number, and doesn’t allow for character editing once the line has been input. The example programs that [Usmar] shows off are simple to understand but cover enough to get you started if you’ve never worked with BASIC before.

Last August we saw another hack which ported Tiny BASIC to the Arduino. You may want to take a gander at that one as well.

Continue reading “Arduino BASIC Interpreter Using LCD, Keyboard, And SD”

Driving A T6963C Based Graphic LCD

[Tom Fleet] spent the dreary weekend inside learning how to drive this T6963C based graphic LCD controller. Although this is his first time venturing away from HD44780 character displays, the availability of an Arduino library helped him go from being a newbie to coding his own animated graphics.

The hardware setup is straight-forward. The screen has a 20-pin connector and operates at 5V. We don’t see it on his protoboard, but usually these displays also need a potentiometer which serves as a voltage divider for the screen contrast. The data and control pins eat up most of the available I/O on the ATmega328 chip he used, but the I2C and SPI pins are still open and he plans a future project to make this a wireless display for his PC using one of those protocols.

As for fonts and animation, [Tom] links to several tools which will come in handy. There’s a font program that will convert Windows system fonts into a C file for use on the Arduino. The animations start with a 1:1 ratio animated graphic drawn with his favorite image editing software. He then converts those to monochrome bmp files and used bmp2c to convert each frame to a C array. After the break there’s a seven second example that would work well as a boot screen for his project.

Continue reading “Driving A T6963C Based Graphic LCD”