Most of us want our 3D prints to be perfect. But at Cornell University, they’ve been experimenting with deliberately introducing defects into printed titanium. Why? Because using a post-print treatment of heat and pressure they can turn those defects into assets, leading to a stronger and more ductile printed part.
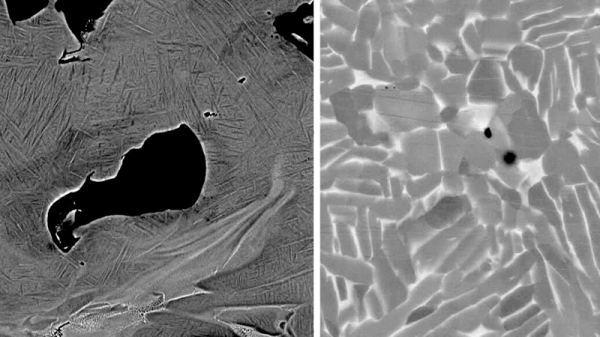
The most common ways to print metal use powders melted together, and these lead to tiny pores in the material that weaken the final product. Using Ti-6Al-4V, the researchers deliberately made a poor print that had more than the usual amount of defects. Then they applied extreme heat and pressure to the resulting piece. The pressure caused the pores to close up, and changed the material’s internal structure to be more like a composite.
Reports are that the pieces treated in this way have superior properties to parts made by casting and forging, much less 3D printed parts. In addition, the printing process usually creates parts that are stronger in some directions than others. The post processing breaks that directionality and the finished parts have equal strength in all directions.
The hot isostatic pressing (HIP) process isn’t new — it is commonly used in metal and ceramic processing — so this method shouldn’t require anything more exotic than that. Granted, even cheap presses from China start around $7,000 and go way up from there, but if you are 3D printing titanium, that might not be such a big expenditure. The only downside seems to be that if the process leaves any defects partially processed, it can lead to fatigue failures later.
We wonder if this development will impact all the car parts being printed in titanium lately. If you need something to print in titanium, consider hacking your rib cage.


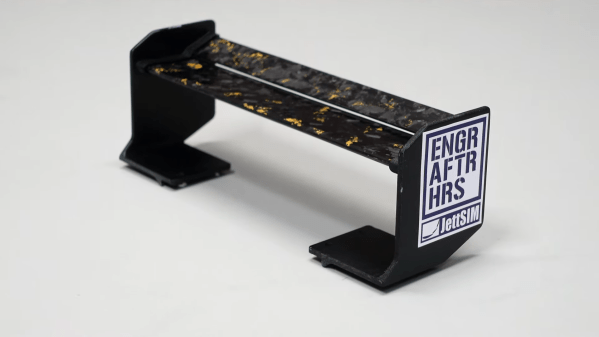
 The video points out that, at best, even a decent RC car will have pretty crappy aerodynamic parts from the factory, with a lift-to-drag (L/D)ratio of 2-3:1 at best. This means that, while they may create some small amount of downforce, they’re also creating plenty of drag at the same time.