One of the more interesting categories of our ongoing Green Power Challenge is “anything but PV” — and since the radiated power of Near Field Communication is decidedly not photovoltaic, this hack by [caspar] to control a Pi Pico W from his phone using a tuned antenna absolutely counts.
Now, of course you’re not going to power the whole microcontroller that way, but [caspar] figures you don’t need to: the MCU is hooked to a battery, but through a transistor. That means it’s not asleep, but fully un-powered: only the leakage current of the transistor is draining that battery, so it can last a very long time. The waking is handled with a tuned NFC antenna hooked to a ST25DV04KC NFC chip. This chip is designed to be powered via NFC, and of course to accept commands. The ST25 then wakes the Pico — one GIPO on the MCU is used to latch that power transistor ON — and passes on the command via I2C.
Our favorite part might be the script he put on the Pico to live-tune the antenna coil, which you can see demoed in a video below, along with simplest possible demonstration of starting blinky on the Pico from the phone.
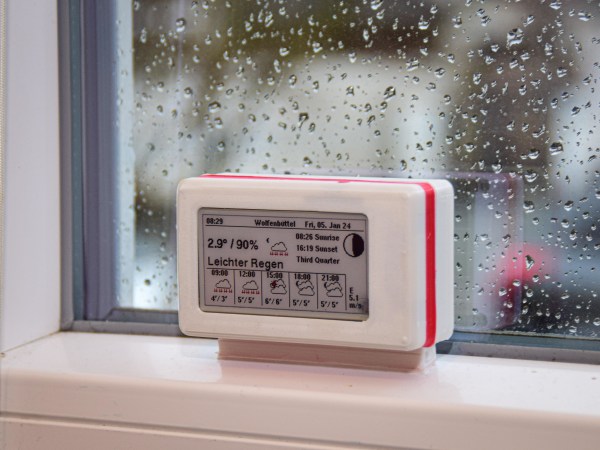
You aren’t limited to just a Pico and a blinky LED as in his proof-of-concept demo: [caspar] also uses the same technique with an e-ink display, which is pretty similar to the e-ink price tags you’ve likely seen at the grocery store, without the joy of reverse engineering.
Also without batteries, which is pretty neat, and arguably pretty green. If you’ve been hacking away at something that uses alternative energy, this challenge is still open — just get your project onto Hackaday.io and submitted by April 27.

Continue reading “2026 Green Power Challenge: NFC Powers Command Write And Wake Of MCU”