Building A 20 Inch Disk Sander

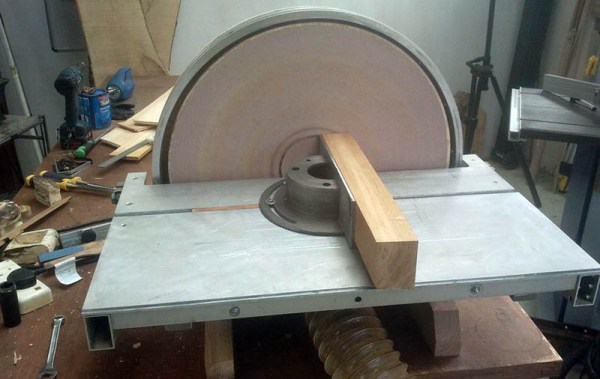
A small disk sander is a useful and cheap addition to the shop. For about $100, you can buy a cheap combination 6″ disk/belt sander that’s extremely useful. The size and cost of power tools does not scale linearly, and if you want a big disk sander you might as well make your own.

The motor for this build is a 1kW single phase motor pulled from a floor polisher found in the trash. That’s enough to push a sanding disk around, but when you get to tools this large, you need a good base, good tilt mechanism, and everything should be extremely heavy.

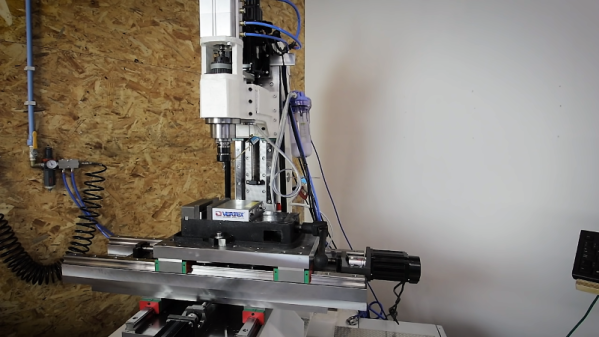
This build meets all those requirements while still using mostly recycled components. The work table is actually made of three pieces of recycled aluminum epoxied together. Yes, you should cringe at this, but it actually makes a little bit of sense: thinner pieces can be cut on a table saw, and if you’re extremely careful during the glue-up, you can cut the mitre slot without a mill. This frame attaches to a frame made from aluminum extrusion and filled with a homebrew epoxy granite mix. Remember, heavy is better here.

In keeping with making a huge disk sander out of stuff pulled out of the trash, the trunnions and motor hub were cast out of aluminum melted in an old propane tank furnace. Once these were cleaned up, a disk was mounted on the hub and trued up in the most unsafe manner possible.

With a few additions including a machined mitre gauge, dust collector, and legs made out of wood that’s far too pretty for a simple shop tool, this huge assemblage of trash turned out to be a great sander. You can see a few videos of it below.

Continue reading “Building A 20 Inch Disk Sander”

Smoothing Out Foam Parts With Lots Of Gesso

Whether you’re building a product mock-up or a lightweight enclosure, carving your parts out of hard foam is a fast way to get the job done. Unfortunately, the end result can have a bit of a rough finish; a problem if you’re looking to attract investors or get some nice shots so you can send your handiwork into Hackaday.

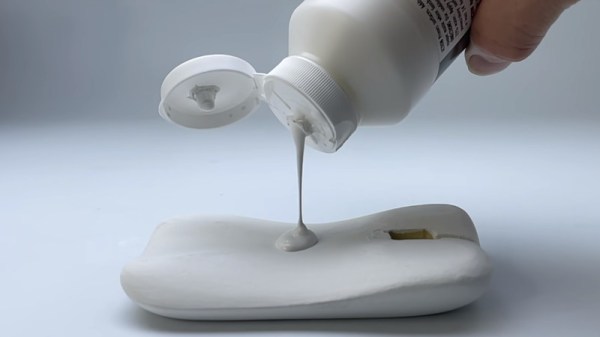
If you ever find yourself in a situation where you need to make a carved piece of foam look like it isn’t a carved piece of foam, this tip from prolific maker [Eric Strebel] could really come in handy. Rather than using some spray-on primer or epoxy coating, things that can be difficult to work with when you’re confined to a small home workspace, he recommends sealing it up with several coats of gesso.

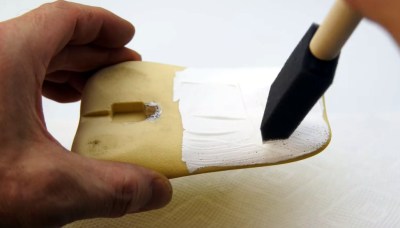
The gesso fills in the tiny voids in the foam’s surface.

For the less artistically inclined in the audience, gesso is essentially a paint that’s been combined with chalk or gypsum to make it thicker. Gesso is generally used to prepare an absorbent surface (such as wood or canvas) before applying paint. In this case, [Eric] is using it to build up the surface of the foam and seal up all the open pores.

The downside is that the gesso requires several coats to really build up. [Eric] puts six coats on in this demonstration before he starts to thin it out a bit with water. At that point, each successive coat is sanded with increasingly higher grits. After nine coats, he does his finish sanding with 600 grit paper, and the results look fantastic.

To add some color [Eric] dyed the piece and then used a toothbrush to flick on some black and white paint, creating a very convincing granite-like finish. Unfortunately, his attempt to brush on a water-based sealer caused this finish to run, and he had to take it all off. In the end, he had to resort to using spray paint to finish the piece, but at least it was a simple rattle can.

This isn’t the first time [Eric] has experimented with alternative priming techniques. He’s a big fan of two-component primer in a can, which lets you lay down a professional finish without the expense and complication of using a spray gun.

Continue reading “Smoothing Out Foam Parts With Lots Of Gesso”

Bricking Your 3D Printer, In A Good Way

In our vernacular, bricking something is almost never good. It implies that something has gone very wrong indeed, and that your once-useful and likely expensive widget is now about as useful as a brick. Given their importance to civilization, that seems somewhat unfair to bricks, but it gets the point across.

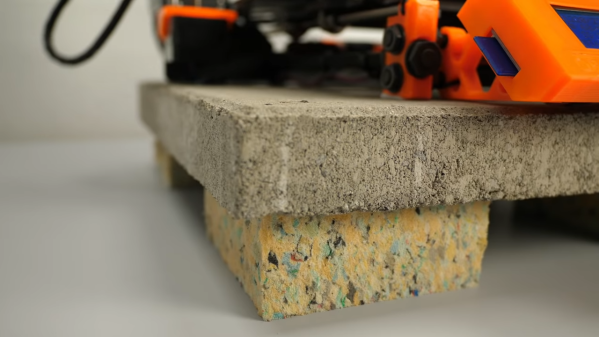
It turns out, though, that bricks can play an important role in 3D-printing in terms of both noise control and print quality. As [Stefan] points out in the video below, living with a 3D printer whirring away on a long print can be disturbing, especially when the vibrations of the stepper motors are transmitted into and amplified by a solid surface, like a benchtop. He found that isolating the printer from the resonant surface was the key. While the stock felt pad feet on his Original Prusa i3 Mk 3S helped, the best results were achieved by building a platform of closed-cell packing foam and a concrete paver block. The combination of the springy foam and the dampening mass of the paver brought the sound level down almost 8 dBA.

[Stefan] also thoughtfully tested his setups on print quality. Machine tools generally perform better with more mass to damp unwanted vibration, so it stands to reason that perching a printer on top of a heavy concrete slab would improve performance. Even though the difference in quality wasn’t huge, it was noticeable, and coupled with the noise reduction, it makes the inclusion of a paver and some scraps of foam into your printing setup a no-brainer.

Not content to spend just a couple of bucks on a paver for vibration damping? Then cast a composite epoxy base for your machine — either with aluminum or with granite.

Continue reading “Bricking Your 3D Printer, In A Good Way”

Stronger 3D Printed Parts

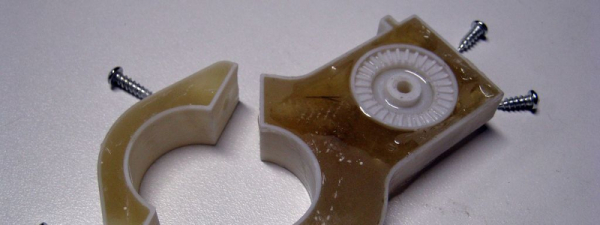
When [hobbyman] wanted some 3D printed parts to attach a bag to his bike, he was worried that the parts would not be strong enough to hold when the bag was full. He decided to find a way to reinforce the part with fiberglass and epoxy. His first model had holes and grooves to be filled in with epoxy.

However, after working with the part for a bit, he decided to take a different approach. Instead of making the part nearly solid plastic with space for the epoxy, he instead created the part as a shell and then filled it with fibers and epoxy. After it all cured, a little sanding started removing some of the plastic shell and what was left was mostly a cast fiberglass part (although some of the plastic was left on).

Continue reading “Stronger 3D Printed Parts”