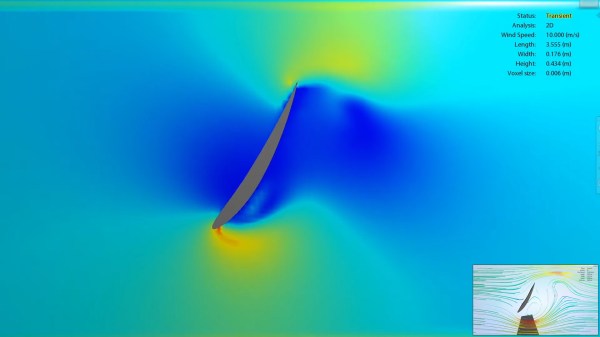
As great as cameras that operate in the visual light spectrum are, they omit a lot of the information that can be gleaned from other wavelengths. There is also the minor issue that visibility is often impacted, such as when it’s raining, or foggy. When this happens, applications such as self-driving cars which rely on this, have a major issue. Through the use of sensors that are sensitive to other wavelengths, we can however avoid many of these issues.
Short-wave infrared radiation (SWIR) is roughly the part of the electromagnetic spectrum between 1.4 μm – 3 μm, or 100 THz – 214 THz. This places it between visible light and microwaves, and above long-wave IR at 20 THz – 37 THz. LWIR is what thermal cameras use, with LWIR also emitted by warm objects, such as the human body.
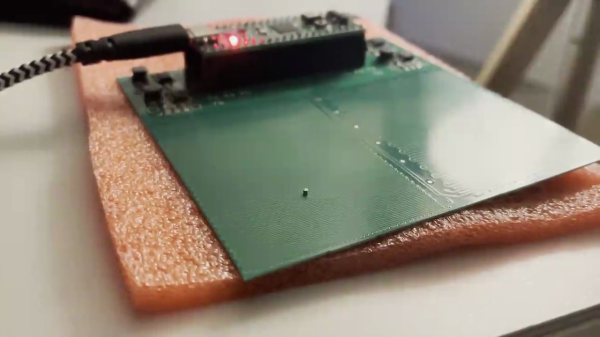
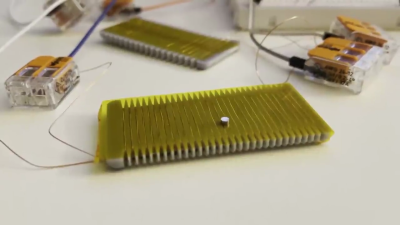
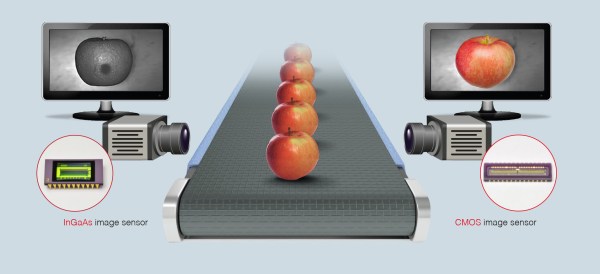
SWIR is largely unaffected by water in the atmosphere, while also passing through materials that are opaque to visible light. This allowing SWIR to be used for the analysis and inspection of everything from PCBs and fruit to works of art to capture details that are otherwise invisible or very hard to see.
Unfortunately, much like thermal camera sensors, SWIR sensors are rather expensive. Or they were, until quite recently, with the emergence of quantum-dot-based sensors that significantly decrease the costs of these sensors.
Continue reading “Shining A Different Light On Reality With Short-Wave Infrared Radiation”