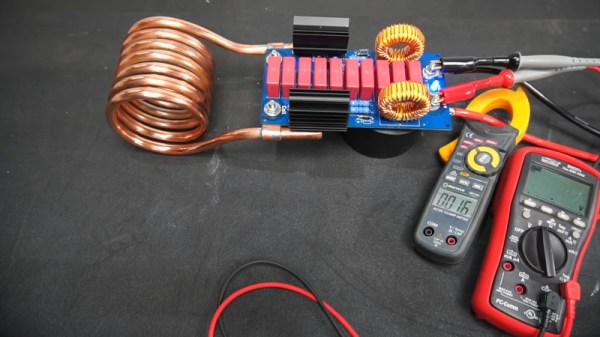
Induction heaters can make conductive objects incredibly hot by generating eddy currents within the metal. They’re used in a wide variety of industrial processes, from furnaces to welders and even heat treatments. [Schematix] whipped up his own design, and put it through its paces on the bench.
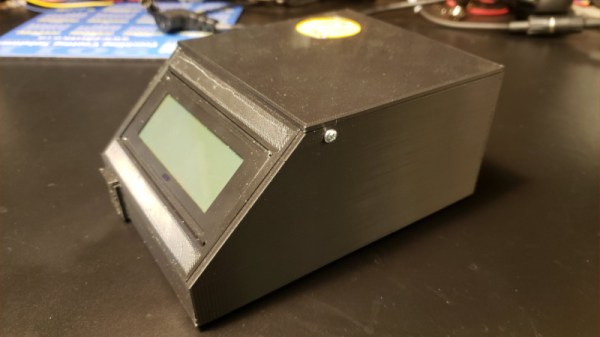
The build in question is a fairly compact design, roughly shoebox-sized when fitted with its six-turn coil. Running off anything from 12 V to 48 V, the heater put out at a massive 1.4 kW in testing. At this power level, the high current draw led the power traces to heat up enough to melt solder, and eventually burn out. [Schematix] plans to rebuild the heater with added copper wiring along these traces to support the higher power levels without failure.
The heater is able to quickly heat ferrous metals, though was not able to meaningfully dump power into aluminium under testing. This is unsurprising, as non-ferrous metals primarily undergo only Joule heating from induction, forgoing the hysteresis portion of heat transfer due to being non-magnetic. However, modification to the design could improve performance for those eager to work with non-ferrous materials.
We’ve seen a few induction heaters before, for purposes as varied as soldering and casting. Video after the break.
Continue reading “DIY Induction Heater Draws 1.4 KW And Gets Metal Hot”