That was a close shave! On Tuesday, asteroid 2011 ES4 passed really close to the earth. JPL’s close approach data pegs its nominal distance from earth at about 0.00081083276352288 au! Yeah, we had to look it up too: that’s around 75,000 miles (120,000 kilometers), just ten times the diameter of the earth and only about one-third the distance from the earth the moon. It got within about 52,000 miles of the moon itself. Bookworms who made it all the way through Seveneves are surely sweating right now.
There’s a low current arms race when it comes to lighting up LEDs. The latest salvo in the field comes from [Christoph Tack] who boasts a current of 1.36 µA at 3 V for a green LED that is roughly 10x brighter than a phosphorescent watch dial. Of course, the TritiLED is the design being chased, which claims to run 17.6-20.2 years on a single CR2032 coin cell.
Proving once again that Hanna and Barbera were indeed future-tech prophets, flying cars are now a thing. Sky Drive Inc. made a four-minute test flight of a single passenger octo-rotor aircraft. Like a motorcycle of the sky (and those are a thing too) this thing is single-passenger and the cockpit is open air. The CNN article mentions that “The company hopes to make the flying car a part of normal life and not just a commodity”. Yeah, we’re sure they do, but in an age when electric cars are demonized for ranges in the low hundreds of miles, this is about as practical for widespread use as self-balancing electric unicycles.
Just when you thought the Marble Machine X project couldn’t get any bigger, we find out they have a few hundred volunteers working to update and track CAD models for all parts on the machine. Want a quick-start on project management and BOM control? These are never seen as the sexy parts of hardware efforts, but for big projects, you ignore them at your own peril.
Google and Apple built a COVID-19 contact tracing framework into their mobile platforms but stopped short of building the apps to actually do the work, anticipating that governments would want to control how the apps worked. So was the case with the European tracing app as Elliot Williams recently covered in this excellent overview. However, the United States has been slower to the game. Looks like the tech giants have become tired of waiting and have now made it possible for the framework itself to work as a contact tracing mechanism. To enable it, local governments need to upload a configuration file that sets parameters and URLs that redirect to informational pages from local health departments, and users must opt-in on their phone. All other tracing apps will continue to function, this is meant to add an option for places that have not yet adopted/developed their own app.
And finally, it’s time to take back responsibility for your poor spelling. Auto-correct has been giving us sardines instead of teaching how to fish for them ourselves. That ends now. The Autocorrect Remover is an extension for Google Docs that still tells you the word is wrong, but hides the correct spelling, gamifying it by having you guess the right spelling and rewarding you with points when you get it right.
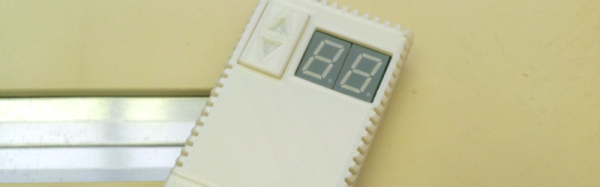
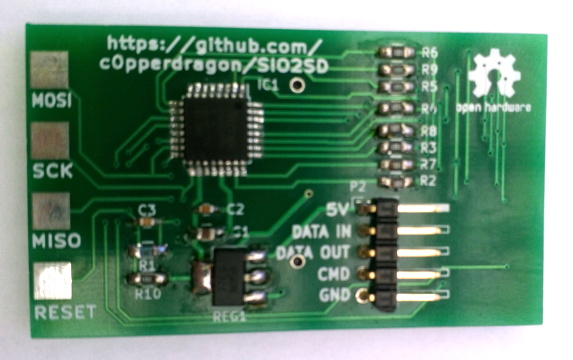 The emulator is housed in a 3D printed enclosure designed to look like an era-appropriate Atari 1050 Disk Drive, except you’re using SD cards instead of floppies. The firmware can mimic two physical drives and supports up to 100 disk images on each SD card. The user interface is about as simple as it gets, with two push buttons and a pair of seven-segment LEDs to indicate which disk image is currently loaded up.