What do you do if you have a pair of input device peripherals for your computer, but they are from different manufacturers and thus not available as a single unit? If you are [Marco van Nieuwenhoven], you combine the two to make a mashup single peripheral.
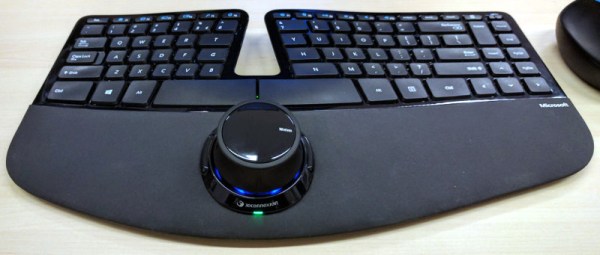
[Marco]’s two peripherals were a 3Dconnexion SpaceMouse Wireless, and a Microsoft Sculpt Keyboard. His mashup isn’t featured here because it simply is a mashup, after all anyone with a hot glue gun could combine the two, instead he’s created a single peripheral that almost looks as though it could have been manufactured that way. It’s not complexity we’re looking at here, but elegance!
The Sculpt keyboard fortunately has a large palm rest in which the electronics and batteries sit, and he’s carefully measured the footprint of the top half of the SpaceMouse before hand cutting a very neat aperture to take it. The SpaceMouse PCB is attached below the aperture, and the bottom of the palm rest is attached with a little bit of padding to ensure a snug fit. The result: a combined input device to be proud of!
Of course, if this keyboard isn’t special enough for you, how about a typewriter?