It kind of hurts watching somebody torturing a brand new Fluke multimeter with a soldering iron, even if it’s for the sake of science. In order to find out if his Fluke 12E+ multimeter, a feature rich device with a price point of $75 that has been bought from one of the usual sources, is actually a genuine Fluke, [AvE] did exactly that – and discovered some extra features.
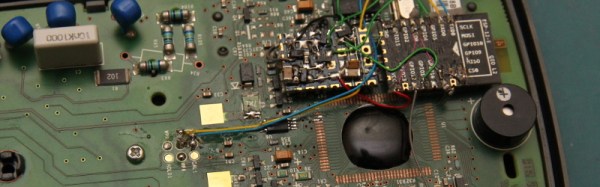
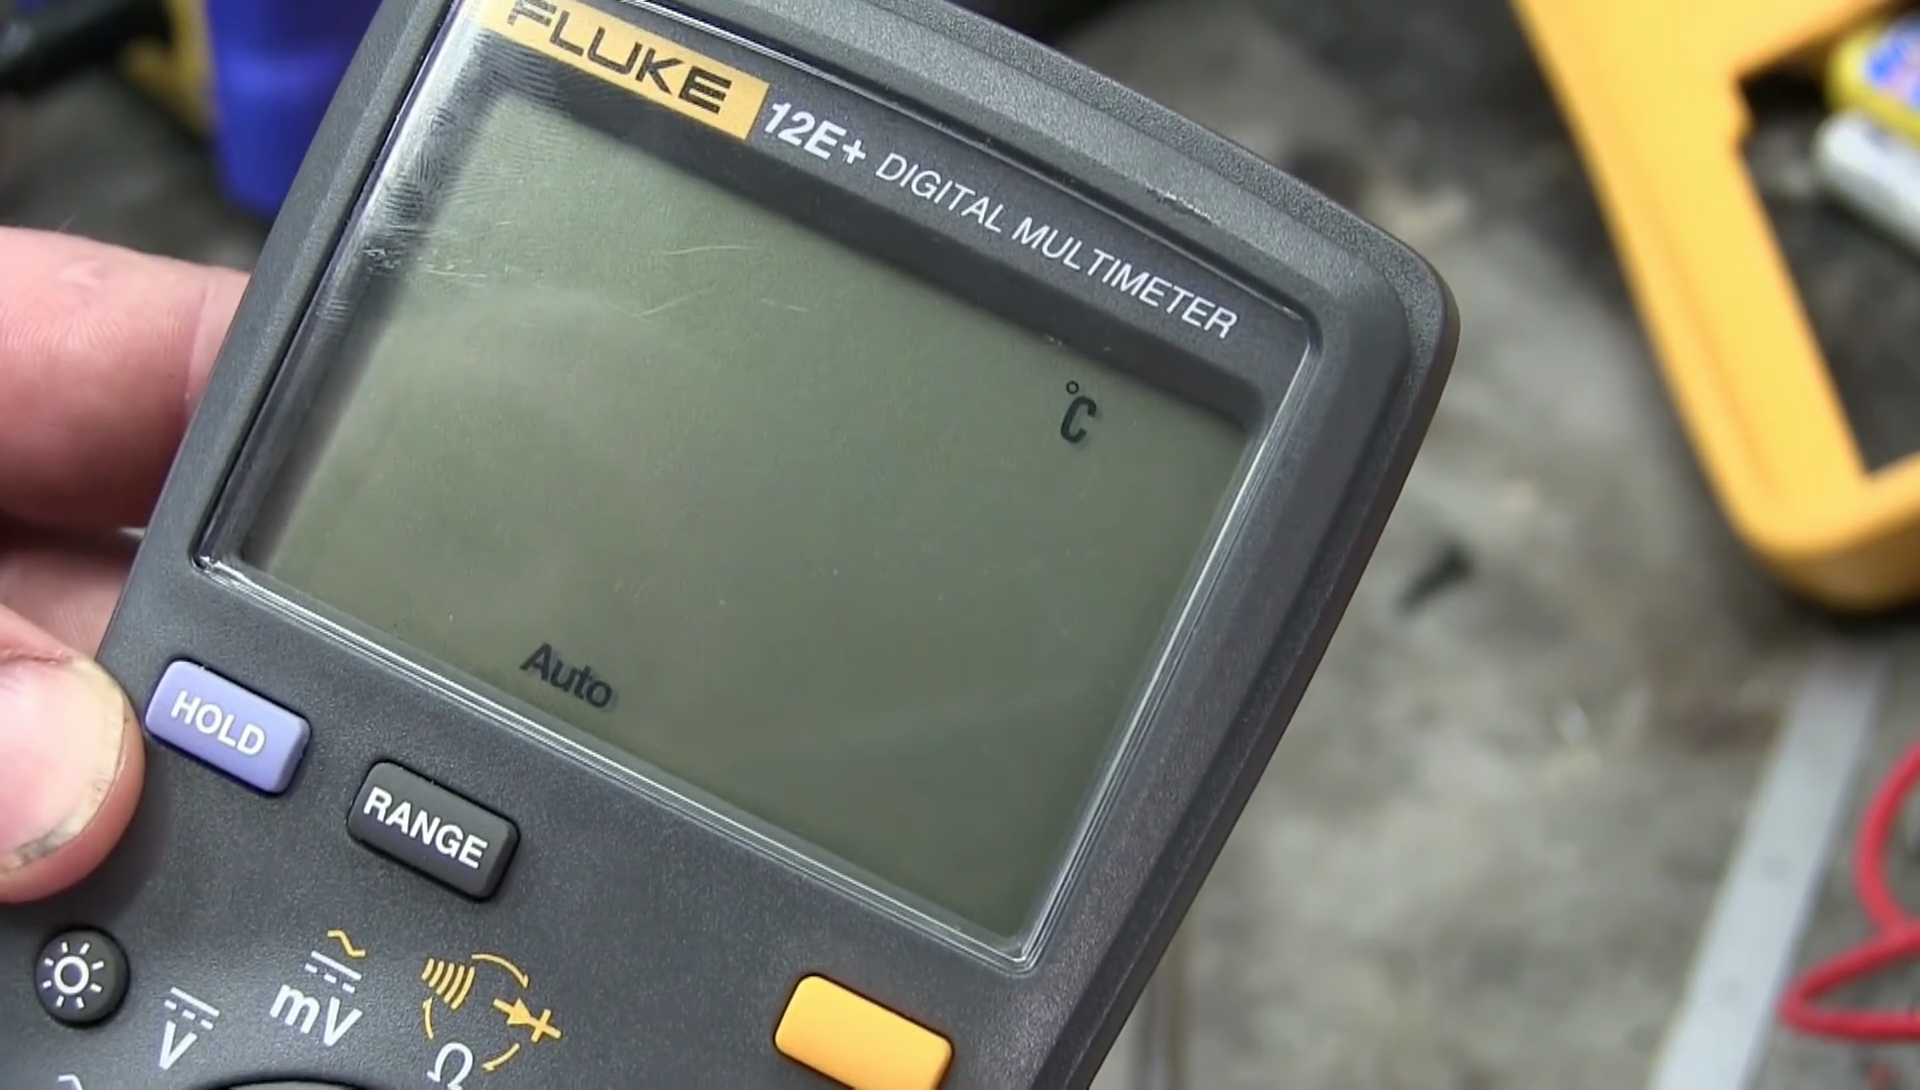 During a teardown of the multimeter, which involved comparing the melting point of the meter’s rubber case with other Fluke meters, [Ave] did finally make the case for the authenticity of the meter. However, after [AvE] put his genuine purchase back together, the dial was misaligned, and it took another disassembly to fix the issue. Luckily, [AvE] cultivates an attentive audience, and some commenters noticed that there were some hidden button pads on the PCB. They also spotted a little “C”, which lit up on the LCD for a short moment during the misalignment issue.
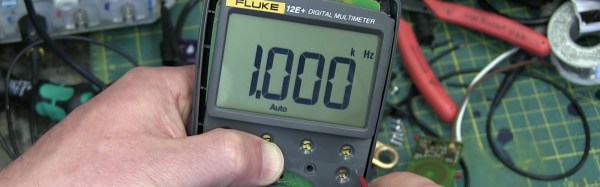
The comments led to [AvE] disassembling the meter a third time to see if any hidden features could be unlocked. And yes, they can. In addition to the dial position for temperature measurement, [AvE] found that one of the hidden button contacts would enable frequency and duty cycle measurement. Well, that was just too easy, so [AvE] went on checking if the hidden features had received their EOL calibration by hooking the meter up to a waveform generator. Apparently, it reads the set frequency to the last digit.
The 12E+ is kind of a new species of Fluke multimeter: On the one side, it has most of the functionality you would normally expect from a “multi”-multimeter – such as measuring both AC and DC voltage, current, capacitance and resistance – and on the other side it costs less than a hundred dollars. This is made possible by the magic of international marketing, and Fluke seems to distribute this crippleware product exclusively in the Chinese market. Therefore, you can’t buy it in the US or Europe, at least not easily. A close relative of the 12E+ which should be a bit easier to obtain is the Fluke 15B+; the meter we saw earlier today when [Sprite_TM] hacked it to share measurements via WiFi. The 15B+ seems to be identical to the 12E+ in appearance and features, although it’s unknown if the two are hackable in the same ways.
https://www.youtube.com/watch?v=FUmbsBYVTQ0
Thanks to [jacubillo] for the tip!