If you’ve read any of our posts in the last couple years, you’ll have noted that our community is stoked about bringing the Internet to their devices on the cheap with the ESP8266 modules. Why? This forum post that details making a WiFi thermostat really brings the point home: it’s so easy and cheap to build Internet-enabled devices that you almost can’t resist.
When the ESP8266 first came out, there very little documentation, much less code support. Since then Espressif’s SDK has improved, the NodeMCU project brought Lua support, and there’s even Arduino support. Most recently, BASIC has been added to the ESP stable, and that really lowers the barriers to creating a simple WiFi widget, like the thermostat example here that uses a Dallas DS18B20 temperature sensor and an LED as a stand-in for the heater element.
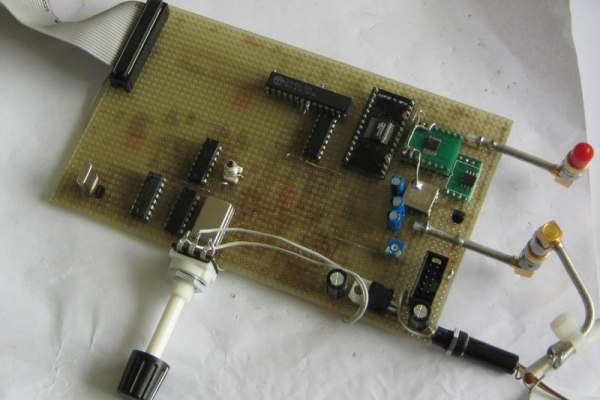
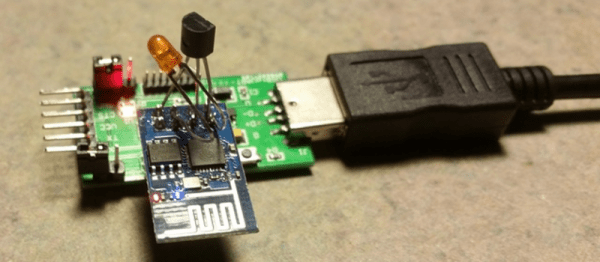
The hardware for this project, a re-build of this demo code from the ESP8266 BASIC docs, is nothing more than a few off-the-shelf parts soldered together. No schematic required.
What makes the project work behind the scenes is some clever code-reuse by [Rotohammer] on the ESP8266 forums. Essentially, he wrapped the Arduino’s one-wire library, giving it simple BASIC bindings. Then all that’s left for the BASIC coder is to read the value and print it out to a webpage.
There’s all sorts of details swept under the rug here, and those of you out there who are used to bare-metal programming will surely huff and puff. But there’s a time for building your own injection-molder to make DIY Lego bricks, and there’s a time to just put blocks together. This project, and the BASIC interpreter that made it possible, demonstrate how much joy someone can get from just putting the parts together.
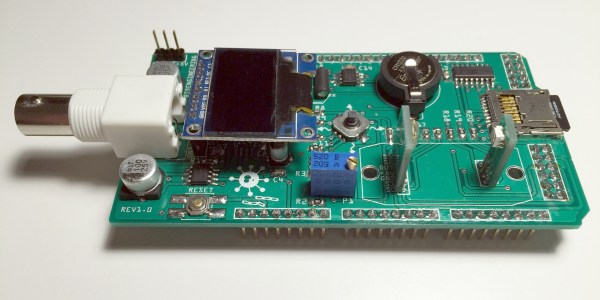
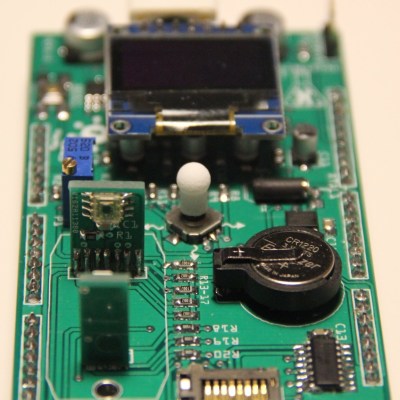 Taking the form of an Arduino mega-shield that supports a pH meter, a spectrophotometer, and a PID-controlled hot plate, [M. Bindhammer]’s design has a nice cross-section of the instruments needed to start biohacking in your basement. Since the shield piggybacks on an Arduino, all the data can be logged, and decisions can be made based on the data as it is collected. One example is changing the temperature of the hot plate when a certain pH is reached. Not having to babysit your experiments could be a huge boon to the basement biohacker.