LEGO2NANO, are building an open hardware AFM (Atomic Force Microscope).
AFMs are a kind of probe microscope. Unlike an optical microscope, a probe is used to “feel” the topology of a surface. An atomic force microscope uses a flexible cantilever with a nanometer scale tip on the end. As the tip scans across the surface it will be deflected by its interaction with the surface. A laser spot is usually reflected off the back of the cantilever, and captured by a photodiode array. The angle of the reflected beam, and therefore which photodiodes are excited lets you know how much the cantilever was deflected by the surface.
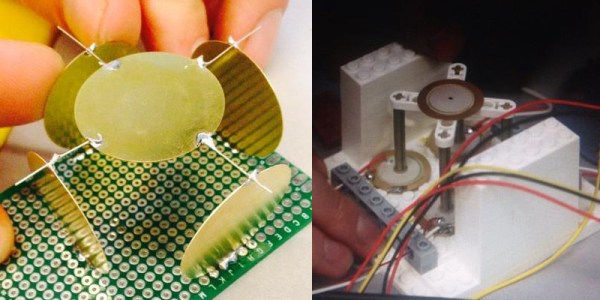
One of the challenges of building an AFM is developing an actuator that can move with nanoscale precision. We recently reported on [Dan Berard]s awesome capacitor actuator, and have previously reported on his STM build which uses a piezo buzzer. LEGO2NANO are experimenting with a number of different configurations, including using Piezo buzzers, but in a different configuration to [Dan]s system.
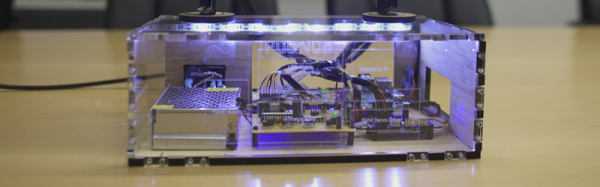
The LEGO2NANO project runs as a yearly summer school to encourage high school students to take part in the ambitious task of building an AFM for a few hundred dollars (commercial instruments cost about 100,000USD). While the project isn’t yet complete, whatever the outcome the students have clearly learned a lot, and gained an exciting insight into this cutting edge microscopy technique.

![The setup used by [Oliver] to capture the barks: a USB microphone, Raspberry Pi and WiFi USB dongle.](https://hackaday.com/wp-content/uploads/2015/08/bark-details.jpg)