
It has been far too long since we’ve seen an installment of Retrotechtacular, and this is a great one to start back with. It’s always a treat to get the story from the horse’s mouth. How about the tale of the world’s first Digital Single-Lens Reflex camera? [Jame McGarvey] shared the story of how he developed the device in 1987.
That’s it shown above. It’s not surprising to see that the only real modification to the camera itself is the back cover. The difference between an SLR and a DSLR is really just the D, which was accomplished by adding a CCD in place of the film.
The entire story is a treat, but there are a couple of nuggets the we enjoyed most. The possibly-clandestine purpose of this device is intriguing. It was specifically designed to pass as a film camera which explains the ribbon cable connecting the CCD module to the control box which would be stored in a camera bag. It is also delightful to hear that the customer who tasked Eastman Kodak with developing the system preferred Canon camera bodies. So this Kodak DSLR indeed used a Canon F-1 body.
Once you get done looking this one over you will also enjoy learning how a CCD actually works.
[Thanks Ben]
Retrotechtacular is a weekly column featuring hacks, technology, and kitsch from ages of yore. Help keep it fresh by sending in your ideas for future installments.
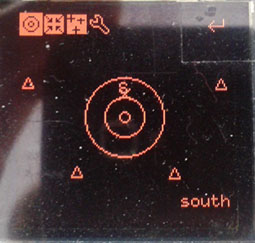 With the advent of electronics in everything, amateur astronomy has never been easier. Telescope mounts that point in the direction of any astronomical object automatically have been around for decades, and the Telrad – a device that paints 0.5, 2, and 4 degree diameter circles in your finder scope’s field of view are available if you’re just too cool for letting a robot do your job.
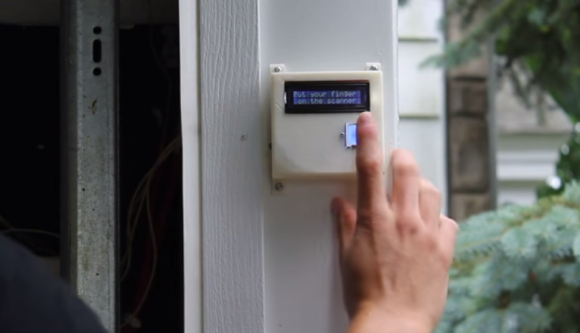
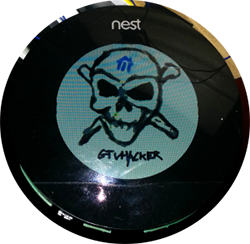 A few months ago, Google bought a $3.2 billion dollar thermostat in the hopes it would pave the way for smart devices in every home. The Nest thermostat itself is actually pretty cool – it’s running Linux with a reasonably capable CPU, and adds WiFi to the mix for some potentially cool applications.


