Ever use a lathe? No? Neither had [Jack Hauweling], but that didn’t stop him from building his own and learning how!
Lathes are a lot of fun, especially for small wood working projects. Using mostly wood and a few small pieces of hardware, [Jack] was able to build one in an afternoon that works quite well!
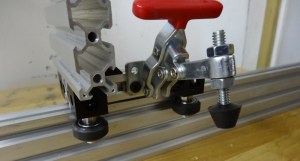
He’s using a cheap corded power drill to drive the work piece, but what we really like is how he made the spur center and spur live center out of a few pieces of threaded rod and a standoff. It’s a simple system that lets him secure the work piece fairly easily simply by tightening the threaded shaft of the live center.
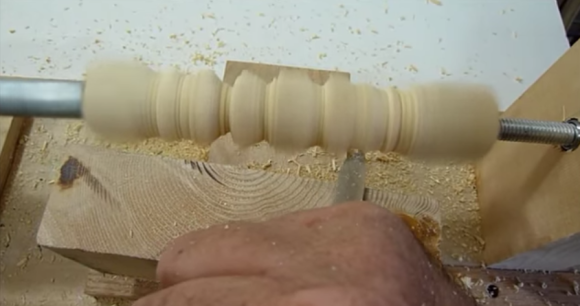
In the video after the break he goes through the entire build process and even shows off his first attempts at using the lathe — he actually was able to make a very nice tool grip on his third try!
Continue reading “Clever Re-purposing Of A Power Drill Results In A Mini Wood Lathe”