[Will] recently tipped us about a 400MHz Low Noise Amplifier (LNA) module he made. His detailed write-up starts by explaining the theory behind an amplifying chain. Assuming a 50 Ohm antenna system receives a -70dBm signal, the total peak to peak voltage would be less than 200uV (.0002 volts). If the first amplifying stage doesn’t consist of an LNA, then the added noise would later be amplified by the other elements of your system.
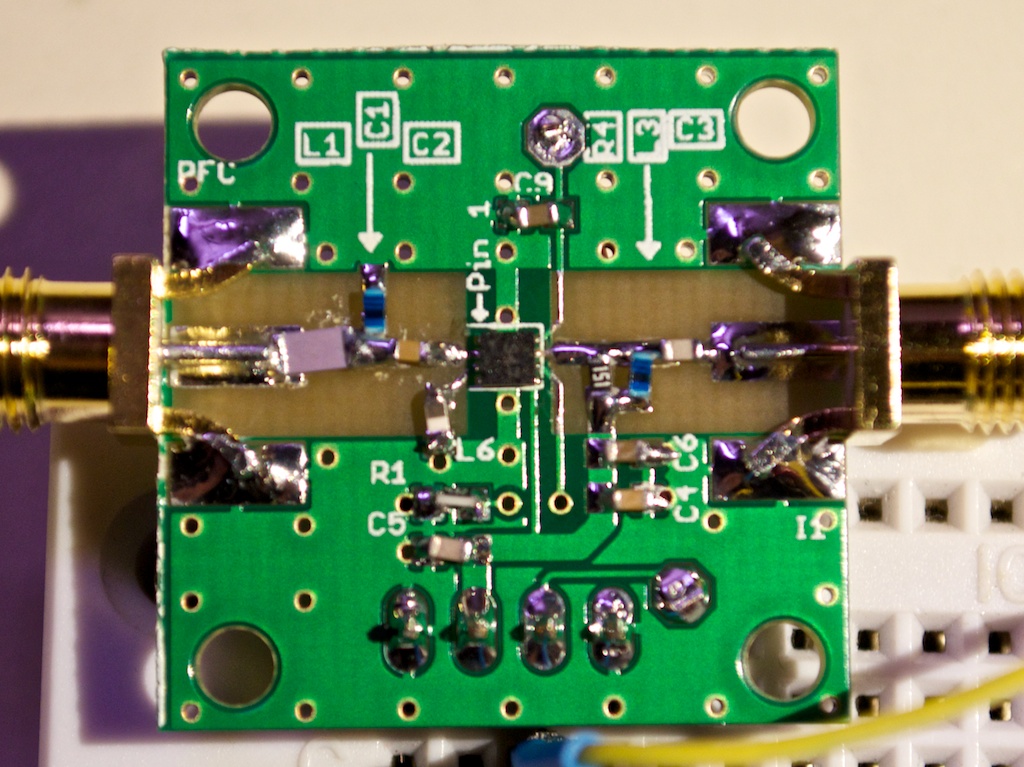
[Will] then detailed how he picked his LNA on Digikey, mainly by looking for one that had a less than 1dB Noise Figure. His final choice was the Sky65047: a small budget-priced 0.4-3.0GHz low noise amplifier with a theoretical gain of 20dB at 400MHz. He made the PCB you can see in the picture above, removing the soldermask on the signal path in order to lower the permitivity. Because of a few mistakes present in the application note, it took [Will] quite a while to get his platform up and running with a 20dB gain but a 4.5dB NF. He also measured the input return loss using a directional coupler, which ended up being quite close to the datasheet’s 14dB number.