Reverse-Engineering The ESP32’s WiFi Binary Blob With A Faraday Cage

The Faraday cage constructed by Jasper Devreker.

As part of a team reverse-engineering the binary blob driver for the ESP32’s WiFi feature at Ghent University, [Jasper Devreker] saw himself faced with the need to better isolate the network packets coming from the ESP32-under-test. This is a tough call in today’s WiFi and 2.4 GHz flooded airwaves. To eliminate all this noise, [Jasper] had to build a Faraday cage, but ideally without racking up a massive invoice and/or relying on second-hand parts scavenged from eBay.

We previously reported on this reverse-engineering project, which has since seen an update. Although progress has been made, filtering out just the packets they were interested in was a big challenge. The solution was a Faraday cage, but on a tight budget.

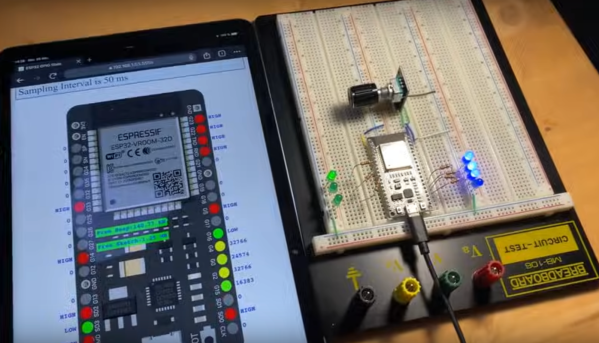
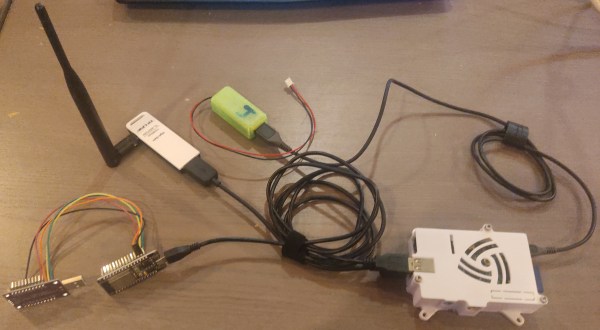
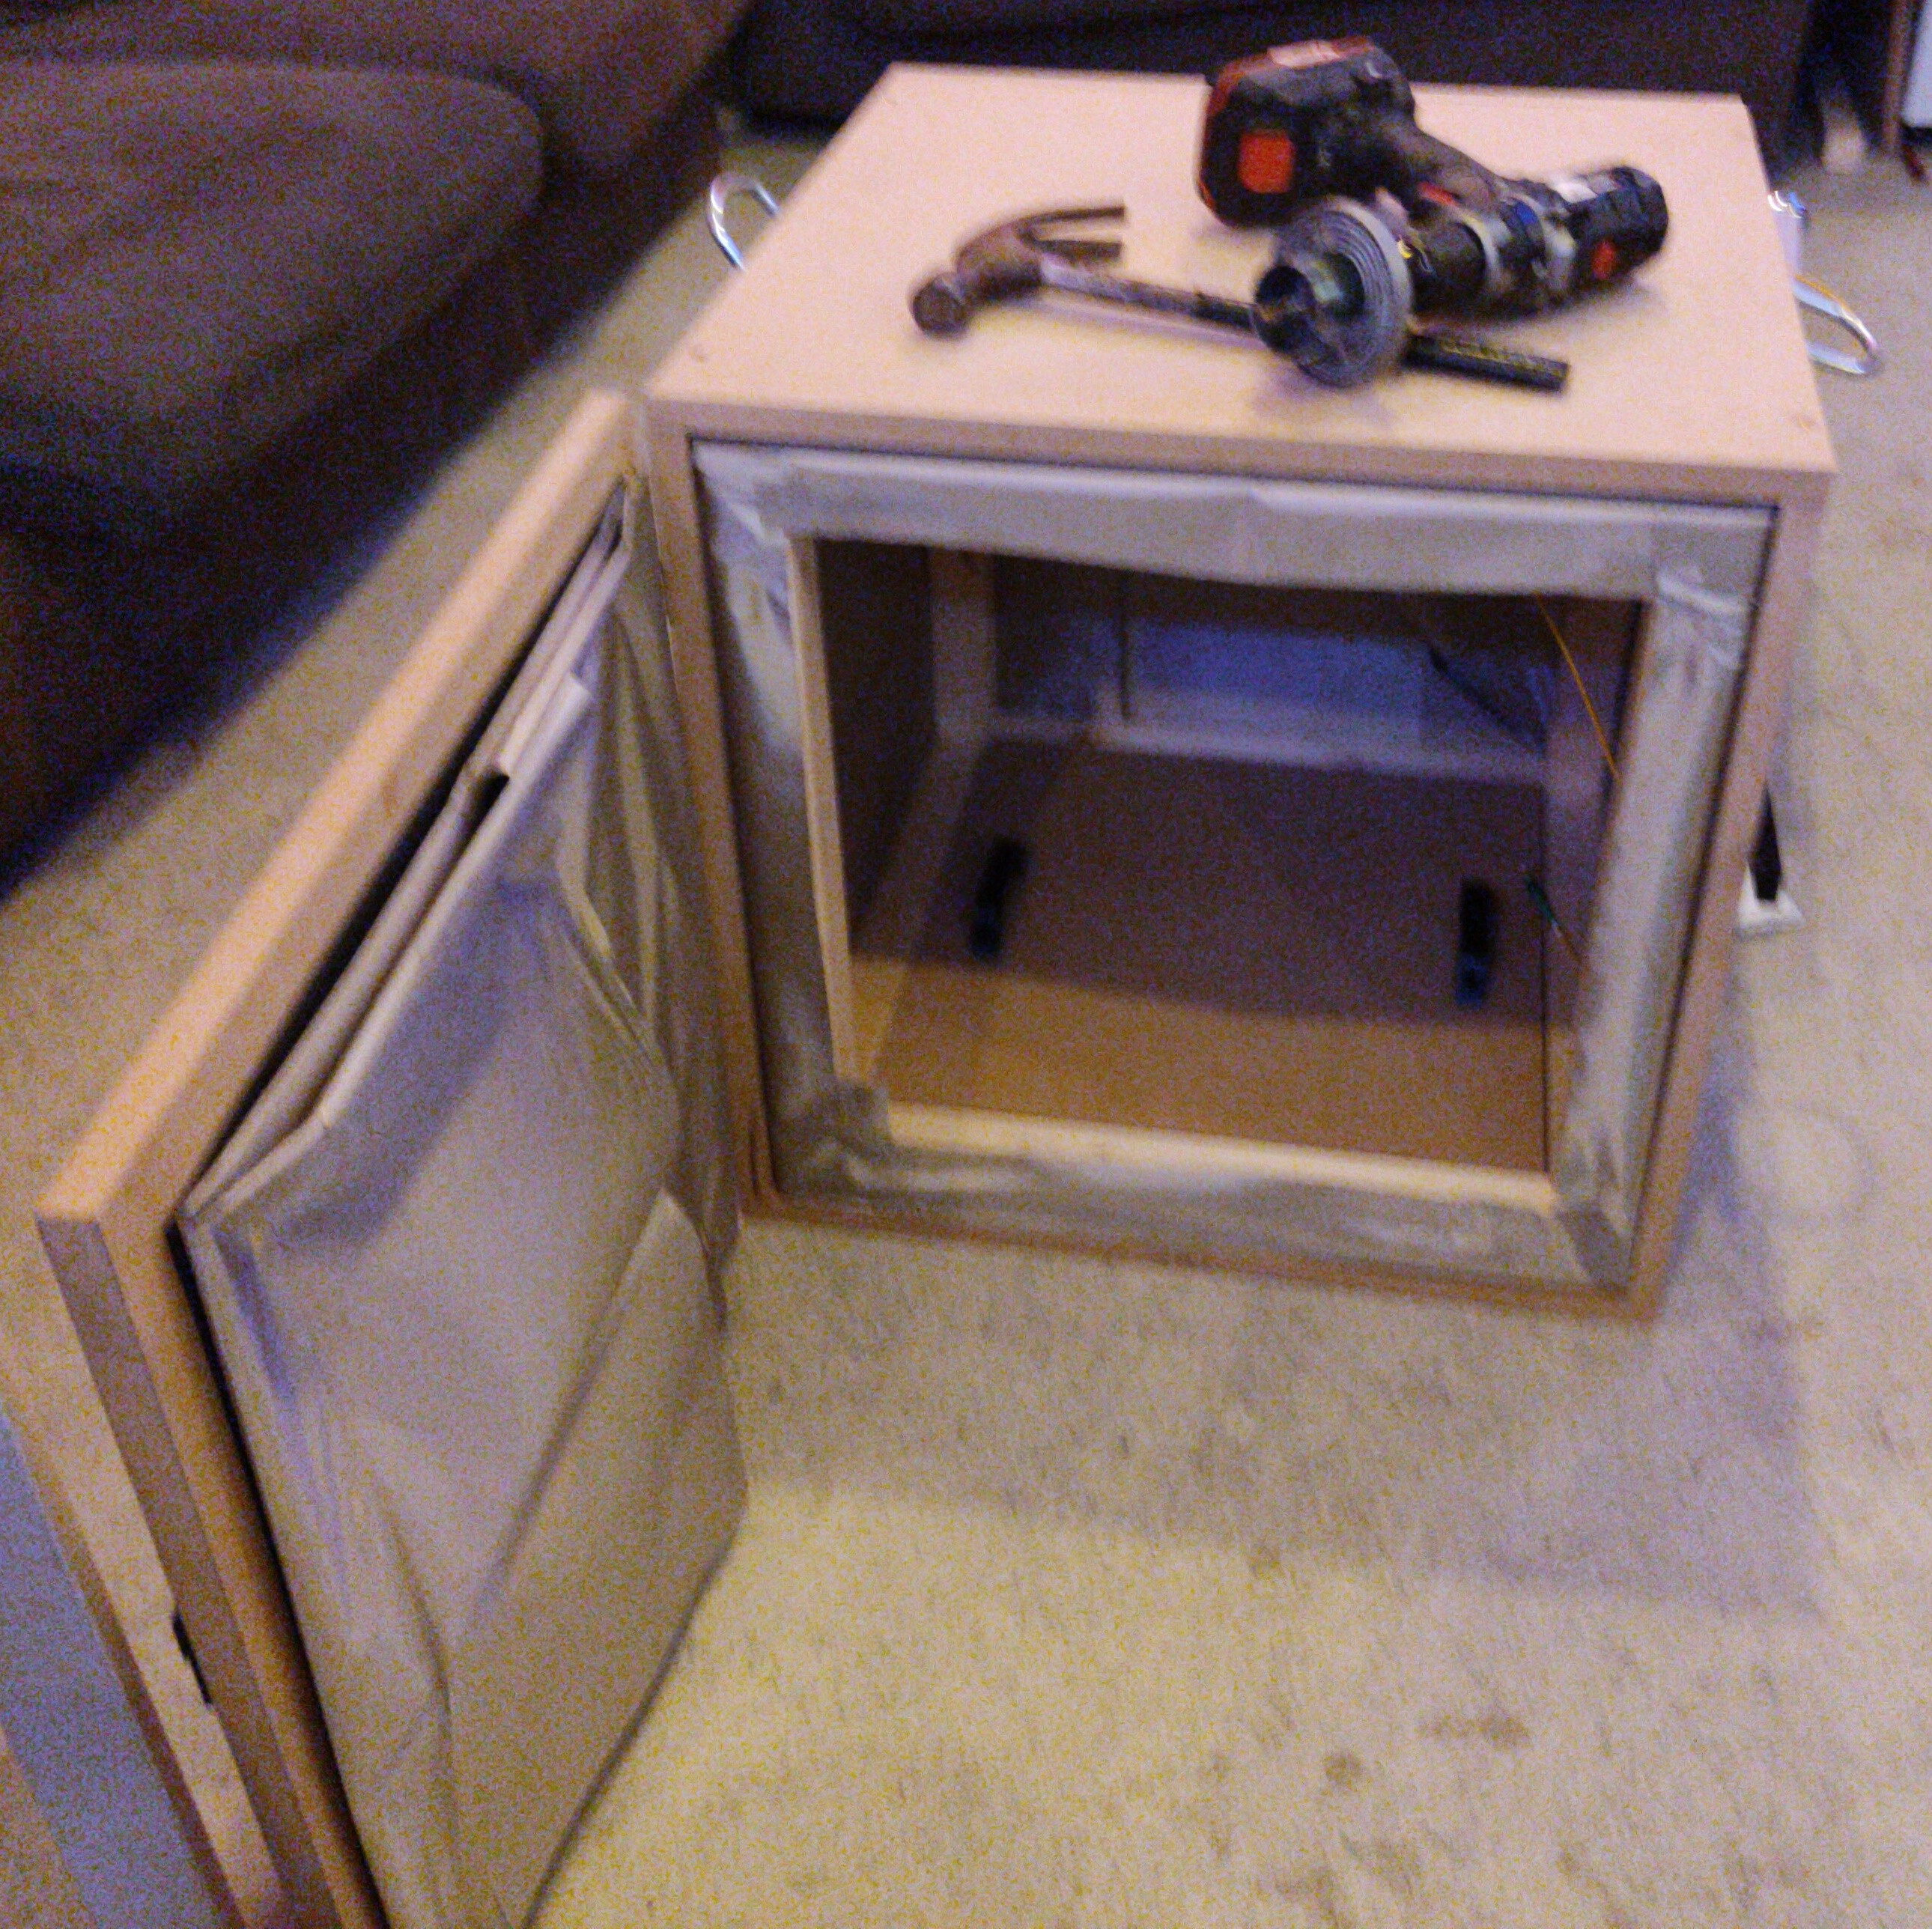
Rather than relying on exotic power filters, [Jasper] put a battery inside a Faraday cage he constructed out of wood and conductive fabric. To get Ethernet data in and out, a fiber link was used inside a copper tube. Initial testing was done using a Raspberry Pi running usbip and a WiFi dongle.  The Faraday cage provided enough attenuation that the dongle couldn’t pick up any external WiFi signals in listening mode.

The total cost of this build came down to a hair over €291, which makes it feasible for a lot of RF experiments by hobbyists and others. We wish [Jasper] and the rest of the team a lot of luck in figuring out the remaining secrets of Espressif’s binary WiFi blob using this new tool.

CH32 RISC-V MCUs Get Official Arduino Support

Like many of you, we’ve been keeping a close eye on the CH32 family of RISC-V microcontrollers from WCH Electronics. You can get the CH32V003, featuring 2 kB RAM and 16 kB of flash for under fifteen cents, and the higher-end models include impressive features like onboard Ethernet. But while the hardware is definitely interesting, the software side of things has been a little rocky compared to what we’ve come to expect from modern MCUs.

Things should start looking up a bit though with the release of an Arduino core for the CH32 direct from WCH themselves. It’s been tested on Windows, Linux, and Mac, and supports the CH32V00x, CH32V10x, CH32V20x, CH32V30x, and CH32X035 chips. Getting it installed is as easy as adding the URL to the Arduino IDE’s Boards Manager interface, though as the video below shows, running it on Linux does require an extra step or two.

So far, we’ve seen several projects, like this temperature sensor or this holiday gizmo that use [cnlohr]’s open-source toolchain. But there’s no question that plenty of hobbyists out there feel more comfortable in the Arduino environment, and if those folks are now able to pick up a CH32 and do something cool, that means more people jumping on board, more libraries developed, more demo code written…you get the idea.

Just like the ESP8266’s popularity exploded when it was added to the Arduino IDE, we’ve got high hopes for the CH32 family in the coming months.

Continue reading “CH32 RISC-V MCUs Get Official Arduino Support”

An Animated LED Fireplace Powered By The CH32V003

Once you’ve mastered the near-magical ability of turning your ideas into a piece of hardware you can hold in your hand, it’s only natural that you’ll want to spread the joy. The holidays are a perfect time to produce a custom piece of electronics for friends and family, but there’s a catch: going from making one or two of something to making dozens of them can introduce some interesting challenges. Not only will you want to cost optimize your design, but to save yourself some aggravation, you’ll likely want to simplify the assembly process.

The fifty electronic fireplaces designed by built by [Adam Anderson], [Daniel Quach], and [Johan Wheeler] are a perfect example of both concepts, and while we’re coming across it a bit late for this year’s gift exchange, we wouldn’t be surprised if these MIT-licensed beauties end up under a few more trees in 2024.

Continue reading “An Animated LED Fireplace Powered By The CH32V003”

Spying On The ESP32’s GPIO

The ESP32 has been a go-to microcontroller platform for a while now, thanks to its versatile capabilities, integrated Wi-Fi and Bluetooth connectivity, and low power consumption. It’s ideal for a wide range of projects especially those revolving around IoT, partially because of all of the libraries and tools available for it now. The latest tool from [The Last Outpost Workshop] adds a feature we didn’t know we wanted until now: a webserver showing real-time updates of what all of the GPIO pins are doing.

The live GPIO pin monitoring library sets up the ESP32 to stream information about what all of the pins are doing in real time to a webserver, which displays the information as a helpful graphic. The demonstration in the video below shows and example troubleshooting a situation where the code is correct but there’s a mistake in the wiring, helping to quickly identify the problem and hopefully eliminating a wild goose chase for a bug in the software. The library can be quickly installed using the Arduino IDE and only requires the use of one other library and a few lines of code to get everything up and running.

As far as a debugging tool goes, something like this could save a lot of us a significant amount of time, especially with how easy it is to set up. A real-time look into the pins and their behavior, including those set up for PWM, is invaluable for plenty of situations. Of course if you’re building something like a real-time operating system that needs responses within a very specific interval you may want to look at more in-depth strategies for probing the GPIO.

Thanks to [Bob] for the tip!

Continue reading “Spying On The ESP32’s GPIO”

Take The Minimal Pain Out Of ESP32 Programming

Perhaps without many of us realising it, our single board computers perform the task of making programming their processor or SoC a lot easier. They take care of setting the right lines or commands to put the chip in programming mode, they deal with timings, such that we simply fire our code from our dev environment without having to expend much thought. It’s not as though it’s difficult to program most microcontrollers, but there is usually a procedure to set the chip in programming mode. Tired of pressing buttons to achieve this with the ESP32, [DoganM95] took the time to create an all-in-one USB ESP32 programming board.

It’s a straightforward enough CH340C design that also has a USBC-PD chip on-board allowing powering of an attached ESP32 from PD sources. It’s all the stuff you’d find incorporated on a little dev board, without the ESP32, so while it’s nothing earth-shattering it’s also a neat and useful little addition to your arsenal. Unsurprisingly it’s not the first time someone’s created a similar board for a commercially available ESP32 module.

Qantas Flight 32: When A Few Millimeters Of Metal Invite Disaster

A common saying is that every disaster is caused by a chain of events, some of which can stretch back by years. Airplane disasters and near-disasters are no exception here, with all too often a small mechanical issue worsening until suddenly everything goes south. In the best case the flight crew is still able to work through the problems and figure out a way to put the aircraft down on firm soil in a single piece. This was the situation that the crew of Qantas Flight 32 (QF32) found themselves forced to deal with, as detailed in a recent article by [Kyra Dempsey], aka [Admiral Cloudberg].

When QF32 started its flight from London Heathrow in early November of 2010, everything seemed normal, but a mere four minutes after take-off from a layover at Singapore on its way to its final destination of Sydney, the #2 engine on the left wing of the Airbus A380 essentially exploded, launching shrapnel through the wing and fuselage. Although the A380 has four engines (numbered 1-4 from the left wing tip) and normally a single engine failure is not a major deal, the loss of systems that got destroyed in the explosion left the crew scrambling to diagnose the damage and implement a solution.

Continue reading “Qantas Flight 32: When A Few Millimeters Of Metal Invite Disaster”

DIY Walkie-Talkie With ESP32 And ESP-NOW

In a recent article in Elektor magazine, [Clemens Valens] describes the construction and software for an ESP32 walkie-talkie system that uses ESP-NOW for the wireless connection between units, along with a low-cost condenser microphone with a transistor-based preamplifier and an LM386 op-amp for the speaker circuit. In the ESP32 module the built-in DAC and ADC are used for audio in and output, which provide just about enough resolution for voice communication.

So why use ESP-NOW rather than WiFi or Bluetooth? Mostly because of range, power usage and convenience with no SSIDs and passwords to bother with.

The DIY Walkie-Talkie circuit diagram. (Credit: Clemens Valens, Elektor magazine)

ESP-NOW is Espressif’s own network protocol that uses the same underlying hardware as 2.4 GHz WiFi and Bluetooth, but focuses on more basic direct and mesh-style communication. It can be considered to be somewhat like low-level UDP with MAC address instead of IP address, which makes it useful for fire-and-forget traffic such as from IoT devices.

In the past, we’ve seen ESP-NOW control everything from fake security cameras to CNC machines. In fact, we’ve even seen it used in another walkie-talkie a couple years back.