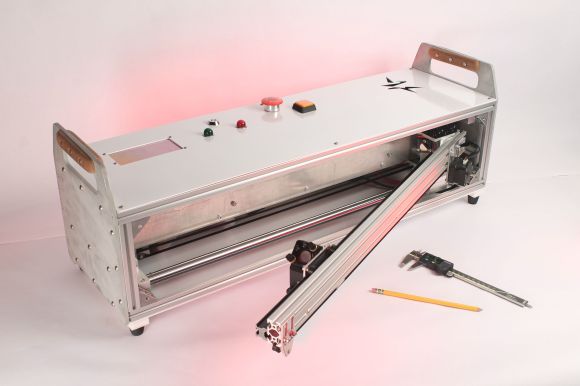
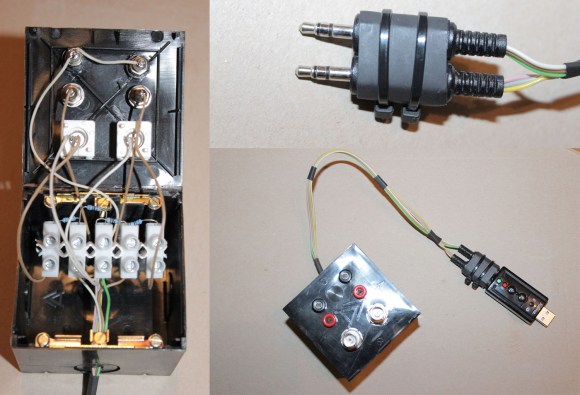
Here at Hackaday we’ve covered a bunch of DIY laser diode projects. And for good reason, they are just cool. We’ve seen people add lasers to their 3D printers, stick one in a milling machine, use a highly modified scanner and even build a simple XY gantry specifically for the task. To say the least there is definitely a wide range of methods for moving around a laser but we’ve never seen anything like what [Sp4rky] sent in to us. He and his friends outfitted an old educational robot arm with a laser.
The robot arm is a 5 axis Armdroid 5100 picked up from eBay for a couple hundred dollars. It didn’t come with a controller but all of the stepper drivers were housed in the base of the arm. After a little tinkering around with the inputs the team was able to get the arm to move by sending serial commands from a PC, through an Arduino Mega which then sends the appropriate signals to the uni-polar stepper drivers. That was the easy part of the build.
The hard part was getting the arm to hold the laser at a consistent angle and height above the table. Inverse Kinematics to the rescue! Since the desired position of the laser, as well as the length of the arm segments is known, mathematical formulas can be derived to determine the necessary arm segment and joint positions while moving the laser around. The process flow starts out with an image in Inkscape, g-code is then generated with this plugin, then sent to the Arduino running a modified version of GRBL that has the inverse kinematic formulas. The Arduino directly controls the stepper drivers and the robotic arm moves. The Arduino also controls 3 constant-current laser drivers made from LM317 regulators. Three laser drivers, why?
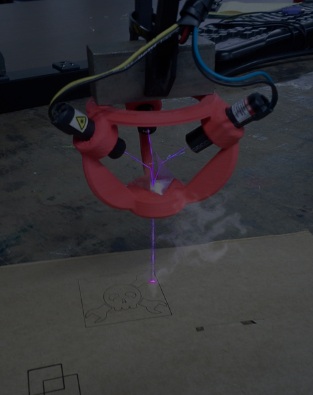 [Sp4rky] got his laser diode modules out of surplus medical equipment and, unfortunately, the rated optical wattage was quite low. Since he had 3 diodes, he decided to try to combine the 3 low power beams into one high power beam. This can be done using a prism. A prism splits sunlight into a rainbow of colors because each wavelength(color) of light that passes through the prism is bent a different amount. Since the laser diodes only put out one wavelength of light, the beam bends but does not split or diffuse. A 3D printed bracket points each laser diode at a 3-sided pyramidal prism which sends the combined beam of light straight out the bottom towards the object to be cut or engraved.
This project is cool enough that we would have covered it even if [Sp4rky] wasn’t burning a Hackaday logo. Although it doesn’t hurt for anyone wanting their project to get covered!


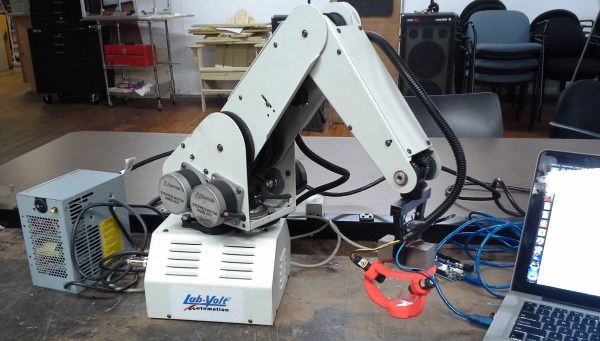
 [Sp4rky] got his laser diode modules out of surplus medical equipment and, unfortunately, the rated optical wattage was quite low. Since he had 3 diodes, he decided to try to combine the 3 low power beams into one high power beam. This can be done using a prism. A prism splits sunlight into a rainbow of colors because each wavelength(color) of light that passes through the prism is bent a different amount. Since the laser diodes only put out one wavelength of light, the beam bends but does not split or diffuse. A 3D printed bracket points each laser diode at a 3-sided pyramidal prism which sends the combined beam of light straight out the bottom towards the object to be cut or engraved.